
“Hey, are you seriously making shrimp at midnight again?” My roommate’s voice cracked through the quiet, half-joking but mostly amazed. Honestly, I couldn’t help it. There’s something about the crunch of golden coconut flakes paired with the sticky-sweet tang of homemade chili sauce that keeps me coming back. This recipe started as a sleepy, slightly reckless experiment on a weeknight when I was craving something crunchy but didn’t want to venture out for takeout.
The first time I made crispy coconut shrimp with sweet chili sauce, I was honestly skeptical. Shrimp can be so hit-or-miss when it comes to texture—either rubbery or soggy, right? But this version nailed it. The shrimp stay juicy inside, while the coconut coating crisps up like little tropical nuggets. That sweet chili sauce? It balances the richness perfectly without overpowering.
I remember standing over the stove, the warm kitchen smelling like toasted coconut and garlic, feeling surprisingly proud that what started as a quick fix turned into something I now make multiple times a month (sometimes several times a week—no shame here). It’s become my go-to for when I want a restaurant-worthy appetizer but with zero fuss. Plus, I can’t get enough of how the sauce clings to each bite, making it almost addictive.
It’s funny how a simple dish can quietly win over your taste buds and your heart at the same time. If you’re someone who loves a satisfying crunch and a little heat with your seafood, this recipe might just stick with you like it did with me.
Why You’ll Love This Crispy Coconut Shrimp Recipe
After testing this recipe countless times, here’s why it’s earned a permanent spot in my kitchen repertoire:
- Quick & Easy: Ready in about 30 minutes, it’s perfect for busy evenings or unexpected guests.
- Simple Ingredients: No obscure sauces or crazy spices needed—just basics you probably have on hand.
- Perfect for Entertaining: Whether it’s a casual get-together or a summer party, these shrimp always impress without stress.
- Crowd-Pleaser: Kids and grown-ups alike ask for seconds, which is always a good sign.
- Unbelievably Delicious: That crispy coconut coating paired with the sweet chili sauce creates a flavor and texture combo that’s just irresistible.
This isn’t your average coconut shrimp recipe. The trick is in the three-step coating technique and a homemade sweet chili sauce that’s tangy with just the right kick. Plus, I’ve tweaked the seasoning so the shrimp always come out juicy, never rubbery. Honestly, it’s the kind of food that makes you close your eyes with the first bite and savor every moment. It’s comfort food with a tropical twist, ideal for those times when you want something special but don’t want to spend hours in the kitchen.
What Ingredients You Will Need
This recipe uses simple, wholesome ingredients to deliver bold flavor and satisfying crunch without any hassle. Most of these are pantry staples, but a few fresh ingredients make all the difference.
- For the Shrimp:
- 1 lb (450 g) large shrimp, peeled and deveined (fresh or thawed frozen)
- 1/2 cup (60 g) all-purpose flour (or almond flour for gluten-free)
- 2 large eggs, beaten (room temperature)
- 1 cup (90 g) sweetened shredded coconut (I prefer Bob’s Red Mill for great texture)
- 1 cup (100 g) panko breadcrumbs (for extra crunch)
- 1/2 tsp salt
- 1/4 tsp black pepper
- 1/4 tsp garlic powder (optional but adds a nice depth)
- For the Sweet Chili Sauce:
- 1/2 cup (120 ml) rice vinegar
- 1/2 cup (150 g) granulated sugar
- 1/4 cup (60 ml) water
- 1 tbsp sambal oelek or sriracha (adjust for heat preference)
- 1 tsp minced garlic (fresh is best)
- 1 tsp cornstarch mixed with 1 tbsp water (to thicken)
You can swap the shredded coconut for unsweetened if you prefer less sweetness, or try crushed macadamia nuts for a tropical flavor twist. For a dairy-free version, just stick with the egg and flour coating and make sure your panko is vegan-friendly.
Equipment Needed
- Large mixing bowls (for dredging and egg wash)
- Shallow dishes or pie plates (great for layering the coating ingredients)
- Deep frying pan or skillet (a heavy-bottomed pan works best for even heat)
- Slotted spoon or tongs (to safely turn and remove shrimp)
- Paper towels (for draining excess oil)
- Small saucepan (for the sweet chili sauce)
- Wire rack or cooling rack (optional, for keeping shrimp crispy while resting)
If you don’t have a deep fryer, a heavy skillet with about 1 inch of oil works just fine. I’ve tried this recipe with both an electric skillet and a cast iron pan, and the cast iron holds temperature better, which helps keep the shrimp crispy. For the sauce, a small saucepan is all you need; it comes together quickly and doesn’t require fancy gear.
Preparation Method
- Prepare the shrimp: Pat shrimp dry with paper towels. This step is crucial to get the coating to stick well and crisp up nicely. Season them lightly with salt and pepper.
- Set up your dredging stations: In one shallow dish, place the flour. In another, beat the eggs. In a third, combine shredded coconut, panko breadcrumbs, garlic powder, and a pinch of salt. Mixing the coconut with panko creates that perfect crunch and tropical flavor.
- Coat the shrimp: One by one, dredge each shrimp in flour, shaking off excess, then dip into the beaten eggs, and finally coat thoroughly in the coconut-panko mixture. Press gently to help the coating stick. Place coated shrimp on a plate and let them rest for 5 minutes (this helps the coating set).
- Make the sweet chili sauce: In a small saucepan, combine rice vinegar, sugar, water, sambal oelek, and minced garlic over medium heat. Stir until sugar dissolves and mixture starts to simmer. Add the cornstarch slurry and cook for another 1-2 minutes until thickened. Remove from heat and set aside to cool slightly.
- Heat the oil: Pour about 1 inch (2.5 cm) of vegetable or canola oil into your skillet. Heat to 350°F (175°C). Use a thermometer to keep the temperature steady—too hot and the coating burns, too cool and it gets soggy.
- Fry the shrimp: Working in batches, carefully place shrimp in the hot oil. Fry for 2-3 minutes per side until golden brown and crispy. Avoid crowding the pan to keep the oil temperature consistent.
- Drain and rest: Remove shrimp with a slotted spoon and drain on paper towels or a wire rack. Let them rest for a minute or two to stay crispy.
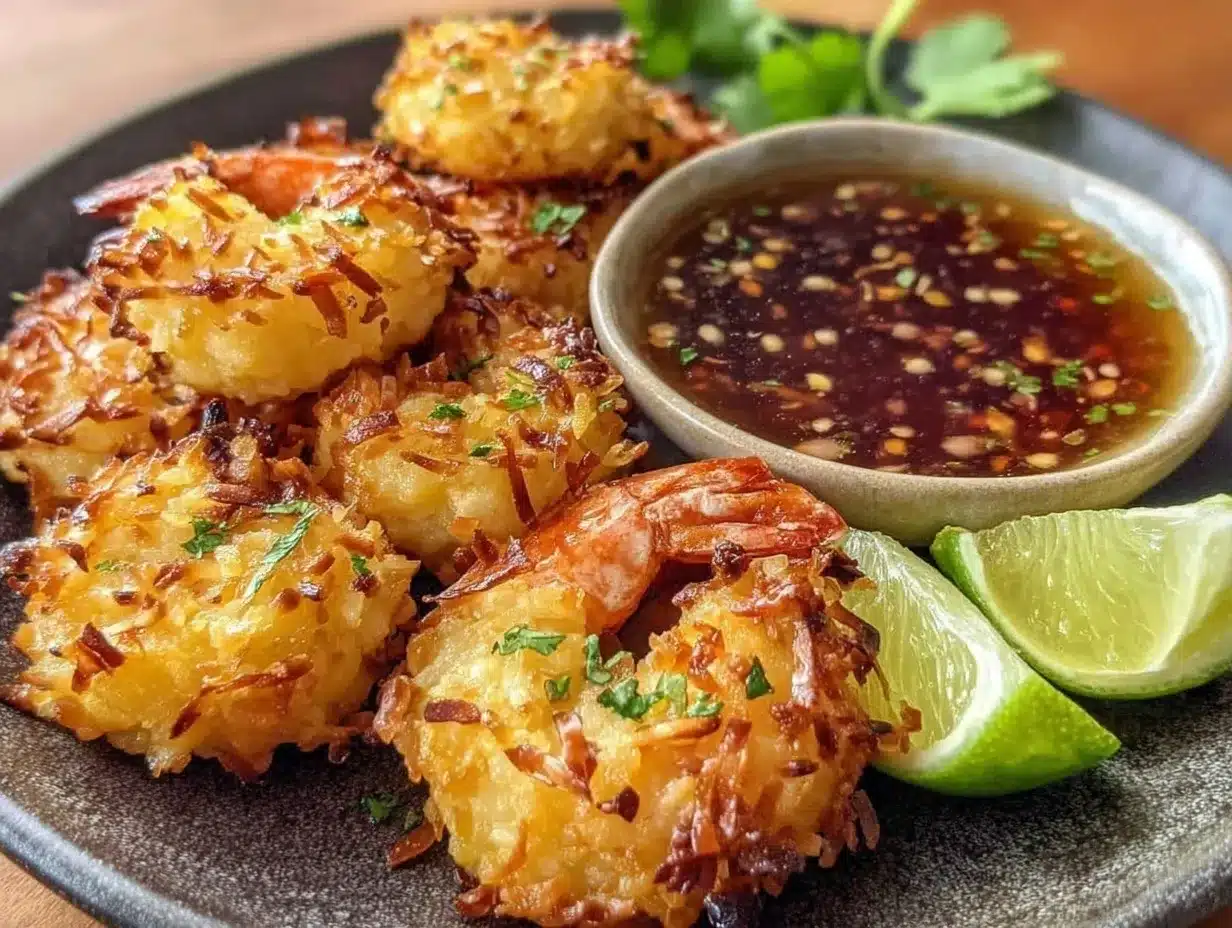
- Serve: Arrange shrimp on a platter with the sweet chili sauce for dipping. Garnish with fresh lime wedges or chopped cilantro if you like a bit of freshness.
Pro tip: If you’re multitasking, prep the sauce first so it has time to cool and thicken while you handle the shrimp. Also, drying the shrimp thoroughly before coating is a small step that makes a big difference in crunch.
Cooking Tips & Techniques
Getting that perfect crispy coconut shrimp isn’t as tricky as it seems, but a few insider tips can really help:
- Temperature control is key: I’ve learned the hard way that oil temperature swings lead to greasy or burnt shrimp. Use a candy or deep-fry thermometer to keep it steady around 350°F (175°C).
- Don’t skip the rest time after coating: Letting the shrimp rest for a few minutes helps the coating adhere better and prevents it from falling off during frying.
- Use panko breadcrumbs: Regular breadcrumbs just don’t give that light, airy crunch. Panko mixed with shredded coconut creates the best texture.
- Pat shrimp dry: Moisture equals soggy coating. Always dry shrimp before dredging for maximum crispiness.
- Make the sauce ahead: The sweet chili sauce tastes best when it’s had a little time to cool and thicken. It clings better to the shrimp that way.
- Don’t crowd the pan: Fry in small batches to keep oil temperature up and shrimp crispy.
On one attempt, I rushed the coating and ended up with a clumpy mess that stuck to the pan. Lesson learned: patience pays off. Also, if you want to get fancy, try finishing the fried shrimp on a wire rack in a 200°F (95°C) oven to keep them warm and crispy until serving.
Variations & Adaptations
This recipe is quite flexible, so you can tailor it to your preferences or dietary needs:
- Gluten-Free: Use almond flour or gluten-free all-purpose flour and substitute panko with crushed gluten-free crackers.
- Spicy Kick: Add cayenne pepper to the coconut-panko mix or mix some chili powder into the flour for extra heat.
- Air-Fried Version: For a lighter take, air-fry the coated shrimp at 400°F (200°C) for about 8-10 minutes, flipping halfway. The texture won’t be quite the same, but it’s a solid option.
- Different Sauces: Swap the sweet chili sauce for a mango salsa or a creamy sriracha mayo for a flavor twist.
- Personal Favorite: Once, I swapped the shrimp for chicken tenders using the same coating and sauce—surprisingly delicious and fun for a change.
Serving & Storage Suggestions
Serve your crispy coconut shrimp hot with the sweet chili sauce on the side for dipping. They’re fantastic garnished with fresh lime wedges and a sprinkle of chopped cilantro or green onions for color and brightness.
This dish pairs wonderfully with light sides like a crisp cucumber salad, jasmine rice, or even a refreshing cherry tomato pasta with burrata and basil for a summery vibe.
For leftovers, store shrimp in an airtight container in the refrigerator for up to 2 days. Reheat in a 350°F (175°C) oven on a wire rack for about 5-7 minutes to bring back the crispiness. Avoid microwaving unless you don’t mind soggy coconut coating. The sweet chili sauce keeps well in the fridge for up to a week and often tastes even better the next day as the flavors meld.
Nutritional Information & Benefits
Per serving (about 4 shrimp): approx. 250 calories, 15g protein, 18g fat, and 10g carbohydrates.
Shrimp provide a lean source of protein rich in omega-3 fatty acids and essential minerals like selenium. The coconut flakes add healthy fats and a touch of sweetness, while the sweet chili sauce offers antioxidants from garlic and chili peppers.
This recipe is naturally gluten-free if you use almond flour and gluten-free panko, making it suitable for many dietary needs. It’s a nice balance of indulgence and nutrition—comfort food that doesn’t feel heavy or overly processed.
Conclusion
This crispy coconut shrimp with sweet chili sauce recipe has become my little kitchen secret for when I want something impressive but easy. It’s a satisfying mix of textures and flavors that hits all the right notes. Whether you’re cooking for family, friends, or just treating yourself, it’s worth making it your own. Don’t hesitate to tweak the heat level or try different coatings—the base recipe handles adaptations beautifully.
I love how this dish brings a bit of sunshine to any meal, and honestly, it’s the kind of recipe that makes you want to linger around the table a little longer. If you give it a try, I’d love to hear how you personalized it or what sides you paired it with!
Frequently Asked Questions About Crispy Coconut Shrimp
Can I bake the coconut shrimp instead of frying?
Yes! Baking at 400°F (200°C) for 12-15 minutes, turning halfway, works well for a lighter version. The texture is a bit less crispy but still delicious.
How do I prevent the coconut coating from falling off?
Make sure to pat the shrimp dry first, then dredge in flour, dip in beaten eggs, and press the coconut-panko mixture firmly. Letting them rest before frying also helps the coating stick better.
Can I make the sweet chili sauce ahead of time?
Absolutely. The sauce can be made up to a week in advance and stored in the fridge. It often tastes better after the flavors meld overnight.
What oil is best for frying coconut shrimp?
Use neutral oils with high smoke points like vegetable, canola, or peanut oil. Avoid olive oil as it burns easily and can affect flavor.
Is this recipe suitable for meal prep?
Yes, you can prepare and fry the shrimp ahead of time, then reheat in the oven before serving. The sauce stores well separately, making this a great option for entertaining or quick meals.
If you enjoy this recipe, you might also like the creamy richness of a one-pot vodka rigatoni with Italian sausage or the fresh flavors in the burrata tomato basil penne. They both offer comforting, crowd-pleasing vibes perfect for your next dinner.
Pin This Recipe!
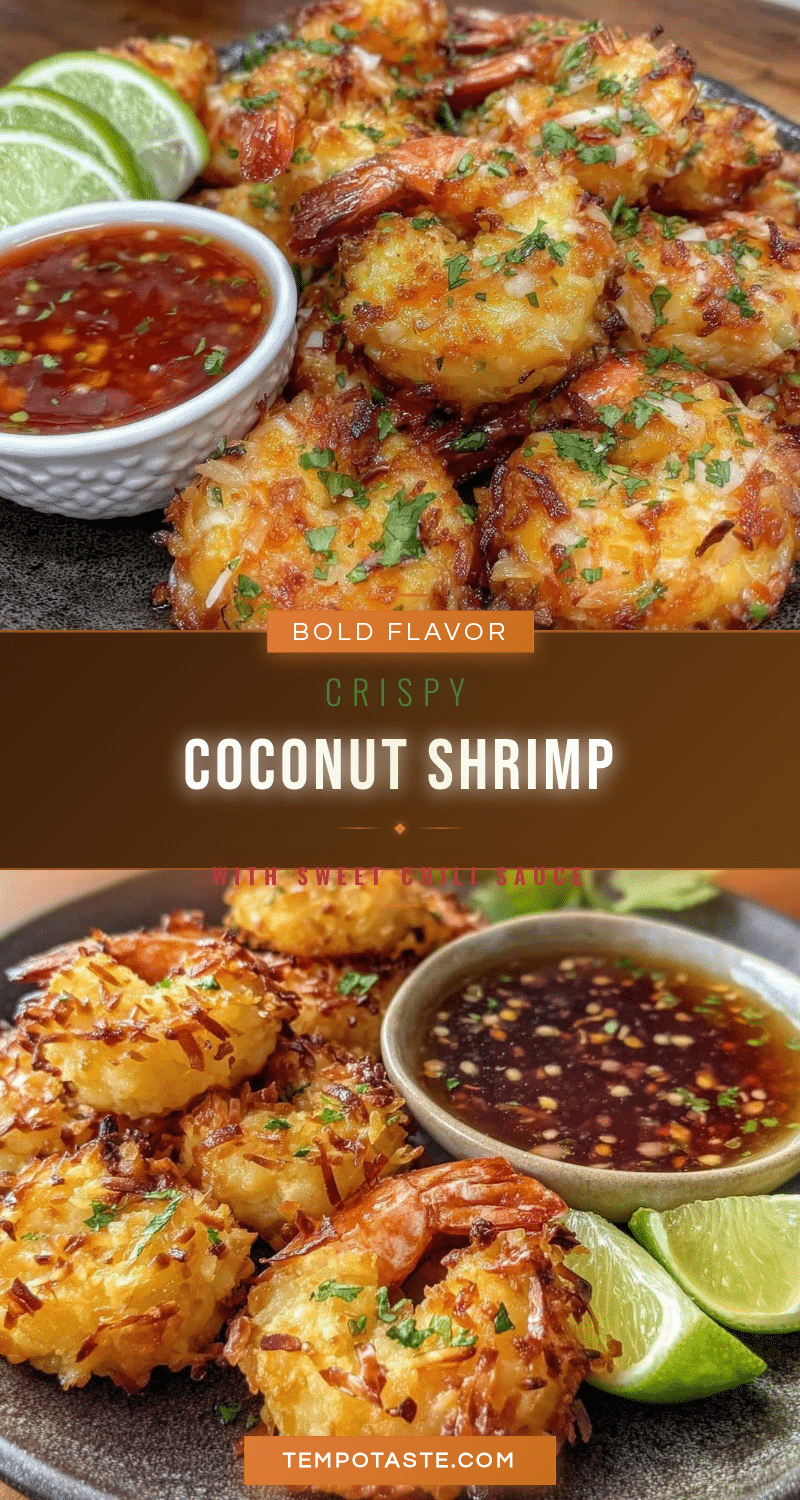
Crispy Coconut Shrimp with Sweet Chili Sauce

A quick and easy recipe for crispy coconut shrimp paired with a homemade sweet chili sauce that balances sweetness and heat perfectly. The shrimp stay juicy inside with a crunchy tropical coconut-panko coating.
- Prep Time: 15 minutes
- Cook Time: 15 minutes
- Total Time: 30 minutes
- Yield: 4 servings 1x
- Category: Appetizer
- Cuisine: American
Ingredients
- 1 lb (450 g) large shrimp, peeled and deveined (fresh or thawed frozen)
- 1/2 cup (60 g) all-purpose flour (or almond flour for gluten-free)
- 2 large eggs, beaten (room temperature)
- 1 cup (90 g) sweetened shredded coconut
- 1 cup (100 g) panko breadcrumbs
- 1/2 tsp salt
- 1/4 tsp black pepper
- 1/4 tsp garlic powder (optional)
- For the Sweet Chili Sauce:
- 1/2 cup (120 ml) rice vinegar
- 1/2 cup (150 g) granulated sugar
- 1/4 cup (60 ml) water
- 1 tbsp sambal oelek or sriracha
- 1 tsp minced garlic
- 1 tsp cornstarch mixed with 1 tbsp water (to thicken)
Instructions
- Pat shrimp dry with paper towels and season lightly with salt and pepper.
- Set up dredging stations: flour in one shallow dish, beaten eggs in another, and a mixture of shredded coconut, panko breadcrumbs, garlic powder, and a pinch of salt in a third.
- Dredge each shrimp in flour, shaking off excess, dip into beaten eggs, then coat thoroughly in the coconut-panko mixture. Press gently to help coating stick. Let rest for 5 minutes.
- Make the sweet chili sauce by combining rice vinegar, sugar, water, sambal oelek, and minced garlic in a small saucepan over medium heat. Stir until sugar dissolves and mixture simmers. Add cornstarch slurry and cook 1-2 minutes until thickened. Remove from heat and cool slightly.
- Heat about 1 inch of vegetable or canola oil in a skillet to 350°F (175°C).
- Fry shrimp in batches for 2-3 minutes per side until golden brown and crispy. Avoid crowding the pan.
- Remove shrimp with a slotted spoon and drain on paper towels or wire rack. Let rest for a minute or two.
- Serve shrimp hot with sweet chili sauce on the side. Garnish with fresh lime wedges or chopped cilantro if desired.
Notes
Pat shrimp dry before coating to ensure crispiness. Maintain oil temperature at 350°F to avoid greasy or burnt shrimp. Let shrimp rest after coating to help the coating adhere. The sweet chili sauce can be made ahead and stored in the fridge for up to a week. For gluten-free, use almond flour and gluten-free panko or crushed crackers. Air-frying is an option but yields less crispiness.
Nutrition
- Serving Size: About 4 shrimp per s
- Calories: 250
- Fat: 18
- Carbohydrates: 10
- Protein: 15
Keywords: coconut shrimp, crispy shrimp, sweet chili sauce, appetizer, seafood, easy recipe, homemade sauce, fried shrimp


