My phone buzzed just as I was about to sink into the couch after a long day. “Can I come over? I’m in the neighborhood.” That text was from a friend I hadn’t seen in ages, and I had zero time to plan anything fancy. The fridge was looking bare—except for a lonely box of red velvet cake mix and a bar of white chocolate I’d forgotten about. Honestly, I wasn’t sure what I could whip up that would feel special and not like a last-minute scramble. But then, an idea hit: cake pops. Those bite-sized, creamy, chocolate-coated delights seemed like the perfect way to turn a few simple ingredients into something a little magical.
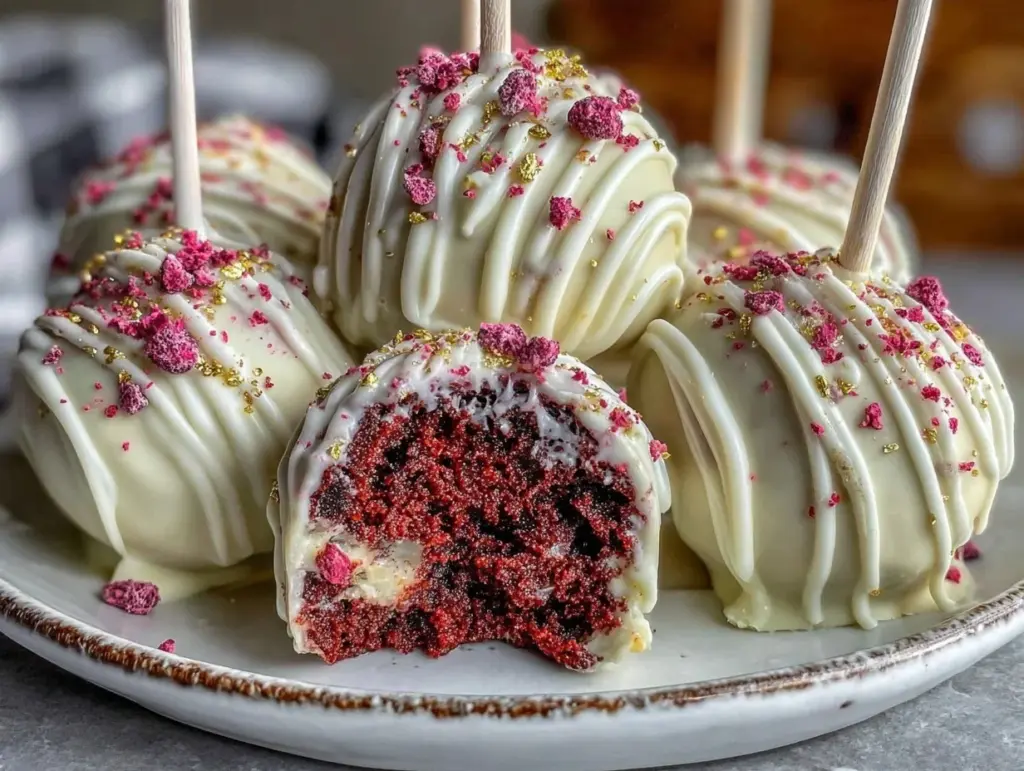
So I rummaged through my baking supplies, mashed up the cake crumbs, mixed in some cream cheese for that irresistible tang, and dipped each round into melted white chocolate. The kitchen smelled like a cozy bakery, the red velvet crumb peeking through the glossy white coating. The moment my friend took the first bite, I could tell this wasn’t just rescue food. It was a little celebration in every pop.
That’s how these creamy red velvet cake pops with white chocolate came to be—born of an unexpected visit and a sparse fridge, but ending with a sweet satisfaction that stuck around longer than the surprise itself. It’s the kind of treat that’s easy to make, impossible to resist, and somehow feels like a warm hug on a stick.
Why You’ll Love This Recipe
This creamy red velvet cake pops recipe isn’t just another dessert idea—it’s one I’ve tested countless times, tweaking until I found that perfect balance of flavor and texture. Whether you’re an experienced baker or someone who improvises with what’s on hand, these pops come together with ease and taste like a mini celebration.
- Quick & Easy: Ready in under an hour, these treats are perfect for last-minute guests or when you just want something sweet without the fuss.
- Simple Ingredients: No need for fancy or hard-to-find items. Most ingredients are pantry staples or easy to grab at any grocery store.
- Perfect for Parties: Great for birthdays, holidays, or just a fun snack—these cake pops are a crowd-pleaser for all ages.
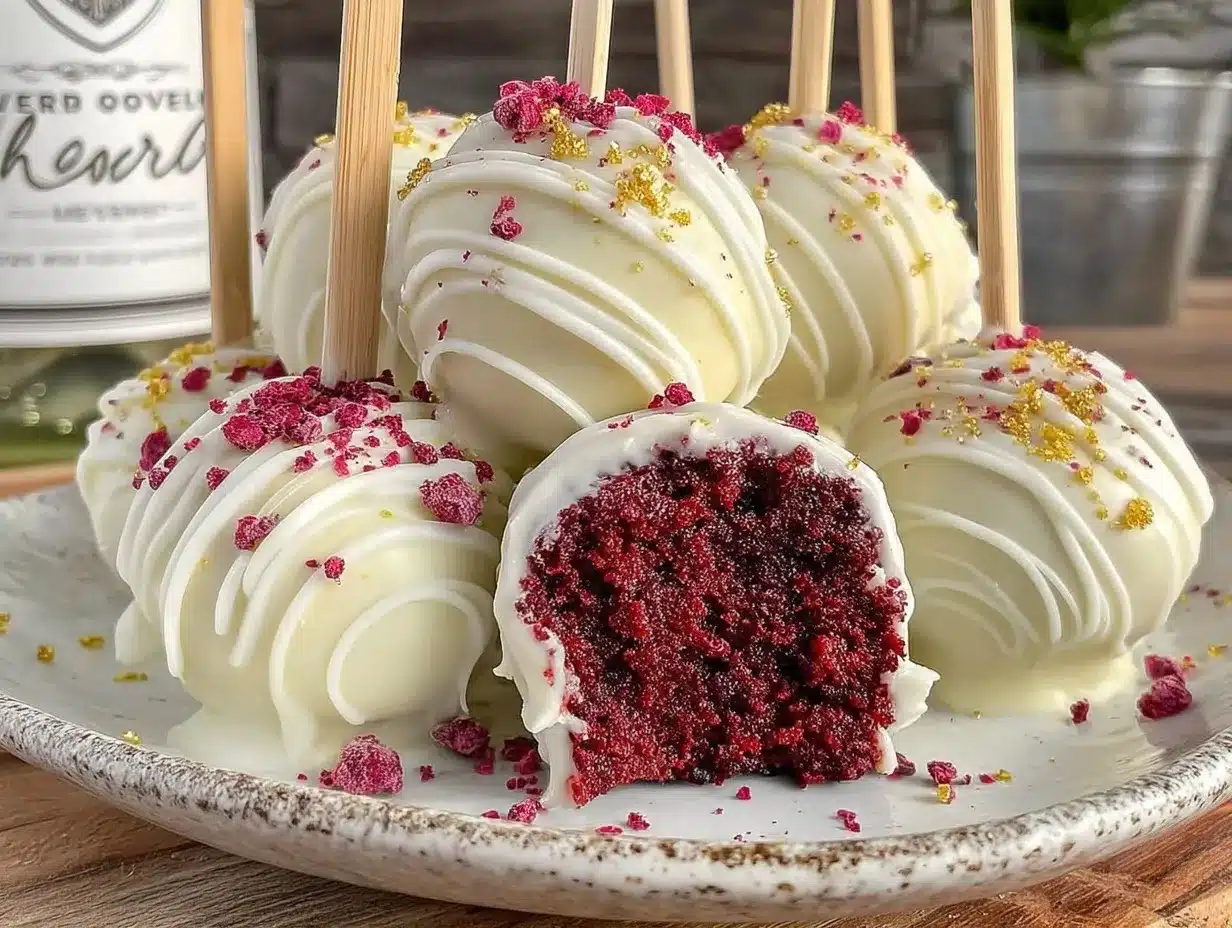
- Creamy & Decadent: The combination of moist red velvet cake crumbs blended with tangy cream cheese makes for a luscious filling that melts in your mouth.
- White Chocolate Coating: Using white chocolate instead of the usual candy melts adds a gourmet touch and a smooth, rich finish.
What sets this recipe apart is the creamy texture inside—thanks to the cream cheese—paired with the slightly crisp white chocolate shell. I’ve found this combo keeps the cake pops moist and flavorful, not dry or crumbly like some versions tend to be. Plus, the pops hold their shape perfectly for parties or gifting. Honestly, it’s the kind of recipe I keep coming back to when I want a simple homemade treat that feels special, like the ones you’d find at a boutique bakery but made right in your own kitchen.
What Ingredients You Will Need
This recipe calls for straightforward ingredients that come together to create bold flavor and a satisfyingly creamy texture without needing anything exotic. Most are pantry staples, and substitutions are easy if you want to adapt it to your needs.
- Red Velvet Cake Mix: One standard 15.25 oz box (or about 432g). I prefer Betty Crocker for consistent results. You can bake the mix as directed or use leftover baked red velvet cake.
- Cream Cheese: 8 oz (227g), softened. This adds moisture and tang, making the cake crumb creamy and delicious.
- Unsalted Butter: 2 tbsp (28g), softened. Enhances richness and helps bind the cake crumbs.
- Powdered Sugar: 1/4 cup (30g), optional for a touch more sweetness if your cake isn’t very sweet.
- White Chocolate Chips or Chopped White Chocolate: 12 oz (340g). I recommend using high-quality couverture white chocolate for smooth melting and a glossy finish.
- Vegetable Shortening or Coconut Oil: 1 tbsp (14g), optional. Adding a bit helps thin the white chocolate for easier dipping.
- Vanilla Extract: 1 tsp (5ml) for depth of flavor.
- Cake Pop Sticks: Standard size, available at baking supply stores.
Substitutions: Use almond flour or gluten-free cake mix for a gluten-free version. Swap cream cheese with dairy-free cream cheese for a lactose-free option. If you prefer, use candy melts instead of real white chocolate, but the flavor and texture won’t be quite the same.
Note: When making these during berry season, you might enjoy pairing these pops alongside fresh blueberry lemon breakfast scones for a colorful spread.
Equipment Needed
- Mixing Bowls: A large bowl for mixing cake crumbs and cream cheese, and a smaller one for melting chocolate.
- Baking Sheet: For chilling the cake pops before dipping.
- Parchment Paper or Silicone Mat: To place dipped cake pops while they set—makes cleanup a breeze.
- Microwave or Double Boiler: To melt white chocolate without burning it. I prefer a double boiler for more control, but microwaving in short bursts works fine.
- Electric Mixer or Hand Mixer: To beat the cream cheese and butter smooth.
- Refrigerator: Essential for chilling the cake pop balls so they hold their shape when dipped.
- Cake Pop Sticks: To hold the pops—if you don’t have sticks, small wooden skewers or even sturdy toothpicks can work in a pinch.
If you’re on a budget, you can skip the electric mixer by mixing by hand with a sturdy spoon, just take your time to get a smooth cream cheese blend. And if you don’t have parchment paper, wax paper can substitute, though it’s a bit less non-stick.
Preparation Method
- Bake the Red Velvet Cake: Prepare the cake mix according to the package instructions (usually 350°F/175°C for 25-30 minutes). Let it cool completely on a wire rack. You can also use leftover cake if available. Tip: Cooled cake is easier to crumble and mix.
- Crumble the Cake: Break the cooled cake into fine crumbs using your hands or a fork in a large mixing bowl. No big chunks—aim for a sandy texture.
- Make the Cream Cheese Mixture: In a separate bowl, beat together the softened cream cheese and unsalted butter until smooth and creamy, about 2-3 minutes. Add vanilla extract and powdered sugar if using, and mix until fully combined.
- Combine Cake and Cream Cheese: Add the cream cheese mixture to the cake crumbs. Use a spatula or your hands to gently mix until everything is evenly incorporated and the mixture holds together when pressed. If it’s too dry, add a teaspoon of cream cheese; if too wet, add a bit more cake crumbs.
- Form Cake Balls: Roll the mixture into 1-inch (2.5 cm) balls. Place them on a parchment-lined baking sheet. Chill in the refrigerator for at least 30 minutes, or freezer for 15 minutes, so they firm up before dipping.
- Prepare the White Chocolate Coating: Melt the white chocolate chips with the vegetable shortening (or coconut oil) in a microwave-safe bowl in 20-second intervals, stirring between each, until smooth and glossy. Alternatively, use a double boiler.
- Dip the Cake Pops: Insert a cake pop stick halfway into a cake ball, then dip it into the melted white chocolate, covering completely. Let excess drip off before placing it upright in a styrofoam block or standing it on parchment paper. Tip: If the coating is too thick, gently warm it again or stir in a bit more shortening.
- Chill to Set: Refrigerate the dipped cake pops for 15-20 minutes until the coating hardens.
- Optional Decoration: Before the coating sets completely, you can sprinkle with red sugar crystals, edible glitter, or drizzle with melted dark chocolate for contrast.
- Serve & Enjoy: These pops are best served chilled or at room temperature. They keep well in an airtight container in the fridge for up to 5 days.
Pro Tip: If you want to speed things up, bake the cake the night before or use store-bought red velvet cupcakes as a shortcut. Also, chilling the cake balls well is key to avoiding cracking or falling off sticks during dipping.
Cooking Tips & Techniques
Making cake pops that look as good as they taste can be a bit tricky the first few times. Here are some tips I learned the hard way:
- Right Consistency Matters: The cake and cream cheese mixture should be moist enough to hold shape but not sticky. If it feels crumbly, add a bit more cream cheese; too wet, add crumbs.
- Chill, Chill, Chill: Don’t skip chilling the cake balls before dipping. Warm or soft balls will fall apart when dipped in chocolate.
- Use Quality Chocolate: Real white chocolate melts smoother and tastes richer than candy melts, though it’s a bit more sensitive to overheating. Melt slowly and stir constantly.
- Thin Your Chocolate: Adding a little vegetable shortening or coconut oil helps make the chocolate thinner and easier to coat the pops evenly.
- Don’t Overload the Stick: Insert the stick gently and only halfway to prevent the pops from sliding off. Dip the stick end in chocolate before inserting for a “glue” effect.
- Work Quickly: Chocolate hardens fast once melted, so work in small batches and keep the bowl warm by placing it over warm water if needed.
- Practice Patience: Allow the coating to set fully before handling the pops. If you try to move them too soon, the coating may crack or stick to your fingers.
Once, I rushed the chilling step and ended up with a messy kitchen and sad-looking pops. Trust me, the chill time is what saves the day and your sanity.
Variations & Adaptations
This creamy red velvet cake pops recipe is a great base to customize. Here are a few variations I’ve tried or recommend:
- Chocolate Coating Swap: Use milk or dark chocolate instead of white chocolate for a richer, deeper flavor.
- Flavored Cream Cheese: Add a teaspoon of almond extract or orange zest to the cream cheese mixture for a subtle twist.
- Vegan Version: Use a dairy-free red velvet cake mix, vegan cream cheese, and coconut oil for the coating.
- Seasonal Toppings: Sprinkle with crushed peppermint in winter or toasted coconut flakes in summer.
- Mini Pops: Make smaller 3/4 inch balls for bite-sized treats perfect for kids’ parties or to pair with drinks.
For a fun summer gathering, these cake pops pair beautifully with lighter desserts like the moist summer zucchini chocolate chip bread or a fresh fruit platter.
Serving & Storage Suggestions
Serve these creamy red velvet cake pops chilled or at room temperature for the best texture and flavor. They make a delightful addition to dessert tables, afternoon teas, or holiday celebrations.
- Presentation: Arrange on a decorative platter or place upright in a styrofoam block covered with a pretty napkin.
- Pairings: Complement with a cup of rich coffee, hot chocolate, or a fruit-forward sparkling wine for grown-up occasions.
- Storage: Keep cake pops in an airtight container in the refrigerator for up to 5 days. They can also be frozen for up to a month—just thaw in the fridge before serving.
- Reheating: Let them sit out at room temperature for 10-15 minutes before eating to soften the cream cheese center slightly.
- Flavor Development: The cream cheese filling tastes even better after a day in the fridge as the flavors meld together.
Nutritional Information & Benefits
Each creamy red velvet cake pop contains roughly:
| Calories | 150-180 kcal |
|---|---|
| Fat | 8-10g |
| Carbohydrates | 18-22g |
| Protein | 2g |
The cream cheese contributes calcium and protein, while the white chocolate adds fat for that luscious texture. While these cake pops are definitely a treat, they are portion-controlled sweets that satisfy a sweet tooth without overindulgence. For those with dietary restrictions, it’s easy to swap ingredients for gluten-free or dairy-free options.
Personally, I enjoy these as an occasional special dessert that hits the spot without leaving me feeling weighed down.
Conclusion
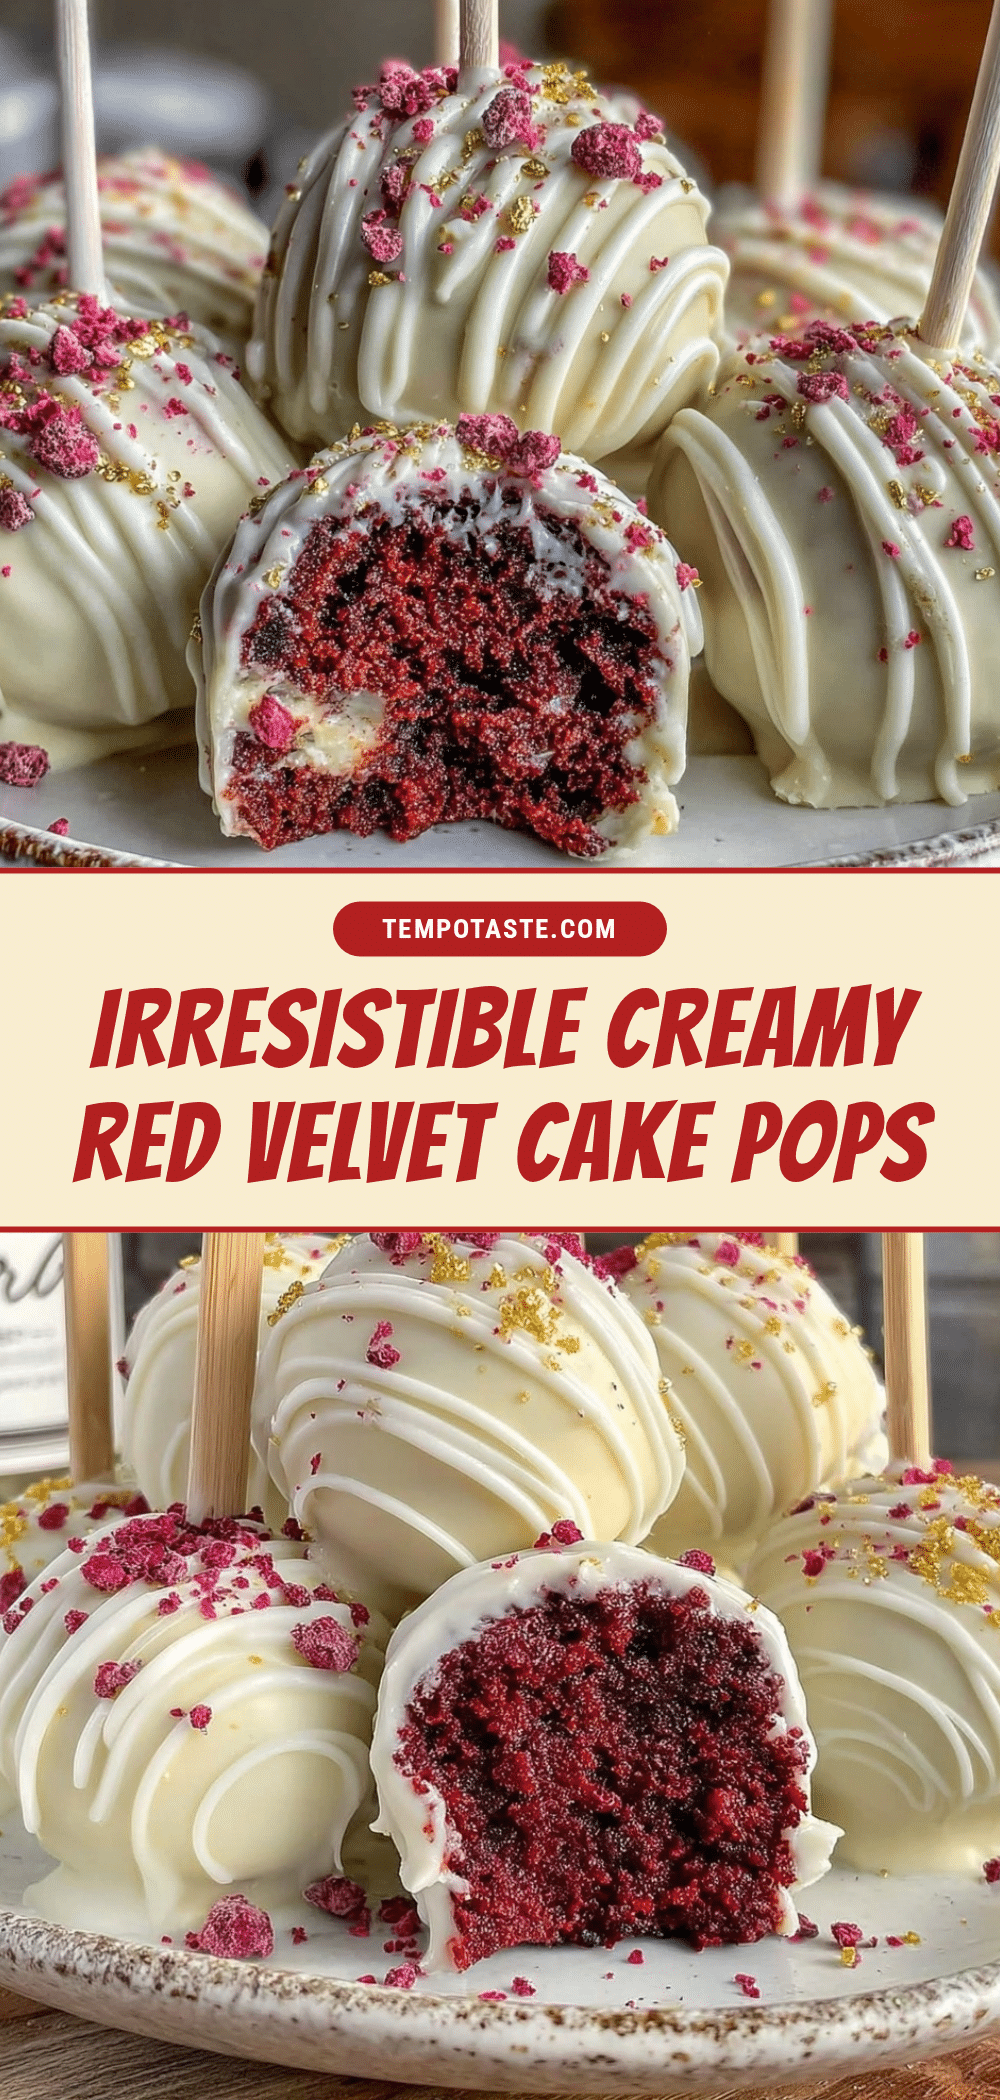
These irresistible creamy red velvet cake pops with white chocolate are a perfect example of how a few simple ingredients can transform into something truly special. Whether you’re pulling them together for unexpected guests, a festive gathering, or just because, they’re easy to make, delicious, and downright fun to eat.
Don’t be afraid to customize them to your taste or occasion. I’ve loved seeing how friends and family put their own spin on this recipe, from different coatings to festive toppings. If you try them, I’d love to hear how you made them your own!
Making something sweet from scratch doesn’t have to be complicated, and these cake pops prove just that. So grab your mixing bowl, melt that white chocolate, and enjoy every creamy, chocolatey bite.
Frequently Asked Questions
Can I use homemade red velvet cake instead of the box mix?
Absolutely! Just bake your favorite red velvet cake recipe, let it cool fully, then crumble it for the cake pops. Using homemade cake can add a personal touch and fresh flavor.
How do I prevent the cake pops from falling off the sticks?
Dip the stick tip in melted chocolate before inserting it into the cake ball to act like glue. Also, chilling the cake balls well before dipping helps them stay firm.
Can I make these cake pops ahead of time?
Yes, you can prepare the pops a day or two before your event. Store them in an airtight container in the fridge. They also freeze well—just thaw in the fridge before serving.
What if my white chocolate coating is too thick to dip?
Stir in a small amount of vegetable shortening or coconut oil to thin the chocolate for easier dipping and a smooth finish.
Are these cake pops suitable for kids?
Definitely! They’re bite-sized, fun to eat, and always a hit with kids. Just be mindful of any allergies and adjust ingredients accordingly.
Pin This Recipe!
Creamy Red Velvet Cake Pops Recipe Easy Homemade White Chocolate Treats

These creamy red velvet cake pops are bite-sized, chocolate-coated delights made with moist red velvet cake crumbs blended with tangy cream cheese and dipped in smooth white chocolate. Perfect for last-minute guests or festive gatherings, they offer a luscious, decadent treat that’s easy to make and impossible to resist.
- Prep Time: 15 minutes
- Cook Time: 30 minutes
- Total Time: 1 hour
- Yield: 24 cake pops 1x
- Category: Dessert
- Cuisine: American
Ingredients
- 1 standard 15.25 oz box red velvet cake mix (or about 432g), baked or leftover cake
- 8 oz (227g) cream cheese, softened
- 2 tbsp (28g) unsalted butter, softened
- 1/4 cup (30g) powdered sugar, optional
- 12 oz (340g) white chocolate chips or chopped white chocolate
- 1 tbsp (14g) vegetable shortening or coconut oil, optional
- 1 tsp (5ml) vanilla extract
- Cake pop sticks, standard size
Instructions
- Bake the red velvet cake according to package instructions (usually 350°F/175°C for 25-30 minutes). Let cool completely on a wire rack or use leftover cake.
- Crumble the cooled cake into fine crumbs in a large mixing bowl, avoiding big chunks.
- In a separate bowl, beat softened cream cheese and unsalted butter until smooth and creamy (2-3 minutes). Add vanilla extract and powdered sugar if using, and mix until combined.
- Add the cream cheese mixture to the cake crumbs and mix gently until evenly incorporated and the mixture holds together when pressed. Adjust moisture by adding cream cheese or cake crumbs as needed.
- Roll the mixture into 1-inch (2.5 cm) balls and place on a parchment-lined baking sheet. Chill in the refrigerator for at least 30 minutes or freezer for 15 minutes.
- Melt white chocolate chips with vegetable shortening or coconut oil in 20-second intervals in the microwave, stirring between each, or use a double boiler until smooth and glossy.
- Insert a cake pop stick halfway into each cake ball, then dip completely into melted white chocolate. Let excess drip off and place upright on parchment paper or in a styrofoam block.
- Refrigerate dipped cake pops for 15-20 minutes until coating hardens.
- Optional: Before coating sets, decorate with red sugar crystals, edible glitter, or drizzle with melted dark chocolate.
- Serve chilled or at room temperature. Store in an airtight container in the refrigerator for up to 5 days.
Notes
Chill cake balls well before dipping to prevent cracking or falling off sticks. Use quality white chocolate for smooth melting and rich flavor. Thin chocolate with vegetable shortening or coconut oil if too thick. Insert sticks halfway and dip stick end in chocolate before inserting for better adhesion. Store cake pops in airtight container in fridge up to 5 days or freeze up to 1 month.
Nutrition
- Serving Size: 1 cake pop
- Calories: 165
- Sugar: 15
- Sodium: 120
- Fat: 9
- Saturated Fat: 5
- Carbohydrates: 20
- Fiber: 0.5
- Protein: 2
Keywords: red velvet cake pops, white chocolate cake pops, creamy cake pops, easy dessert, homemade treats, party snacks, bite-sized desserts


