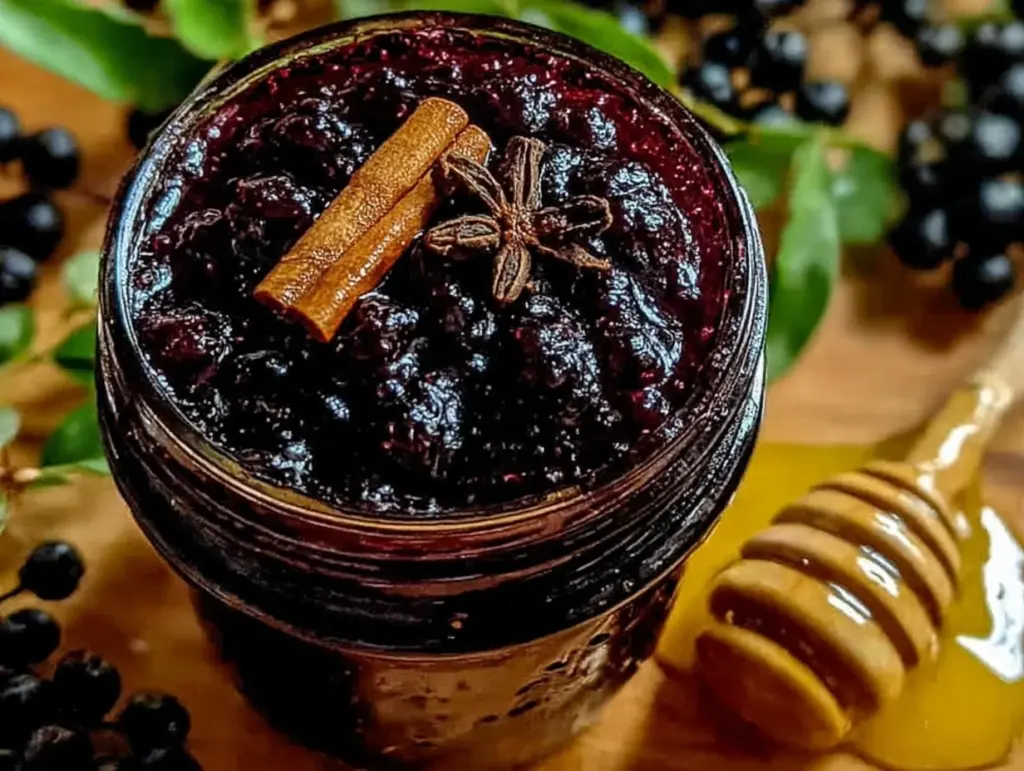
Stirring a pot full of bubbling elderberries while the kids are arguing over who gets the last slice of toast and the phone keeps buzzing—yeah, that was my kitchen scene one chilly evening. The clock was ticking, and my usual go-to remedies were nowhere to be found. I needed something fast, effective, and comforting. That’s how this immune-boosting elderberry syrup with warm spices came to be—a spontaneous rescue mission disguised as a cozy kitchen ritual. The scent of cinnamon and cloves swirling through the air, mixing with the tangy sweetness of elderberries, somehow made the chaos feel a bit more manageable.
Honestly, making this syrup turned into a little act of care for my family when we were all sniffly and tired, but also a quiet moment where I felt like I was doing something right. It’s not fancy or complicated; just real ingredients simmered slowly, filling the house with a warm hug of spices. This elderberry syrup recipe isn’t just a remedy—it’s a small tradition born out of necessity and a pinch of hope that a homemade touch might just help us feel better, faster.
So if you’re juggling busy days and looking for a natural, tasty way to support your immune system, this homemade elderberry syrup with those cozy spices might become your new best friend too. It stuck with me not only because it works but because it smells like comfort and care rolled into one.
Why You’ll Love This Recipe
After testing this immune-boosting elderberry syrup recipe several times (including a few “oops” moments when I forgot the timer), I can say it genuinely stands out. Here’s why you might find yourself making it again and again:
- Quick & Easy: From start to finish, it takes about 30 minutes, perfect for those evenings when you want something nourishing but don’t have hours to spare.
- Simple Ingredients: No hunting for exotic items—elderberries, warm spices, honey, and a few pantry staples are all you need.
- Perfect for Cold Seasons: Ideal for fall and winter when your body craves that extra immune support with a dash of warmth.
- Crowd-Pleaser: Kids and adults alike love the subtly sweet and spiced flavor, making it easy to get everyone on board.
- Unbelievably Delicious: This isn’t your bland, medicinal syrup. The blend of cinnamon, cloves, and ginger creates a comforting depth that makes you want to sip it like a treat.
What makes this elderberry syrup different? The careful balance of warm spices that gently amplify the berry’s natural tanginess without overpowering it. Plus, simmering the berries slowly extracts all those immune-boosting benefits while creating a syrup that’s rich and syrupy but never too thick or sticky.
Honestly, it’s the kind of recipe that makes you pause and savor a small moment of wellness in the middle of a hectic day. Plus, if you’ve ever enjoyed the cozy vibes of my creamy loaded baked potato soup, you’ll appreciate how this syrup brings that same kind of comfort, but in liquid form.
What Ingredients You Will Need
This immune-boosting elderberry syrup recipe uses simple, wholesome ingredients to deliver bold flavor and satisfying texture without the fuss. Most of these are pantry staples or easy to find at the grocery store or farmer’s market.
- Dried elderberries: 1 cup (about 100 grams) – I recommend getting organic dried elderberries for the purest flavor and best health benefits.
- Water: 4 cups (960 ml) – to simmer the berries and extract their goodness.
- Cinnamon sticks: 2 large sticks – adds warmth and a subtle sweetness.
- Whole cloves: 5-6 cloves – a little goes a long way for that spicy kick.
- Fresh ginger root: 1-inch piece, sliced thin – gives a gentle zing and extra immune support.
- Raw honey: 1/2 to 3/4 cup (120-180 ml) – for natural sweetness and antimicrobial benefits. (Add after the syrup cools to preserve honey’s nutrients.)
- Fresh lemon juice: 2 tablespoons – balances the sweetness and adds vitamin C.
Substitution tips: If you’re vegan or avoiding honey, use pure maple syrup instead, but add it at the same cooling stage to keep flavors fresh. For fresh elderberries (if you can find them), reduce water slightly to avoid a watery syrup. In summer, you can swap warm spices for fresh herbs like thyme or rosemary for a different twist, though it won’t be quite the same comforting flavor.
Equipment Needed
- Medium saucepan: A 2 to 3-quart pot works well for simmering the syrup without boiling over.
- Fine mesh strainer or cheesecloth: Essential for straining out the elderberries and spices to get a smooth syrup.
- Measuring cups and spoons: For accurate ingredient portions.
- Glass jar or bottle with lid: For storing the syrup in the fridge (a mason jar works perfectly).
- Wooden spoon or heatproof spatula: To stir gently without damaging the berries.
If you don’t have cheesecloth, a clean thin kitchen towel or nut milk bag can substitute for straining. I’ve found that using a glass jar for storage keeps the syrup tasting fresh longer than plastic containers. And if you’re into multitasking, a slow cooker can be used for the simmering step, though I prefer stovetop for quicker results.
Preparation Method
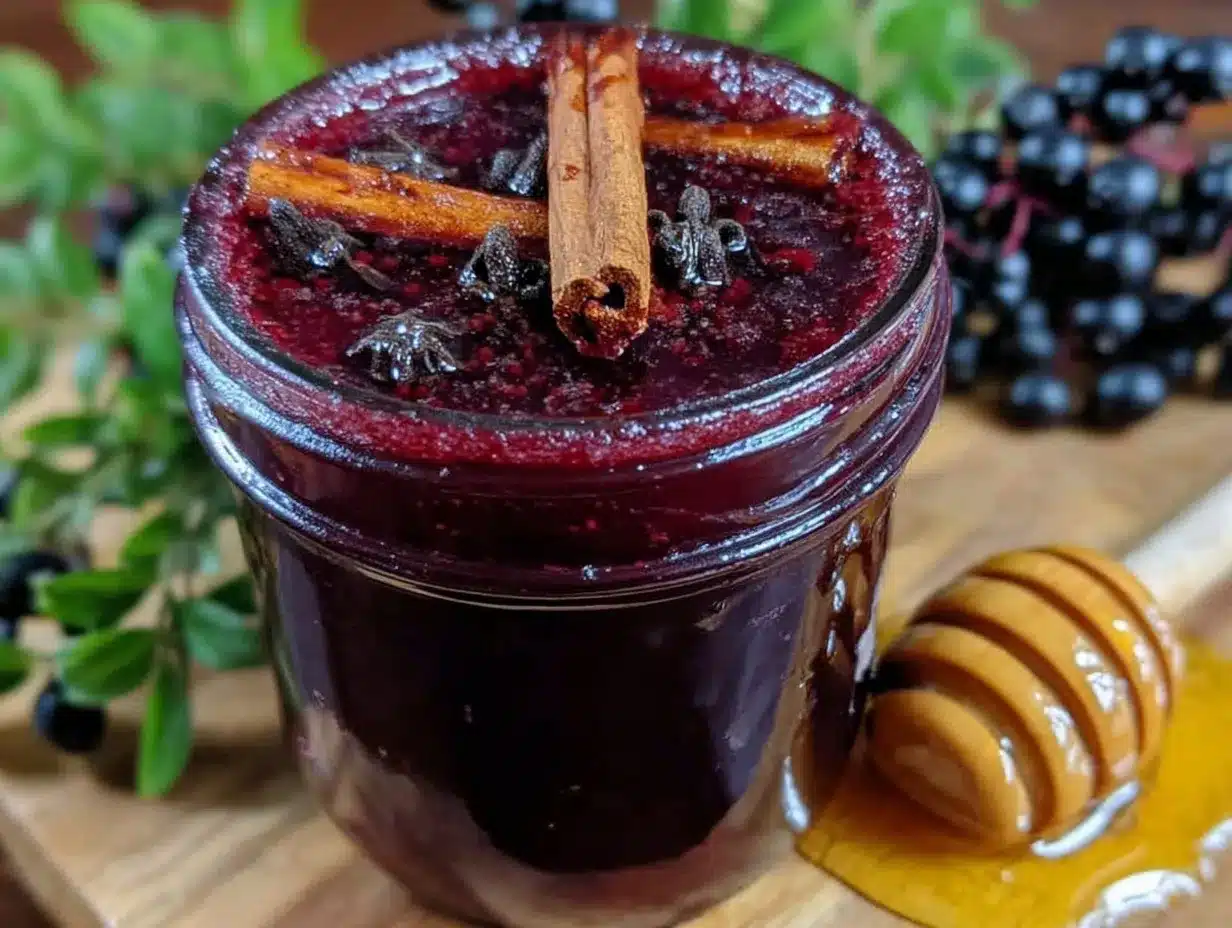
- Measure and rinse elderberries: Start by measuring 1 cup of dried elderberries. Give them a quick rinse under cold water to remove any dust or debris. This preps them nicely for simmering. (5 minutes)
- Combine ingredients in saucepan: Place the rinsed elderberries in your medium saucepan with 4 cups of water, 2 cinnamon sticks, 5-6 whole cloves, and the sliced 1-inch piece of fresh ginger. No need to chop the spices finely—they’ll be strained out later. (3 minutes)
- Bring to a boil and simmer: Set the saucepan over medium-high heat and bring the mixture to a rolling boil. Once boiling, reduce the heat to low and let it simmer gently for 30 to 40 minutes. You’ll notice the water turning a deep purplish-red as the elderberries release their juices. (30-40 minutes)
- Check and stir occasionally: Every 10 minutes or so, give the pot a gentle stir to prevent sticking and help the flavors meld. The aroma of cinnamon and cloves should be filling your kitchen by now—a good sign! (Throughout simmering)
- Strain the syrup: After simmering, remove the pot from heat and let it cool slightly for 5 minutes. Then strain the liquid through a fine mesh strainer or cheesecloth into a clean bowl or measuring cup. Press gently on the solids to extract as much syrup as possible without forcing through tiny bits. Discard the solids. (10 minutes)
- Add honey and lemon juice: While the syrup is still warm but not hot (around 120°F or 49°C), stir in 1/2 to 3/4 cup raw honey and 2 tablespoons fresh lemon juice. Adjust honey to taste for sweetness. Mixing honey when hot can reduce its beneficial properties, so timing matters here. (5 minutes)
- Cool and store: Let the syrup cool completely before transferring it to a glass jar or bottle. Seal tightly and store in the refrigerator. It keeps well for up to 3 weeks. (Cooling time: 30 minutes)
- Use as needed: Take 1 tablespoon daily for immune support or up to 3 tablespoons if feeling under the weather. You can mix it into warm water, tea, or even drizzle over oatmeal.
Pro tip: If your syrup is too thick after refrigeration, just stir in a little warm water to loosen it. And if you notice any cloudiness or separation, give it a good shake before using.
Cooking Tips & Techniques
Making elderberry syrup is pretty forgiving, but a few tips can help you avoid common pitfalls and get the best results every time.
- Don’t rush the simmer: Slow simmering is key to extracting the full flavor and benefits of elderberries. Rushing with high heat can make the syrup bitter or overly thick.
- Straining carefully: I’ve learned the hard way that pressing too hard on the solids can push tiny seeds and skins into the syrup, making it gritty. Gently pressing or letting gravity do its work is best.
- Honey timing: Adding honey when the syrup is too hot can destroy enzymes, so always wait for it to cool slightly before mixing. I usually check by touch—warm but not hot.
- Spice balance: Cinnamon sticks and whole cloves provide flavor without overpowering, but if you’re sensitive, reduce the cloves to 3 or omit them. Ginger adds freshness but can dominate if overused.
- Multitasking tips: While the syrup simmers, I often prep a quick dinner like easy cajun shrimp and sausage sheet pan dinner. This way, I’m not stuck waiting by the stove and dinner is ready shortly after.
Remember, this syrup is meant to be a soothing ritual, not a precise science. Trust your senses—the aroma, color, and taste will guide you through.
Variations & Adaptations
There’s room to play with this elderberry syrup recipe depending on your taste, dietary needs, or what’s in the pantry.
- Vegan option: Swap raw honey with pure maple syrup or agave nectar. Add it after cooling to keep flavors bright.
- Spice variations: Try adding star anise or a pinch of black peppercorns for a different warm spice profile that still supports immunity.
- Alcohol infusion: For adults, steep the syrup with a splash of brandy or vodka after cooling for a comforting winter tonic.
- Sweetness level: Adjust honey or sweetener to taste. Some prefer it tart and lightly sweetened, others more syrupy and rich.
- Different berries: Mix elderberries with dried hibiscus or elderflower for a floral twist while keeping the immune power.
I once tried adding a cinnamon stick and fresh rosemary sprig to the simmering pot, which gave the syrup a subtle herbaceous note that was surprisingly delicious and paired beautifully with a creamy one-pot Tuscan chicken dinner.
Serving & Storage Suggestions
This elderberry syrup is best served chilled or at room temperature. Many people like to stir a tablespoon into hot water or herbal tea for a soothing, immune-supporting drink. It also works well drizzled over warm oatmeal or yogurt.
Store the syrup in a sealed glass jar in the refrigerator for up to three weeks. Over time, the flavors deepen and meld beautifully, so it’s fine to make a batch ahead of cold season. If it crystallizes or thickens too much, just warm gently in a water bath and stir to loosen it up.
For longer storage, you can freeze the syrup in ice cube trays and thaw portions as needed. This is handy for busy days when you want a quick health boost without fuss.
Serving tip: Pair your elderberry syrup drink with a comforting meal like creamy loaded baked potato soup for a cozy night in that feels like a warm hug from the inside out.
Nutritional Information & Benefits
Here’s a rough idea of what you’re getting in a tablespoon (15 ml) of this syrup:
| Calories | 30-40 |
|---|---|
| Carbohydrates | 8-10 grams (mostly natural sugars) |
| Vitamin C | Approximately 5-7% Daily Value (from lemon juice and elderberries) |
| Other nutrients | Antioxidants, flavonoids, and immune-supporting plant compounds |
Key benefits come from elderberries’ antioxidants and vitamin C, plus the antimicrobial properties of raw honey and warming spices like ginger and cinnamon. This syrup is naturally gluten-free and can be adapted for vegan diets. Just remember, it’s a supplement to a healthy lifestyle, not a cure-all.
From a wellness perspective, I find it’s a small daily ritual that reminds me to slow down and care for myself, especially when the air gets crisp and the sniffles start creeping in.
Conclusion
This immune-boosting elderberry syrup with warm spices is one of those recipes that feels like a little secret weapon in your kitchen. It’s easy enough to whip up on a hectic day, nourishing enough to make a difference, and tasty enough that everyone actually wants to take it. I love how it blends simple ingredients with a touch of spice and sweetness to create something both soothing and healthful.
Feel free to adjust the spices or sweetness to match your family’s tastes. I’ve found it’s a recipe that invites personalization, and every batch tastes a bit like the care you put into it. Whether you’re topping off a busy day or prepping for cold season, this syrup offers a comforting, natural boost you can trust.
If you try it, I’d love to hear how you make it your own—drop a comment or share your tweaks! Here’s to health, warmth, and a little homemade magic in every spoonful.
FAQs About Immune-Boosting Elderberry Syrup
How long does homemade elderberry syrup last?
Stored in a sealed glass jar in the refrigerator, elderberry syrup lasts about 3 weeks. Freezing in ice cube trays can extend storage up to 3 months.
Can I use fresh elderberries instead of dried?
Yes, fresh elderberries can be used but reduce the water slightly since fresh berries have more moisture. The simmering time can remain about the same.
Is elderberry syrup safe for kids?
Generally, yes, but avoid giving to children under 1 year due to honey. For younger kids, consult your pediatrician before use.
Can I skip the spices if I don’t like them?
You can omit or reduce spices, but they add flavor and immune benefits. Try using just cinnamon or ginger if cloves are too strong.
How much elderberry syrup should I take daily?
For immune support, 1 tablespoon (15 ml) daily is typical. If feeling unwell, some take up to 3 tablespoons spread throughout the day.
Pin This Recipe!
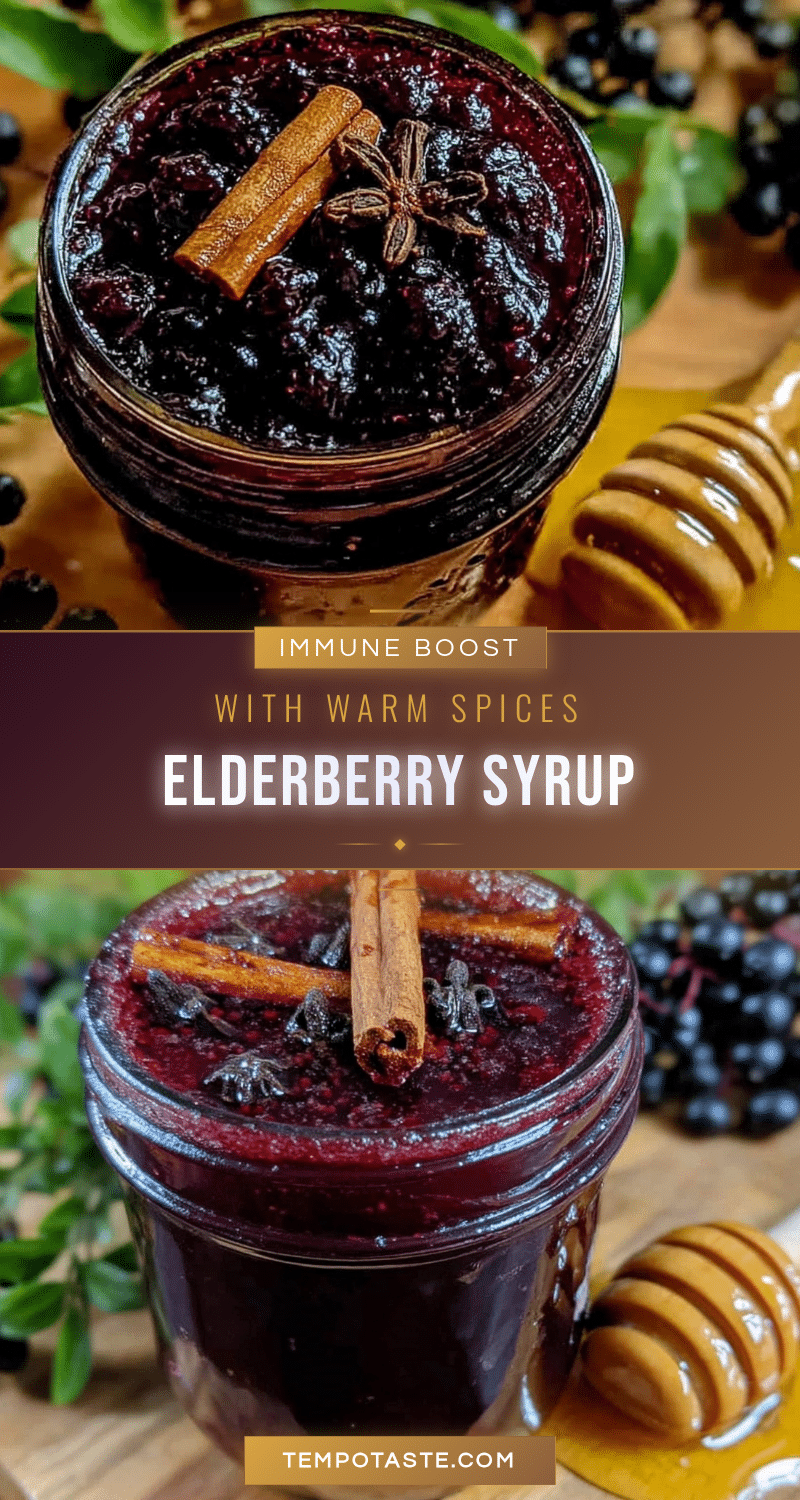
Immune-Boosting Elderberry Syrup Recipe Easy Homemade with Warm Spices

A simple, homemade elderberry syrup infused with warm spices like cinnamon, cloves, and ginger to support immune health during cold seasons. This syrup is easy to make, delicious, and perfect for the whole family.
- Prep Time: 8 minutes
- Cook Time: 30-40 minutes
- Total Time: 45-55 minutes
- Yield: About 1 to 1.5 cups syrup (approximately 16 servings of 1 tablespoon each) 1x
- Category: Supplement / Immune Support
- Cuisine: American
Ingredients
- 1 cup dried elderberries (about 100 grams)
- 4 cups water (960 ml)
- 2 large cinnamon sticks
- 5–6 whole cloves
- 1-inch piece fresh ginger root, sliced thin
- 1/2 to 3/4 cup raw honey (120–180 ml), added after cooling
- 2 tablespoons fresh lemon juice
Instructions
- Measure and rinse 1 cup of dried elderberries under cold water to remove any dust or debris. (5 minutes)
- Combine rinsed elderberries, 4 cups water, 2 cinnamon sticks, 5-6 whole cloves, and sliced ginger in a medium saucepan. (3 minutes)
- Bring the mixture to a rolling boil over medium-high heat, then reduce heat to low and simmer gently for 30 to 40 minutes, stirring occasionally. (30-40 minutes)
- Check and stir every 10 minutes to prevent sticking and help flavors meld. (Throughout simmering)
- Remove from heat and let cool slightly for 5 minutes. Strain the syrup through a fine mesh strainer or cheesecloth into a clean bowl, pressing gently to extract syrup. Discard solids. (10 minutes)
- While syrup is warm but not hot (around 120°F or 49°C), stir in 1/2 to 3/4 cup raw honey and 2 tablespoons fresh lemon juice. Adjust honey to taste. (5 minutes)
- Let syrup cool completely, then transfer to a glass jar or bottle. Seal tightly and store in the refrigerator for up to 3 weeks. (Cooling time: 30 minutes)
- Use 1 tablespoon daily for immune support or up to 3 tablespoons if feeling under the weather. Mix into warm water, tea, or drizzle over oatmeal.
Notes
Add honey only after the syrup has cooled to preserve its beneficial enzymes. If syrup thickens too much after refrigeration, stir in a little warm water to loosen. For vegan option, substitute honey with pure maple syrup or agave nectar added after cooling. Slow simmering is key to avoid bitterness. Press solids gently when straining to avoid gritty texture. Syrup keeps up to 3 weeks refrigerated or up to 3 months frozen in ice cube trays.
Nutrition
- Serving Size: 1 tablespoon (15 ml)
- Calories: 3040
- Carbohydrates: 810
Keywords: elderberry syrup, immune boosting, homemade syrup, elderberries, warm spices, cinnamon, cloves, ginger, natural remedy, cold season, syrup recipe