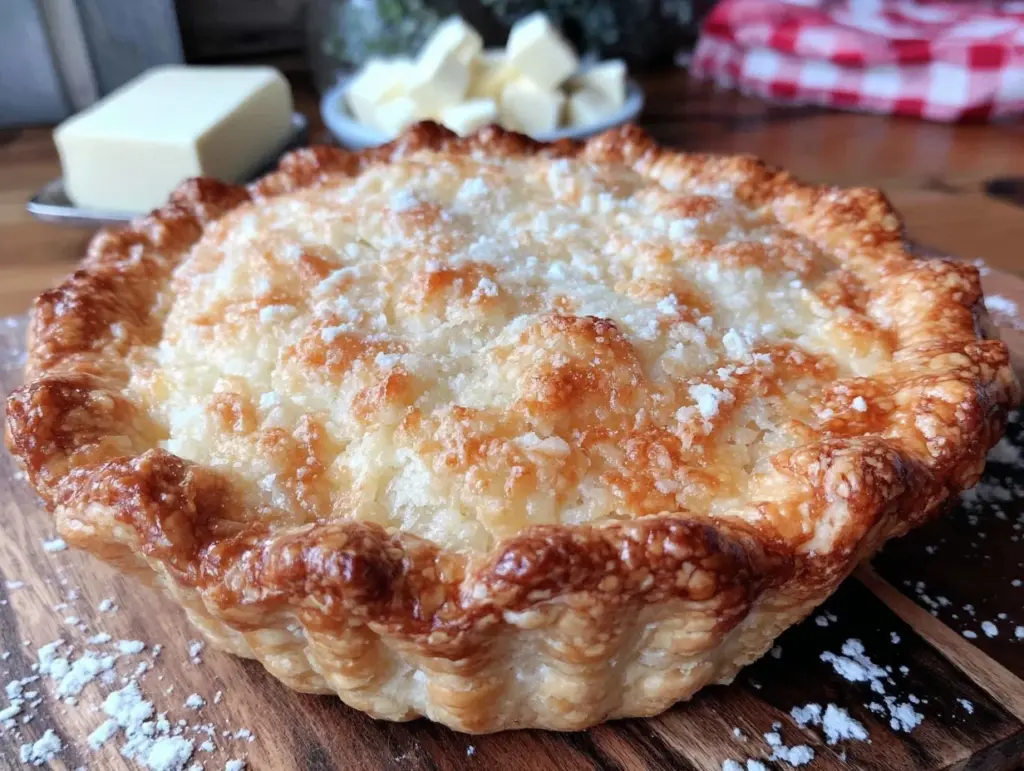
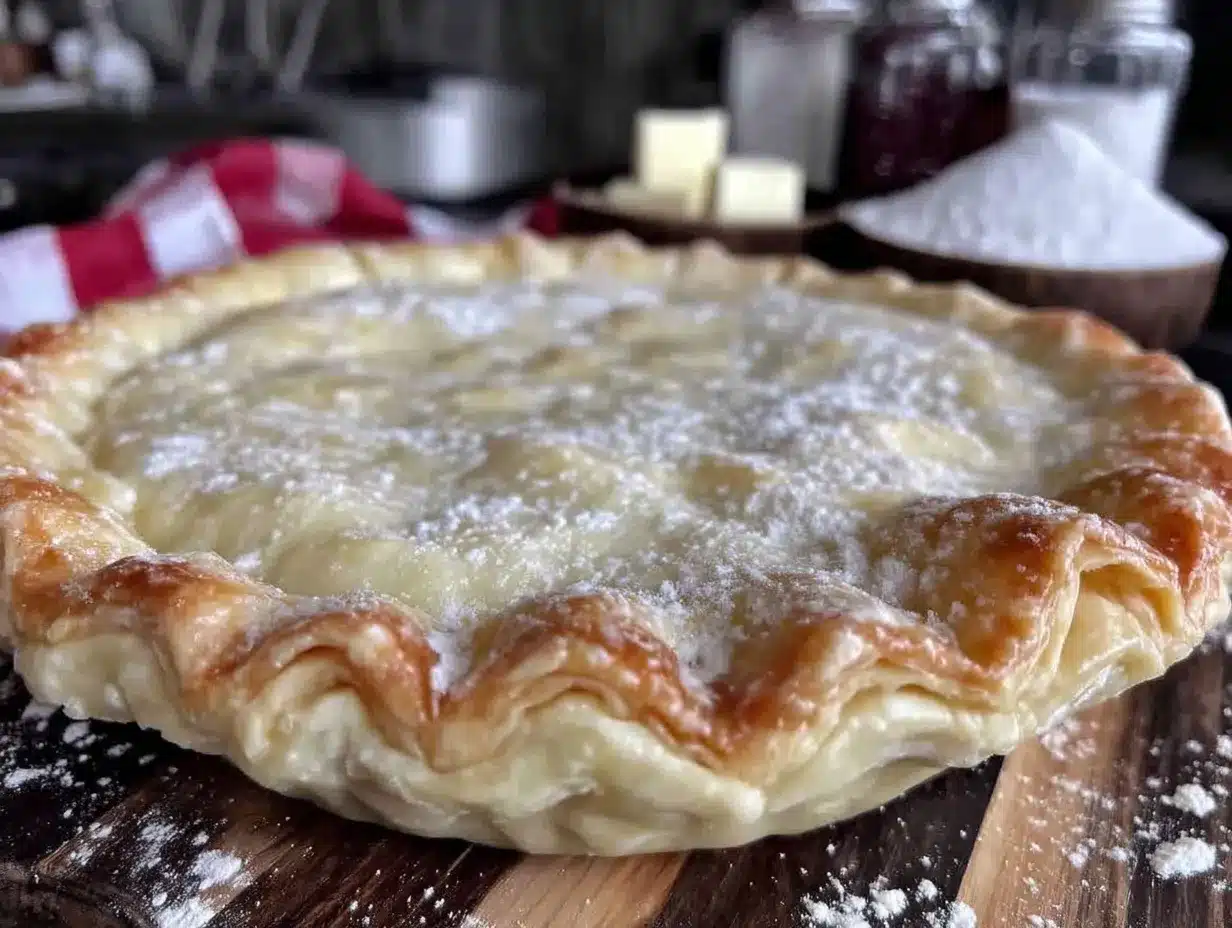
Let me tell you, the smell of buttery, flaky pie crust baking in the oven is enough to make anyone weak at the knees. The first time I whipped up this easy food processor pie crust, I was instantly hooked—the kind of moment where you pause, take a deep breath, and just smile because you know you’re onto something truly special. When I was knee-high to a grasshopper, my grandma’s pies were the highlight of every family gathering, but honestly, her crust was a labor of love that took all day. Years ago, I stumbled upon this recipe on a rainy weekend, desperate for a shortcut without sacrificing that tender, flaky texture. My family couldn’t stop sneaking slices off the cooling rack (and I can’t really blame them). You know what? This easy food processor pie crust recipe is dangerously easy and delivers pure, nostalgic comfort with way less fuss.
This crust is perfect for potlucks, holiday dinners, or just a sweet treat for your kids after school. It brightens up your Pinterest cookie board with that golden, flaky edge that looks as good as it tastes. I’ve tested this recipe more times than I can count—in the name of research, of course—and it’s become a staple for family gatherings, gifting, and even last-minute dessert emergencies. Honestly, once you try this crust, you’ll want to bookmark it and keep it close. It feels like a warm hug from the oven, every single time.
Why You’ll Love This Recipe
From my years of baking and tweaking, this easy food processor pie crust stands out for so many reasons. Here’s why you’re going to want to make it again and again:
- Quick & Easy: Comes together in under 10 minutes, perfect for busy weeknights or last-minute pie cravings.
- Simple Ingredients: No fancy grocery trips needed; you likely have everything in your pantry already.
- Perfect for Any Pie: Whether you’re baking apple, pumpkin, or a savory quiche, this crust is your best base.
- Crowd-Pleaser: Always gets rave reviews from kids and adults alike—flaky, buttery, and just right.
- Unbelievably Delicious: The texture is spot-on flaky, with a rich, buttery flavor that’s anything but ordinary.
What makes this recipe different? The food processor does the hard work for you, chilling and cutting the butter into the flour with perfect precision. It’s that little trick I picked up from a chef friend, and it seriously changes the game. Plus, the exact ratio of butter to flour creates the perfect balance—flaky without being crumbly. This isn’t just another pie crust recipe; it’s the one you’ll reach for when you want your pie to look professional without spending hours fussing. Trust me, after the first bite, you’ll close your eyes and savor that buttery goodness. It’s comfort food reinvented for busy cooks who don’t want to compromise on taste or texture.
What Ingredients You Will Need
This recipe uses simple, wholesome ingredients to deliver bold flavor and satisfying texture without the fuss. Most of these are pantry staples, and substitutions are easy if needed.
- All-Purpose Flour – 2 ½ cups (312g), the base for your flaky crust. I prefer King Arthur flour for consistent results.
- Salt – 1 teaspoon, to bring out the flavor.
- Granulated Sugar – 1 tablespoon (optional), adds a subtle sweetness especially for fruit pies.
- Unsalted Butter – 1 cup (226g), cold and cubed. This is the star for that flaky texture. Use a high-quality brand like Kerrygold if you want that extra richness.
- Ice Water – 6 to 8 tablespoons (90-120 ml), very cold. Helps bring the dough together without melting the butter.
- Optional: Vinegar or Lemon Juice – 1 teaspoon, keeps gluten relaxed and tenderizes the crust a bit (a little trick I learned from a pastry chef).
If you’re gluten-sensitive, almond flour can replace half the all-purpose flour—though it changes the texture slightly, it’s still delicious. For dairy-free options, swap the butter with chilled coconut oil or vegan butter, but keep it cold to maintain flakiness. In summer, this crust pairs beautifully with fresh berries, so consider adding a touch more sugar if you’re making a sweet pie.
Equipment Needed
- Food Processor: Essential for this recipe, it cuts the butter into the flour quickly and evenly. I use a Cuisinart 7-cup model, but any medium-sized processor works.
- Mixing Bowls: For combining and chilling the dough.
- Measuring Cups and Spoons: Precise measurements make a big difference in pie crust success.
- Plastic Wrap or Parchment Paper: For wrapping the dough before chilling.
- Rolling Pin: To roll out the dough smoothly.
- Pie Dish: 9-inch (23 cm) diameter is standard, but this crust can be adjusted for tart pans or smaller dishes.
If you don’t have a food processor, you can use a pastry cutter or two forks to cut the butter into the flour by hand, but it takes a bit more elbow grease and time. For maintenance, keep your food processor blades sharp and clean to avoid any dough sticking or uneven mixing. A budget-friendly alternative is a mini chopper, which works well for small batches.
Preparation Method
- Prepare Your Ingredients: Measure out 2 ½ cups (312g) flour, 1 teaspoon salt, and 1 tablespoon sugar (optional). Cut 1 cup (226g) cold unsalted butter into small cubes and chill until just before use. Pre-chill 6 to 8 tablespoons (90-120 ml) of ice water in the freezer.
- Combine Dry Ingredients: In the food processor bowl, pulse together the flour, salt, and sugar for about 5 seconds to mix evenly.
- Add Butter: Toss the cold butter cubes into the flour mixture. Pulse in 10-12 short bursts, about 1 second each. You’re aiming for pea-sized pieces of butter coated in flour. Don’t over-process or it’ll turn mushy. The butter bits are what make the crust flaky!
- Add Ice Water: Slowly drizzle 6 tablespoons (90 ml) of ice water through the feed tube while pulsing. Stop and check the dough after about 8-10 pulses—it should just start to hold together when pinched. If it’s too dry, add a tablespoon more water, but don’t overdo it (you want the dough slightly crumbly but sticking).
- Optional Step: If using, add 1 teaspoon vinegar or lemon juice with the water. This helps relax gluten and tenderizes the dough.
- Form the Dough: Turn the dough out onto a lightly floured surface. Gently gather it into a ball, then divide into two equal disks. Wrap each disk tightly in plastic wrap.
- Chill the Dough: Refrigerate for at least 1 hour, preferably 2. This resting time chills the butter and lets the flour hydrate, which means less shrinking when baked.
- Roll Out: On a floured surface, roll each disk into a 12-inch (30 cm) circle, about 1/8-inch (3 mm) thick. Use a gentle, even pressure, turning the dough a quarter turn every few rolls to keep it round.
- Transfer to Pie Dish: Carefully lift the dough and place it into a 9-inch (23 cm) pie dish. Press gently to fit, then trim excess dough, leaving about a 1-inch (2.5 cm) overhang for crimping.
- Crimp and Chill: Fold the overhang under and crimp edges with your fingers or a fork. Chill the prepared crust for 30 minutes before filling or baking to keep it from shrinking.
Pro tip: If your dough feels sticky while rolling, chill it again for 10-15 minutes. The cold butter is your secret weapon for that flaky texture, so don’t rush the chilling steps! Also, if the butter melts too much, your crust will be tough, so keep everything cold.
Cooking Tips & Techniques
Here’s the nitty-gritty from my many (sometimes messy) attempts at pie crust perfection:
- Keep It Cold: The colder your ingredients and dough, the flakier the crust. I keep a bowl of ice water nearby and even chill my rolling pin occasionally.
- Don’t Overwork the Dough: Mix just until the dough holds together. Over-mixing develops gluten and leads to a tough crust. You want tenderness, not toughness!
- Pulse, Don’t Blend: When using the food processor, pulse in short bursts. It prevents the butter from melting and keeps the texture right.
- Resting Is Key: Chilling the dough before rolling and after shaping helps prevent shrinking and cracking.
- Blind Baking Tips: For pies with wet fillings, pre-bake your crust with pie weights or dried beans to stop sogginess. Line with parchment paper, fill with weights, and bake at 375°F (190°C) for 15 minutes, then remove weights and bake another 5-7 minutes until golden.
- Use a Light Hand: When rolling out, use gentle, even pressure and keep turning the dough to keep it round and thin.
Honestly, I’ve learned that patience beats speed every time with pie crust. And a good food processor? It’s a game changer. I once tried this recipe with warm butter—big mistake. The crust turned out dense and chewy, so cold is no joke.
Variations & Adaptations
This easy food processor pie crust is a versatile base that you can tweak to suit your needs:
- Gluten-Free: Swap half the all-purpose flour with almond flour or a gluten-free blend. The texture will be a bit different but still delicious.
- Whole Wheat: Replace 1 cup (125g) of all-purpose flour with whole wheat flour to add nuttiness and fiber. Expect a slightly denser crust.
- Herbed Savory Crust: Add 1 teaspoon dried herbs like thyme or rosemary to the dry ingredients. Perfect for quiches or savory pies.
- Dairy-Free: Use chilled coconut oil or vegan butter in place of butter. Keep it cold and work quickly to get that flaky texture.
- Sweetened Crust: Add an extra tablespoon or two of sugar for pies with tart fillings like cherries or cranberries.
One variation I fell in love with was adding a teaspoon of cinnamon and a pinch of nutmeg to the dough for fall pies—it gave the crust a cozy warmth that paired beautifully with pumpkin or apple filling. Feel free to experiment with spices or seeds for a unique twist. Just remember, the key is keeping the butter cold and the dough rested, no matter what you add.
Serving & Storage Suggestions
Serve your pie crust freshly baked for that perfect crunch and flaky texture. It’s best warm or at room temperature, especially with a scoop of vanilla ice cream or a dollop of whipped cream on top. For savory pies, try pairing with a crisp green salad or roasted vegetables.
Leftover unbaked dough can be wrapped tightly in plastic wrap and frozen for up to one month. Thaw overnight in the fridge before rolling out. Baked pies keep well covered at room temperature for 1-2 days, or refrigerated for up to 4 days.
To reheat, warm slices in a 350°F (175°C) oven for 10-15 minutes to bring back that fresh-baked crispness. Pie crust flavors also deepen and mellow overnight—sometimes, a day-old slice tastes even better (if you can wait that long!).
Nutritional Information & Benefits
This pie crust recipe is rich in butter and flour, so it’s definitely a treat, but using quality ingredients means you get pure, wholesome flavors. Each serving (about 1/8 of the crust) contains approximately 200 calories, 10 grams of fat, and 25 grams of carbohydrates.
Butter provides vitamin A and healthy fats that support brain health, while the flour offers energy and some fiber (especially if you go whole wheat). You can make this crust a bit lighter by using less sugar or swapping part of the butter for heart-healthy oils, though the texture will shift.
For those watching allergens, this recipe contains gluten and dairy, but the variations section offers good alternatives for gluten-free and dairy-free needs. It’s a recipe I trust for family meals, knowing I’m serving something homemade and satisfying.
Conclusion
This easy food processor pie crust recipe is a keeper—simple, fast, and utterly flaky. It’s the kind of recipe you can customize to your taste but trust to deliver every time. I love this crust because it takes the guesswork out of pie-making, letting me focus on the filling and the fun of baking. Honestly, it feels like cheating, but in the best way.
Give it a try, and don’t be shy about making it your own. Whether you’re baking a classic apple pie or a savory quiche, this crust is your perfect partner. Drop a comment below to share your pie adventures or any tweaks you’ve tried. And hey, don’t forget to share with friends who need an easy pie crust hack—they’ll thank you later!
FAQs About Easy Food Processor Pie Crust
Can I make this pie crust without a food processor?
Yes, you can use a pastry cutter or two forks to cut the butter into the flour by hand. It takes more time and elbow grease but works well if you don’t have a processor.
Why is my pie crust tough instead of flaky?
Usually, that happens if the dough is overworked or the butter melts while mixing. Keep everything cold and mix just until the dough comes together.
How long can I store the dough before baking?
You can refrigerate the dough for up to 2 days or freeze it for up to a month. Always wrap tightly to prevent drying out.
Can I add sugar to this crust for sweet pies?
Absolutely! Adding 1-2 tablespoons of sugar to the dry ingredients gives a subtle sweetness that pairs well with fruit pies.
What’s the best way to prevent a soggy bottom crust?
Blind bake your crust with pie weights for 15 minutes before adding wet fillings. This helps set the crust and keeps it crisp.
Pin This Recipe!
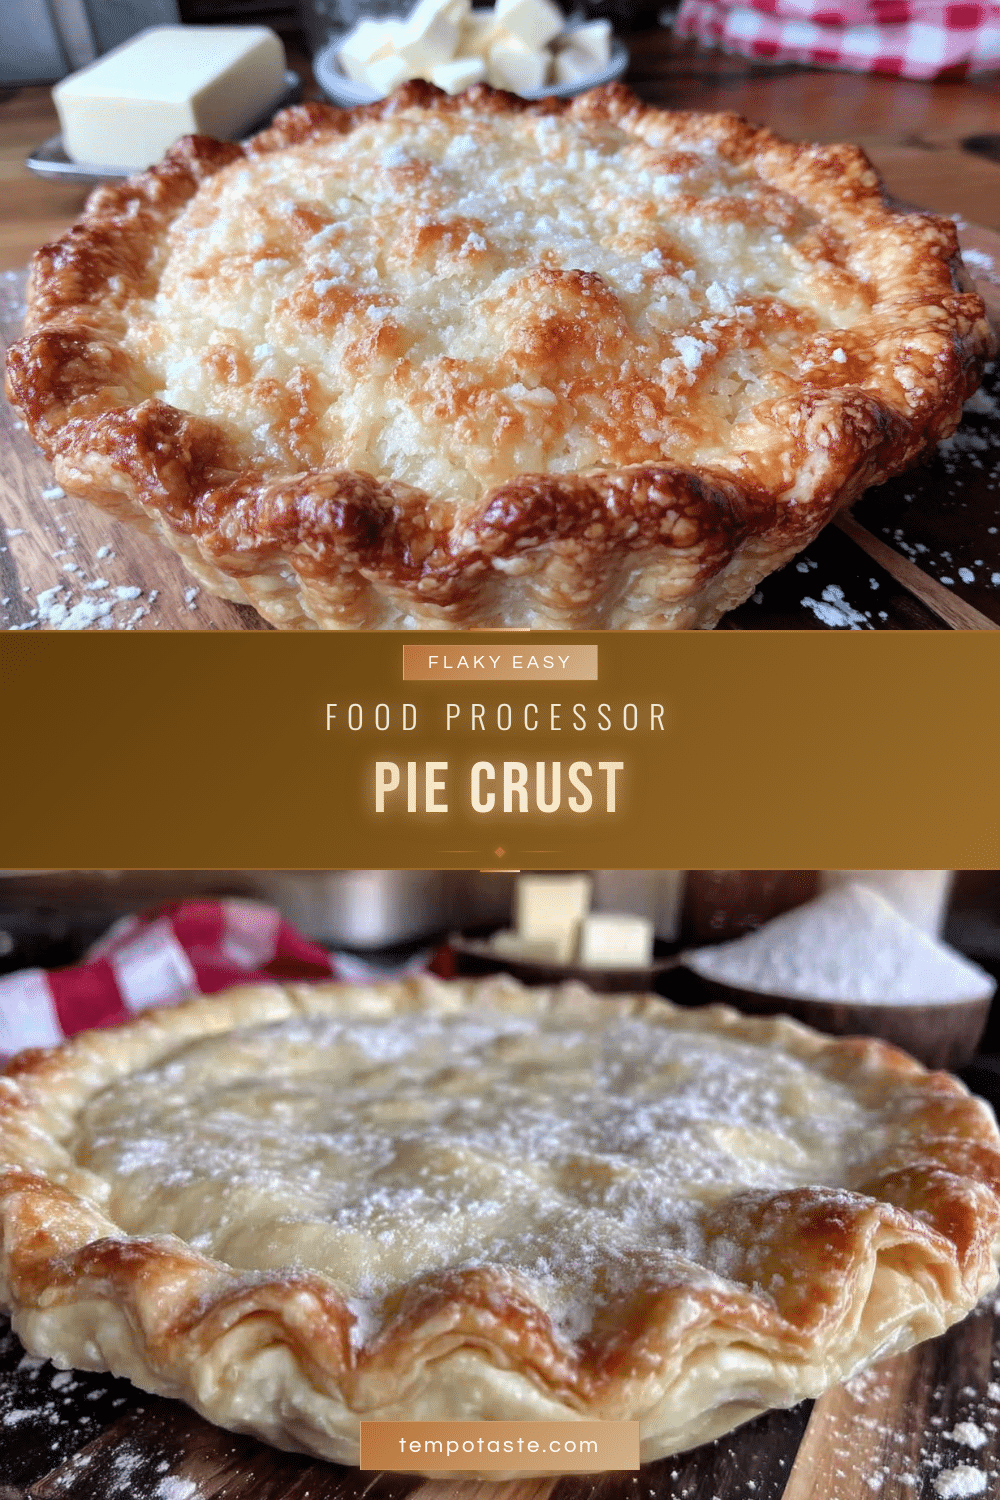
Easy Food Processor Pie Crust Recipe for Perfect Flaky Homemade Pies

A quick and easy pie crust recipe made in a food processor that delivers a tender, flaky, and buttery crust perfect for sweet or savory pies.
- Prep Time: 10 minutes
- Cook Time: 15-22 minutes (if blind baking)
- Total Time: 1 hour 40 minutes (including chilling time)
- Yield: 2 pie crusts (enough for 2 9-inch pies) 1x
- Category: Dessert
- Cuisine: American
Ingredients
- 2 ½ cups (312g) all-purpose flour
- 1 teaspoon salt
- 1 tablespoon granulated sugar (optional)
- 1 cup (226g) cold unsalted butter, cubed
- 6 to 8 tablespoons (90–120 ml) ice water, very cold
- 1 teaspoon vinegar or lemon juice (optional)
Instructions
- Measure out 2 ½ cups (312g) flour, 1 teaspoon salt, and 1 tablespoon sugar (optional). Cut 1 cup (226g) cold unsalted butter into small cubes and chill until just before use. Pre-chill 6 to 8 tablespoons (90-120 ml) of ice water in the freezer.
- In the food processor bowl, pulse together the flour, salt, and sugar for about 5 seconds to mix evenly.
- Add the cold butter cubes into the flour mixture. Pulse in 10-12 short bursts, about 1 second each, until pea-sized pieces of butter coated in flour form. Do not over-process.
- Slowly drizzle 6 tablespoons (90 ml) of ice water through the feed tube while pulsing. Stop and check the dough after about 8-10 pulses; it should just start to hold together when pinched. Add more water if needed, but keep the dough slightly crumbly.
- If using, add 1 teaspoon vinegar or lemon juice with the water to relax gluten and tenderize the dough.
- Turn the dough out onto a lightly floured surface. Gently gather it into a ball, then divide into two equal disks. Wrap each disk tightly in plastic wrap.
- Refrigerate the dough for at least 1 hour, preferably 2 hours.
- On a floured surface, roll each disk into a 12-inch (30 cm) circle about 1/8-inch (3 mm) thick, turning the dough a quarter turn every few rolls.
- Carefully lift the dough and place it into a 9-inch (23 cm) pie dish. Press gently to fit, then trim excess dough leaving about a 1-inch (2.5 cm) overhang.
- Fold the overhang under and crimp edges with fingers or a fork. Chill the prepared crust for 30 minutes before filling or baking.
Notes
Keep all ingredients and dough cold to ensure flakiness. Pulse the butter into the flour in short bursts to avoid melting the butter. Chill dough before rolling and after shaping to prevent shrinking. For pies with wet fillings, blind bake the crust with pie weights to avoid sogginess.
Nutrition
- Serving Size: 1/8 of the pie crust
- Calories: 200
- Fat: 10
- Carbohydrates: 25
Keywords: pie crust, food processor pie crust, flaky pie crust, easy pie crust, homemade pie crust, buttery pie crust, quick pie crust


