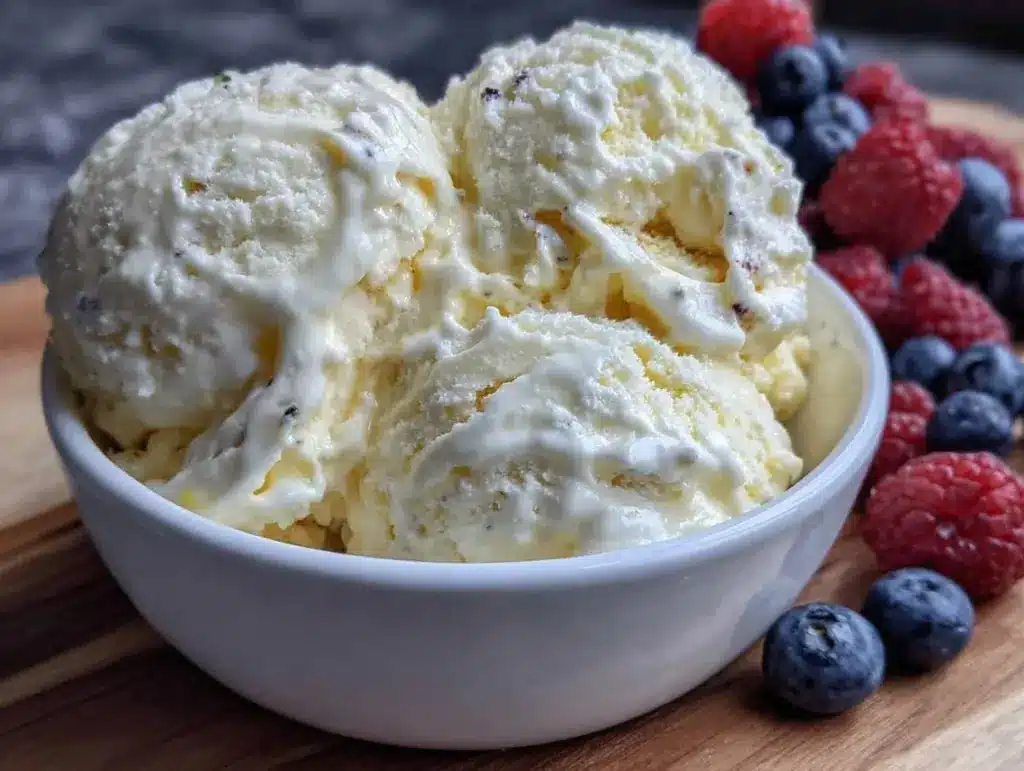
Let me tell you, the scent of sweet vanilla and cold cream swirling together in a blender is enough to make anyone’s mouth water on a hot afternoon. The first time I made this creamy blender ice cream no churn recipe, I was instantly hooked—the kind of moment where you pause, take a deep breath, and just smile because you know you’re onto something truly special. Years ago, when I was knee-high to a grasshopper, making ice cream usually meant a long wait, crank handles, or hauling out the bulky machine. But stumbling upon this no churn method felt like a little miracle in the kitchen on a rainy weekend.
My family couldn’t stop sneaking spoonfuls right from the mixing bowl (and honestly, I can’t really blame them). It’s dangerously easy to whip up, and the texture is pure, nostalgic comfort—like a creamy cloud that melts just right on your tongue. You know what’s great? This creamy blender ice cream no churn recipe is perfect for potlucks, a sweet treat for your kids after school, or just to brighten up your Pinterest cookie board with something cool and homemade. I’ve tested it multiple times in the name of research, of course, and it’s become a staple for family gatherings, gifting, and those “I need ice cream now” moments. Trust me, you’re going to want to bookmark this one.
Why You’ll Love This Creamy Blender Ice Cream No Churn Recipe
Honestly, this recipe ticks all the boxes for busy home cooks and ice cream lovers alike. I’ve tried plenty of no churn recipes, but this one stands apart because it’s creamy, fast, and uses just a blender—no fancy gadgets needed. Here’s why you’ll love it:
- Quick & Easy: Comes together in under 5 minutes, perfect for when cravings hit hard or when unexpected guests arrive.
- Simple Ingredients: No exotic ingredients—you likely already have everything in your kitchen pantry.
- Perfect for Any Occasion: Whether it’s a casual backyard BBQ or a cozy treat after dinner, this ice cream fits the bill.
- Crowd-Pleaser: Kids and adults alike rave about how creamy and delightful it tastes.
- Unbelievably Delicious: The smooth texture with just the right sweetness makes it feel like a scoop of joy in every bite.
What makes this recipe truly special is the clever use of a blender to whip the base, creating an ultra-smooth texture without the need for churning or electric ice cream makers. Plus, the balanced vanilla flavor means you can customize it easily with mix-ins or toppings. This isn’t just another ice cream recipe—it’s your best homemade version, ready in a flash and always so satisfying. After all, who doesn’t want comfort food that feels indulgent but comes together fast?
What Ingredients You Will Need
This recipe uses simple, wholesome ingredients to deliver bold flavor and satisfying texture without the fuss. Most of these are pantry staples, so no last-minute grocery runs!
- Heavy Cream (1 cup / 240 ml): The star for that rich, creamy texture (I recommend Organic Valley heavy cream for best results).
- Sweetened Condensed Milk (14 oz / 395 g can): Adds sweetness and creaminess while keeping the ice cream soft and scoopable.
- Pure Vanilla Extract (1 tsp): Brings that classic ice cream flavor to life.
- Salt (a pinch): Enhances all the flavors without making it salty.
- Optional Mix-ins: Chocolate chips, crushed cookies, fresh berries, or chopped nuts (add based on preference).
For dairy-free or vegan adaptations, swap heavy cream with canned coconut milk or a plant-based whipping cream, and use sweetened condensed coconut milk instead. Also, feel free to swap vanilla extract with almond or peppermint extract for a flavor twist. The ingredients list is versatile and forgiving, making homemade ice cream a breeze.
Equipment Needed
- High-Speed Blender: Essential for whipping the cream and mixing the base quickly. I use a Ninja blender, but a Vitamix or NutriBullet works well, too.
- Mixing Bowl: To transfer and mix in any extras gently.
- Freezer-Safe Container: For storing your ice cream as it firms up (a loaf pan or plastic container with a lid works great).
- Spatula: For scraping down the sides of the blender and folding in mix-ins.
If you don’t have a blender, a hand mixer can substitute but expect a little more elbow grease. For budget-friendly options, a basic blender will do fine if it can handle whipping cream without overheating. Keeping your equipment clean and dry before starting makes the process smoother and helps achieve that perfect texture.
Preparation Method
- Chill the Cream: Start by chilling your heavy cream in the fridge for at least 1 hour. Cold cream whips better and faster. (Time: 1 hour prep ahead)
- Set Up Your Blender: Pour the chilled heavy cream (1 cup / 240 ml) into your blender jug. Add a pinch of salt to enhance flavor. Pulse on medium-high speed for about 2-3 minutes, or until soft peaks form. You’ll see the cream thicken and hold shape when you lift the blade.
- Add Sweetened Condensed Milk & Vanilla: Pour in the entire 14 oz (395 g) can of sweetened condensed milk and 1 tsp pure vanilla extract. Pulse the blender for another 30 seconds to combine everything smoothly. Be careful not to overblend; you want to keep that airy texture. (Tip: scrape down the sides if needed.)
- Fold in Optional Mix-ins: Pour the blended base into a mixing bowl. Gently fold in any extras like chocolate chips or crushed cookies using a spatula—don’t stir vigorously, or you’ll deflate the air you just whipped in.
- Freeze the Mixture: Transfer the ice cream base to a freezer-safe container. Smooth the top with your spatula and cover tightly with a lid or plastic wrap. Freeze for at least 4-6 hours, preferably overnight, until firm.
- Serving: Before scooping, let the ice cream sit at room temperature for 5-10 minutes to soften slightly for easier serving.
Watch out for over-blending during step 3; if the cream loses volume, your ice cream might turn out dense. Also, be patient with freezing times—it’s tempting to dig in early, but the texture improves the longer it chills. I like to label my container with the date to keep track of freshness. This method creates a creamy, dreamy ice cream with minimal fuss and zero machine needed.
Cooking Tips & Techniques
One of the best tricks I’ve learned is to chill your blender jar and metal blade in the freezer for about 15 minutes before whipping the cream—cold tools help keep the cream stable and airy. Also, don’t rush the whipping process; soft peaks are your goal, not stiff peaks like for frosting. This keeps the ice cream texture smooth and easy to scoop.
Common mistakes include over-blending the cream, which can lead to butter formation (yikes!), or not folding in mix-ins gently, causing the ice cream to lose fluffiness. I once over-mixed and ended up with a dense block rather than scoopable ice cream—lesson learned the hard way.
Timing is key: whipping the cream just before blending with the condensed milk yields the best texture. If you prep too early and leave the cream out, it can deflate and affect final consistency. I often multitask by prepping toppings or cleaning up while the ice cream freezes, so you’re not left twiddling your thumbs.
Variations & Adaptations
This creamy blender ice cream no churn recipe is a fantastic base for experimentation. Here are some ideas I’ve tried (and loved!):
- Chocolate Swirl: Add 2 tablespoons of cocoa powder to the base before blending, then fold in mini chocolate chips for extra texture.
- Berry Burst: Fold in 1/2 cup fresh or frozen berries after blending for a fruity punch. Perfect for summer days!
- Nutty Delight: Toast 1/3 cup chopped pecans or almonds and fold them in for crunch and nuttiness.
For dairy-free versions, swapping heavy cream for coconut cream and using sweetened condensed coconut milk works beautifully with a tropical twist. You can also add a splash of espresso or a teaspoon of cinnamon to change things up. For those avoiding sugar, try a sugar-free sweetened condensed milk or homemade substitute, though texture may vary slightly.
Serving & Storage Suggestions
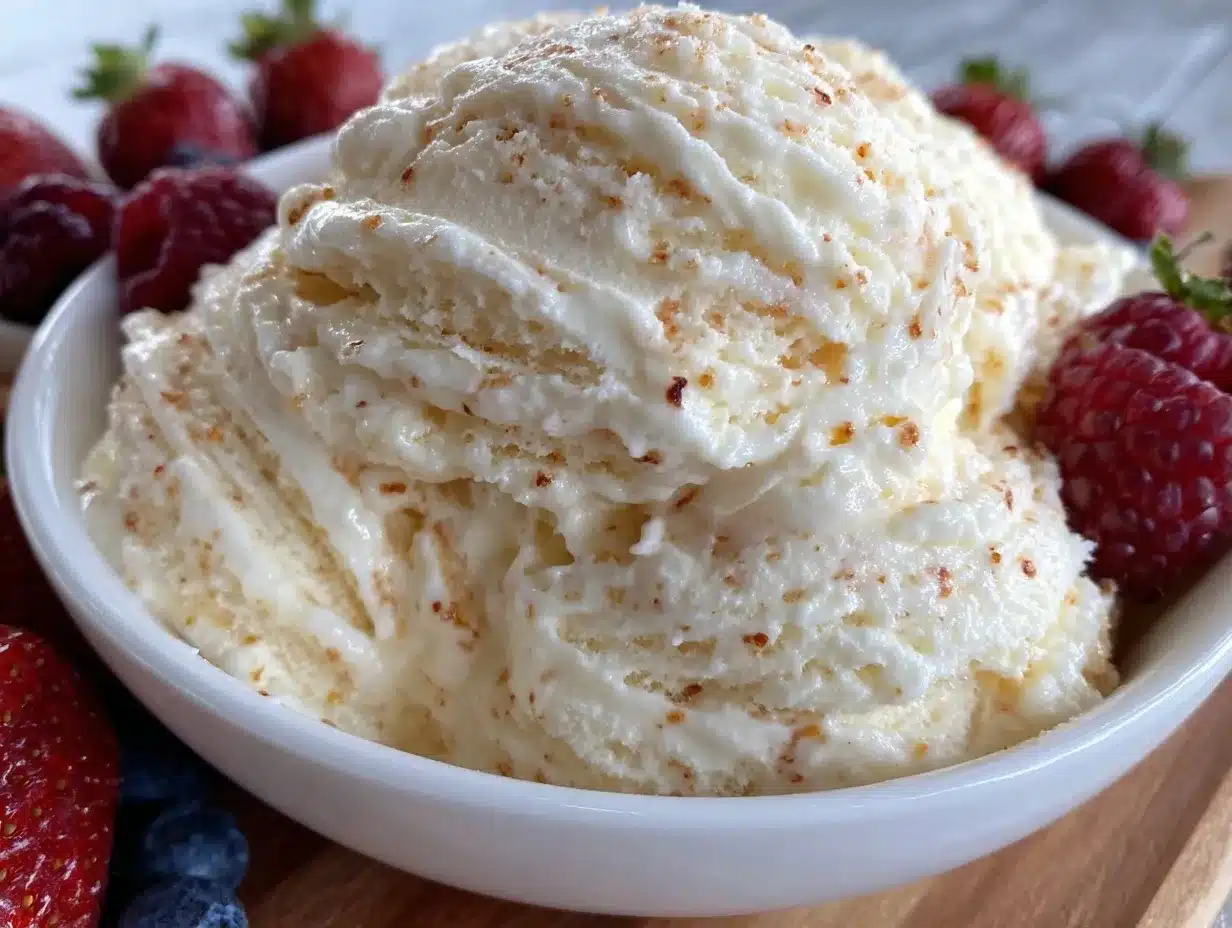
Serve your creamy blender ice cream chilled but slightly softened for the best scoopability. A quick 5-minute rest at room temperature does wonders. It pairs beautifully with fresh fruit, warm pie, or even a drizzle of chocolate or caramel sauce.
Store leftovers in an airtight container in the freezer for up to 2 weeks. To avoid ice crystals forming, press a piece of parchment paper directly on the surface before sealing. When reheating, just let it thaw a few minutes on the counter before scooping to keep that silky texture intact.
Flavors tend to deepen after a day in the freezer, so if you’re a planner like me, making it a day ahead actually improves the experience. This recipe is great for making ahead for parties and potlucks—just remember to bring a cooler if you’re traveling!
Nutritional Information & Benefits
Per serving (approx. 1/2 cup or 120 ml), this creamy blender ice cream contains roughly 250 calories, 10 grams of fat, 30 grams of carbohydrates (mostly sugars), and 3 grams of protein. It’s a treat, so enjoy it mindfully!
Heavy cream provides a good dose of fat-soluble vitamins like A and D, while the condensed milk offers calcium for bone health. Though this recipe isn’t low-calorie, it’s free of artificial ingredients and preservatives common in store-bought ice creams.
For those with dietary restrictions, it can easily be adapted to gluten-free and dairy-free diets, making it a versatile dessert option for many households. Just watch out if you have nut allergies when adding mix-ins.
Conclusion
To wrap things up, this creamy blender ice cream no churn recipe is a winner for anyone who loves quick, homemade treats without the fuss of traditional ice cream machines. It’s simple, fast, and yields a scoopable, dreamy dessert that feels like a warm hug on a cold day—or a refreshing escape on a hot one.
Feel free to tweak the flavors, add your favorite mix-ins, or even experiment with different extracts. Honestly, I love this recipe because it’s forgiving, fun, and always impresses my friends and family. Give it a go, and don’t forget to share your creations or any special twists you come up with—I’d love to hear about them!
Now, go whip up a batch and treat yourself—you totally deserve it.
FAQs About Creamy Blender Ice Cream No Churn Recipe
Can I make this ice cream without a blender?
Yes! You can use a hand mixer or stand mixer to whip the cream to soft peaks and then fold in the condensed milk and vanilla. It might take a bit longer, but it works well.
How long does the ice cream need to freeze?
Freeze for at least 4-6 hours, but overnight is best for a firmer, scoopable texture.
Can I add mix-ins like fruit or nuts?
Absolutely! Fold in your favorite mix-ins gently after blending the base to keep the ice cream fluffy.
Is this recipe suitable for vegans or dairy-free diets?
Yes, by swapping heavy cream for coconut cream and using sweetened condensed coconut milk, you can make a delicious dairy-free version.
Why is my ice cream too hard or icy?
This can happen if the mixture isn’t whipped enough or if it freezes too long without any stabilizers. Make sure to whip the cream well and let the ice cream soften slightly before serving for the best texture.
Pin This Recipe!
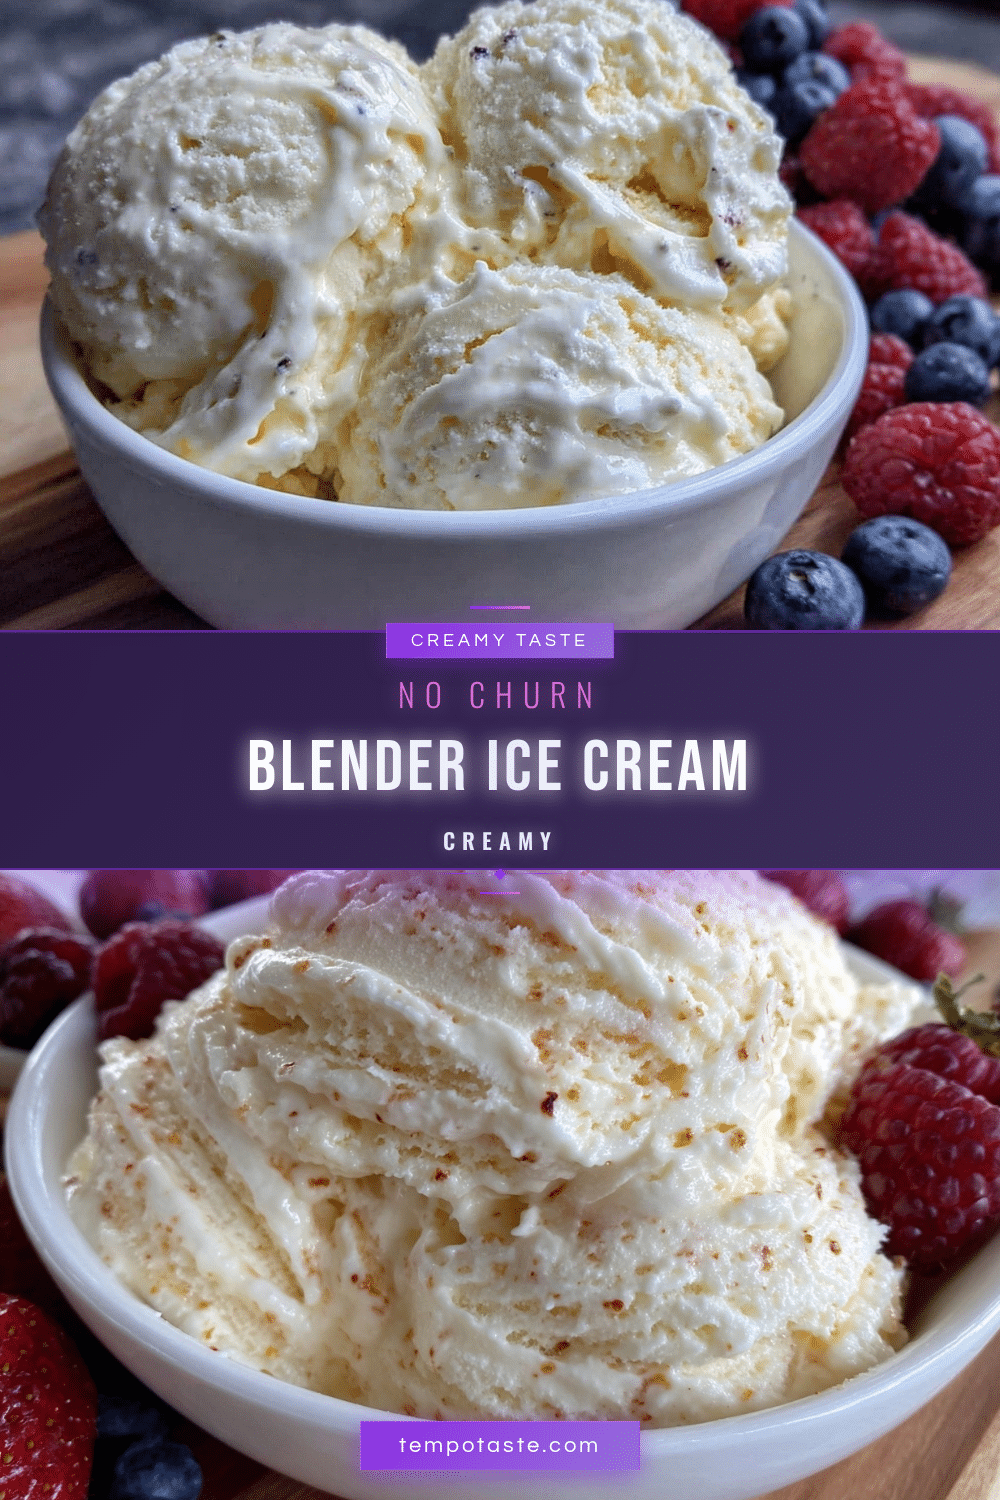
Creamy Blender Ice Cream No Churn Recipe Easy 5-Minute Homemade Treat

A quick and easy no churn ice cream recipe made with simple ingredients and a blender, delivering a creamy, nostalgic texture perfect for any occasion.
- Prep Time: 1 hour 5 minutes
- Cook Time: 0 minutes
- Total Time: 1 hour 5 minutes plus freezing time
- Yield: 6 servings 1x
- Category: Dessert
- Cuisine: American
Ingredients
- 1 cup (240 ml) heavy cream
- 14 oz (395 g) sweetened condensed milk
- 1 tsp pure vanilla extract
- Pinch of salt
- Optional mix-ins: chocolate chips, crushed cookies, fresh berries, chopped nuts
Instructions
- Chill the heavy cream in the fridge for at least 1 hour.
- Pour the chilled heavy cream into a blender jug. Add a pinch of salt. Pulse on medium-high speed for 2-3 minutes until soft peaks form.
- Add the sweetened condensed milk and vanilla extract to the blender. Pulse for 30 seconds to combine, scraping down the sides if needed. Avoid overblending.
- Pour the blended base into a mixing bowl. Gently fold in any optional mix-ins using a spatula.
- Transfer the mixture to a freezer-safe container. Smooth the top, cover tightly, and freeze for at least 4-6 hours or overnight until firm.
- Before serving, let the ice cream sit at room temperature for 5-10 minutes to soften slightly.
Notes
Chill the blender jar and blade before whipping cream for better results. Avoid over-blending to prevent butter formation. Let ice cream soften before scooping for easier serving. Store leftovers in an airtight container with parchment paper on top to prevent ice crystals.
Nutrition
- Serving Size: Approx. 1/2 cup (120
- Calories: 250
- Fat: 10
- Carbohydrates: 30
- Protein: 3
Keywords: no churn ice cream, blender ice cream, easy homemade ice cream, quick dessert, creamy ice cream, vanilla ice cream, no machine ice cream


