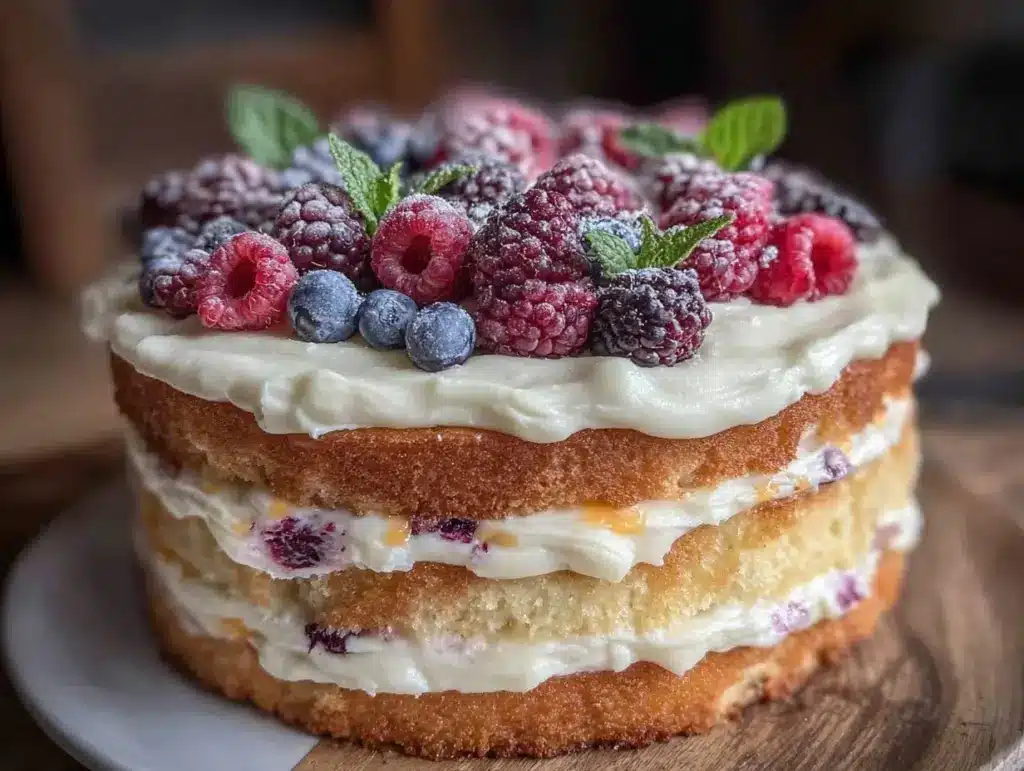
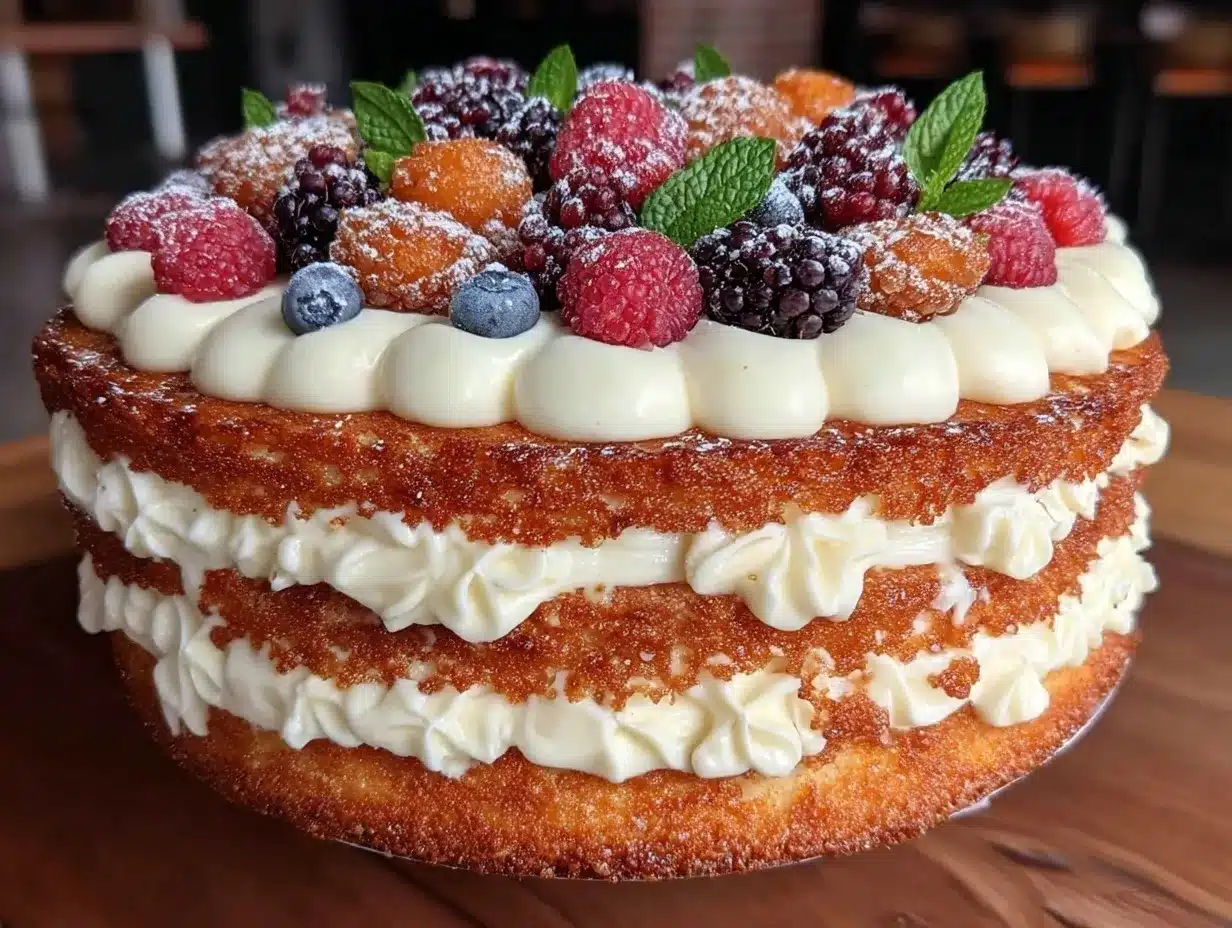
Let me tell you, the sight of the Perfect Levitating Cake with its magical gravity-defying layers is enough to make anyone’s jaw drop. The first time I saw this cake in action, it felt like something straight out of a fantasy novel — layers seemingly floating in mid-air, held together by nothing but a slender support. Honestly, it was the kind of moment where you pause, take a deep breath, and just smile because you know you’re onto something truly special.
Years ago, when I was knee-high to a grasshopper, my grandma used to bake towering cakes for family celebrations, but nothing quite like this levitating marvel. I stumbled upon the concept during a rainy weekend experiment, trying to recreate that wow factor for an upcoming party. My family couldn’t stop sneaking slices off the cooling rack (and I can’t really blame them). This recipe is dangerously easy once you get the hang of it and offers pure, nostalgic comfort with a twist.
You know what’s best? This Perfect Levitating Cake is perfect for potlucks, birthday parties, or even a whimsical treat to brighten up your Pinterest cookie board. I’ve tested this recipe more times than I can count — in the name of research, of course — and it’s become a staple for family gatherings and gifting. If you’ve been looking for a show-stopper that tastes as incredible as it looks, you’re going to want to bookmark this one.
Why You’ll Love This Recipe
Having spent countless hours perfecting the Perfect Levitating Cake, I can say with confidence this recipe stands out for several reasons:
- Quick & Easy: Comes together in under 2 hours, perfect for busy weeknights or last-minute celebrations.
- Simple Ingredients: No fancy grocery trips needed; you likely already have everything in your kitchen pantry.
- Perfect for Special Occasions: Great for birthdays, anniversaries, or just when you want to impress guests without stress.
- Crowd-Pleaser: Always gets rave reviews from kids and adults alike — that magical look paired with delicious flavor is irresistible.
- Unbelievably Delicious: The texture and flavor combo is next-level comfort food, with moist layers and creamy filling.
What really sets this Perfect Levitating Cake apart is the clever technique of using a central support dowel combined with perfectly balanced layers that seem to float. It’s not just another stacked cake; it’s a mesmerizing centerpiece that makes you close your eyes after the first bite. This recipe takes classic flavors and presents them in an unforgettable way — a cake with soul, minus the fuss.
Whether you’re looking to wow guests or treat yourself to something special, this cake delivers that magic without the stress. It’s one of those recipes you’ll come back to again and again, trust me.
What Ingredients You Will Need
This recipe uses simple, wholesome ingredients to deliver bold flavor and satisfying texture without the fuss. Most are pantry staples, but a few special touches make all the difference.
- For the Cake Layers:
- All-purpose flour – 2 ½ cups (310g), sifted (I recommend King Arthur for consistent texture)
- Baking powder – 2 ½ teaspoons
- Salt – ½ teaspoon
- Unsalted butter – 1 cup (227g), softened
- Granulated sugar – 1 ¾ cups (350g)
- Large eggs – 4, room temperature
- Whole milk – 1 cup (240ml), room temperature
- Vanilla extract – 2 teaspoons (pure is best!)
- For the Filling & Frosting:
- Heavy cream – 2 cups (480ml), cold (for whipping)
- Powdered sugar – ¾ cup (90g), sifted
- Cream cheese – 8 oz (227g), softened (adds richness and stability)
- Vanilla extract – 1 teaspoon
- For the Levitating Support:
- Wooden dowel rod – 12 inches (30cm), food-safe (found at craft stores or online)
- Round cake boards – 3 (one per layer, slightly smaller than cake diameter)
- Optional Decorations:
- Fresh berries or edible flowers for garnish
- Sprinkles or chocolate shavings
For a gluten-free option, swap all-purpose flour with a 1-to-1 gluten-free baking blend. If you prefer dairy-free, use coconut cream for whipping and a non-dairy cream cheese alternative. When selecting cream cheese, look for full-fat versions for the best texture.
Equipment Needed
- Three 8-inch (20cm) round cake pans – non-stick or well-greased
- Electric mixer or stand mixer – helpful for whipping cream and batter
- Mixing bowls – at least two medium size
- Measuring cups and spoons – precise measurement is key
- Spatula – for folding and smoothing batter
- Cooling racks – to cool cake layers evenly
- Wooden dowel rod – food-safe, to create the levitating effect
- Round cake boards – one per cake layer, to support each tier
- Cake turntable (optional) – handy for frosting and decorating smoothly
If you don’t have a stand mixer, a good-quality hand mixer works just fine. For the dowel, I found craft-grade wooden rods work perfectly once cleaned and sanitized. Cake boards can be reused or replaced with sturdy cardboard covered in foil for budget-friendly options.
Preparation Method
- Prepare the Cake Batter: Preheat your oven to 350°F (175°C). Grease and flour the three 8-inch cake pans. In a bowl, sift together 2 ½ cups (310g) flour, 2 ½ teaspoons baking powder, and ½ teaspoon salt. Set aside. In your mixer, cream 1 cup (227g) softened butter with 1 ¾ cups (350g) sugar until light and fluffy, about 3-4 minutes.
- Add Eggs and Vanilla: Beat in 4 large eggs, one at a time, ensuring each is fully incorporated before adding the next. Stir in 2 teaspoons pure vanilla extract.
- Combine Wet and Dry Ingredients: Alternately add the dry ingredients and 1 cup (240ml) whole milk to the butter mixture, beginning and ending with the flour mixture. Mix gently after each addition to avoid overmixing. The batter should be smooth and pourable.
- Bake the Layers: Divide batter evenly among the three pans. Bake for 25-30 minutes or until a toothpick inserted in the center comes out clean. Let cakes cool in pans for 10 minutes, then turn out onto cooling racks to cool completely.
- Prepare the Filling and Frosting: In a chilled bowl, whip 2 cups (480ml) heavy cream with ¾ cup (90g) powdered sugar until soft peaks form. In a separate bowl, beat 8 oz (227g) softened cream cheese with 1 teaspoon vanilla until smooth. Gently fold the whipped cream into the cream cheese mixture until fully combined.
- Assemble the Cake Layers: Place one cake board on your serving plate. Position the first cake layer on top, then spread ½ cup of the cream filling evenly over it. Insert the wooden dowel rod through the center of this layer, pressing it down carefully (this will support the floating layers). Add the second cake board on top of the filling, then the second cake layer. Repeat spreading filling and adding the dowel and board for the third layer.
- Final Frosting and Decoration: Use the remaining cream filling to frost the sides and top of the assembled cake, carefully smoothing with a spatula or bench scraper. Add fresh berries, edible flowers, or sprinkles as desired. Chill for at least 1 hour to set before serving.
If your batter feels too thick, add a splash more milk. Watch your bake times closely — ovens vary! The dowel must be inserted gently but firmly for the best levitating effect. If the cream filling feels too soft, chilling it for 10 minutes before assembly helps.
Cooking Tips & Techniques
One of the trickiest parts of the Perfect Levitating Cake is getting those layers to appear truly weightless. A few tips from my trials:
- Use Room Temperature Ingredients: This helps the batter come together smoothly and ensures even baking.
- Don’t Overmix the Batter: Overmixing can lead to dense cake layers. Mix just until the ingredients come together.
- Chill the Filling: If your cream filling gets runny, pop it in the fridge for a bit before assembling to firm it up.
- Secure the Dowel Correctly: Measure your dowel to be slightly shorter than the total cake height — too long and it pokes through the top!
- Use Cake Boards Between Layers: These are crucial for supporting each tier and creating that floating effect.
I once rushed the cooling phase and ended up with a messy filling meltdown — lesson learned! Patience is key for both cooling and chilling. Also, multitasking by whipping the cream while cakes bake speeds things up.
Remember, a smooth spatula and a gentle hand make frosting much easier — and prettier. You’ll find your own rhythm after a couple tries!
Variations & Adaptations
Want to play with this recipe? Here are some ways I’ve personalized the Perfect Levitating Cake:
- Flavor Swaps: Add cocoa powder to the cake batter for a chocolate version or fold in lemon zest and juice for a bright citrus twist.
- Diet-Friendly: Use almond flour and coconut cream for a gluten-free, dairy-free version that still holds its shape beautifully.
- Different Frosting: Try a Swiss meringue buttercream instead of the cream cheese filling for a richer, silkier texture.
- Seasonal Touch: Swap fresh berries for spiced apple compote in fall or tropical fruit slices in summer.
One time, I tried adding edible gold leaf on the edges for a fancy occasion — it was a showstopper! Don’t be afraid to experiment with colors or decorations to match your event theme.
Serving & Storage Suggestions
Serve this cake chilled or at room temperature for the best flavor and texture. I like to slice it with a sharp serrated knife to keep those layers neat and clean. It pairs wonderfully with a cup of strong coffee or a light sparkling wine for celebrations.
Store leftovers in an airtight container in the refrigerator for up to 4 days. The flavors actually meld and deepen after a day, so sometimes I prefer it slightly chilled the next day. To reheat, let slices sit at room temperature for 15 minutes before serving — microwaving tends to ruin the texture.
If you want to freeze it, slice first and wrap each piece tightly in plastic wrap and foil. Thaw overnight in the fridge, then bring to room temp before enjoying.
Nutritional Information & Benefits
This Perfect Levitating Cake is a treat, but here’s a rough nutritional snapshot per slice (based on 12 servings): approximately 350 calories, 20g fat, 35g carbs, and 4g protein. Key ingredients like cream cheese and eggs provide protein and calcium, while vanilla adds natural antioxidants.
For those watching carbs, swapping to almond flour reduces carbs and adds healthy fats. Using heavy cream and cream cheese means it’s naturally gluten-free, but watch out for dairy allergies.
From my perspective, this cake strikes a balance — a special occasion indulgence that still uses real ingredients without fillers or artificial flavors. A little slice of magic that feels like a warm hug.
Conclusion
The Perfect Levitating Cake with Magical Gravity-Defying Layers isn’t just a recipe; it’s a fun project that brings a wow factor to any gathering. I love how it combines simple ingredients with clever assembly to create something that feels truly special. You can customize it to your taste, but the core magic is in the floating layers and creamy filling that make every bite memorable.
Give it a try, and don’t be shy about making it your own. I’d love to hear how your cake turned out or what twists you tried — leave a comment below! This recipe is a keeper, and honestly, it feels like a little celebration every time you slice into it.
So go ahead, make some magic in your kitchen, and enjoy the smiles that come with it!
FAQs
How do I make the layers truly levitate?
Use a sturdy wooden dowel and cake boards between each layer to support the structure. The dowel should be measured carefully to fit inside the stacked cake without poking out.
Can I make this cake ahead of time?
Yes! Bake the layers a day ahead and store them wrapped tightly. Assemble the cake a few hours before serving and chill to set the filling.
What if I don’t have wooden dowels?
You can use food-safe plastic straws or thick skewers, but wooden dowels are best for stability and safety.
How do I prevent the filling from melting?
Keep your filling chilled until assembly and store the cake in the fridge. Use cold bowls and beaters when whipping cream to keep it firm.
Is this recipe suitable for beginners?
Absolutely! The steps are straightforward, and with a bit of patience, you’ll nail the levitating effect. Just follow the instructions carefully, and don’t rush the cooling phases.
Pin This Recipe!

Perfect Levitating Cake

A magical gravity-defying layered cake that is quick, easy, and perfect for special occasions. This show-stopping cake combines moist layers with creamy filling and a clever levitating support for a stunning presentation.
- Prep Time: 30 minutes
- Cook Time: 30 minutes
- Total Time: 1 hour 30 minutes
- Yield: 12 servings 1x
- Category: Dessert
- Cuisine: American
Ingredients
- 2 ½ cups (310g) all-purpose flour, sifted
- 2 ½ teaspoons baking powder
- ½ teaspoon salt
- 1 cup (227g) unsalted butter, softened
- 1 ¾ cups (350g) granulated sugar
- 4 large eggs, room temperature
- 1 cup (240ml) whole milk, room temperature
- 2 teaspoons vanilla extract (pure)
- 2 cups (480ml) heavy cream, cold (for whipping)
- ¾ cup (90g) powdered sugar, sifted
- 8 oz (227g) cream cheese, softened
- 1 teaspoon vanilla extract
- Wooden dowel rod – 12 inches (30cm), food-safe
- 3 round cake boards (one per layer, slightly smaller than cake diameter)
- Optional decorations: fresh berries, edible flowers, sprinkles, chocolate shavings
Instructions
- Preheat oven to 350°F (175°C). Grease and flour three 8-inch cake pans.
- In a bowl, sift together flour, baking powder, and salt. Set aside.
- In a mixer, cream softened butter with granulated sugar until light and fluffy, about 3-4 minutes.
- Beat in eggs one at a time, fully incorporating each before adding the next. Stir in vanilla extract.
- Alternately add dry ingredients and milk to the butter mixture, beginning and ending with flour mixture. Mix gently until smooth and pourable.
- Divide batter evenly among the three pans. Bake 25-30 minutes or until a toothpick inserted in center comes out clean.
- Cool cakes in pans for 10 minutes, then turn out onto cooling racks to cool completely.
- In a chilled bowl, whip heavy cream with powdered sugar until soft peaks form.
- In a separate bowl, beat cream cheese with vanilla extract until smooth.
- Gently fold whipped cream into cream cheese mixture until fully combined.
- Place one cake board on serving plate. Position first cake layer on top, spread ½ cup cream filling evenly over it.
- Insert wooden dowel rod through center of this layer, pressing down carefully.
- Add second cake board on top of filling, then second cake layer. Repeat spreading filling, adding dowel and board for third layer.
- Use remaining cream filling to frost sides and top of assembled cake, smoothing with spatula or bench scraper.
- Decorate with fresh berries, edible flowers, or sprinkles as desired.
- Chill cake for at least 1 hour to set before serving.
Notes
Use room temperature ingredients for smooth batter and even baking. Do not overmix batter to avoid dense layers. Chill filling if too soft before assembly. Measure dowel to be slightly shorter than cake height to avoid poking through top. Use cake boards between layers for support and floating effect. Patience is key for cooling and chilling phases. If batter is too thick, add a splash more milk.
Nutrition
- Serving Size: 1 slice (1/12 of cak
- Calories: 350
- Fat: 20
- Carbohydrates: 35
- Protein: 4
Keywords: levitating cake, gravity-defying cake, layered cake, easy cake recipe, party cake, birthday cake, cream cheese frosting


