
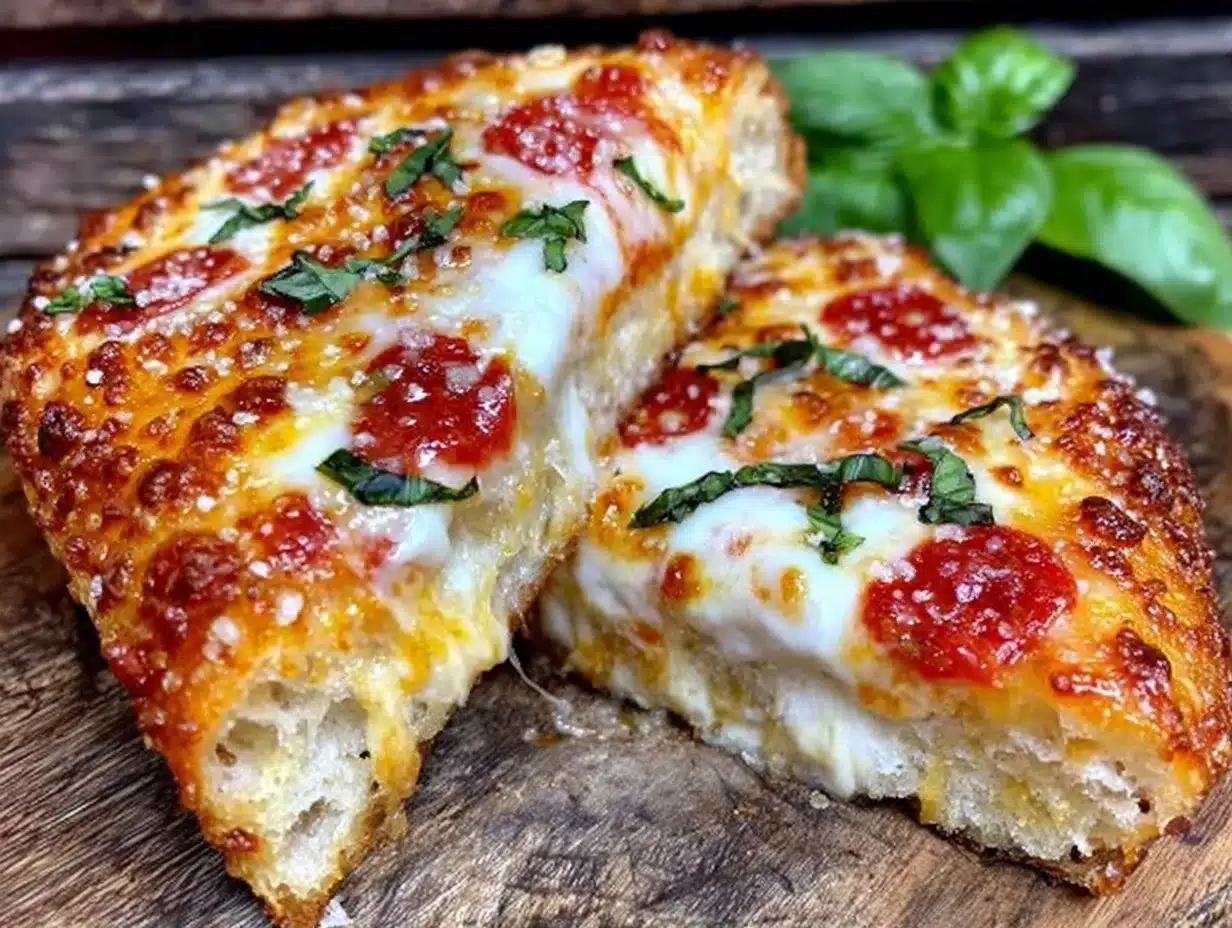
Let me tell you, the smell of golden, crackling pizza crust fresh from the oven is enough to make anyone’s mouth water. The first time I nailed that perfect crispy pizza crust was honestly a game-changer. I was knee-high to a grasshopper when my grandma used to toss dough in the air, but it wasn’t until a rainy weekend, fiddling with flour and water, that I really stumbled upon the secret. That moment — the kind where you pause, take a deep breath, and just smile because you know you’re onto something truly special — happened when I bit into that first slice with a crust so crisp it crackled beneath my teeth. My family couldn’t stop sneaking pieces off the cooling rack (and I can’t really blame them). Let’s face it, a great crispy crust is the foundation for a memorable pizza night, whether you’re feeding a crowd or just treating yourself. These crispy pizza crust hacks are dangerously easy and bring pure, nostalgic comfort to your kitchen. Perfect for weekend dinners, casual parties, or just brightening up your Pinterest cookie board with some pizza love. After testing these hacks more times than I can count (in the name of research, of course), this crust has become a staple for family gatherings and gifting. Trust me, you’re going to want to bookmark this one.
Why You’ll Love This Recipe
Honestly, getting that perfect crispy pizza crust isn’t just luck — it’s a mix of science, technique, and a little practice. Here’s why these crispy pizza crust hacks will have you making the best slices in no time:
- Quick & Easy: These tips help you get a crispy crust in under 30 minutes of actual prep time, perfect for busy weeknights or last-minute cravings.
- Simple Ingredients: No need for fancy flours or secret additives; you probably already have everything on hand.
- Perfect for Any Occasion: Whether it’s a casual dinner, a potluck, or a movie night snack, this crust is a crowd-pleaser.
- Crowd-Pleaser: Kids, adults, picky eaters — they all rave about that satisfying crunch and perfect chew.
- Unbelievably Delicious: The balance of a crisp outside with a tender inside creates that next-level comfort food you dream about.
What sets this recipe apart? Well, it’s the little hacks that make a big difference — like brushing the dough with olive oil before baking to lock in moisture, using a pizza stone or steel for even heat, and the right hydration level in the dough to get that crackling texture without dryness. This isn’t just another pizza crust recipe; it’s the one you’ll come back to over and over because it tastes like a pizzeria in your own kitchen. Plus, this crust makes you close your eyes after the first bite — pure, soul-soothing satisfaction. It’s comfort food, but better: faster, less fussy, and with a crisp that’ll impress guests without breaking a sweat.
What Ingredients You Will Need
This recipe uses simple, wholesome ingredients to deliver bold flavor and satisfying texture without the fuss. Most are pantry staples, but I’ll share a few tips to get the best results.
- All-Purpose Flour: About 3 ½ cups (420g). You can swap in bread flour for a chewier texture or a blend if you prefer.
- Instant Yeast: 2 ¼ teaspoons (one packet). Instant yeast works best because it mixes right in without proofing.
- Sugar: 1 teaspoon (optional, but helps feed the yeast and browns the crust beautifully).
- Salt: 1 ½ teaspoons to balance flavor.
- Warm Water: 1 ¼ cups (300ml) — ideally about 110°F (43°C), warm enough to activate yeast but not kill it.
- Olive Oil: 2 tablespoons (for the dough) plus extra for brushing — I love a good extra virgin olive oil like Colavita for flavor.
- Cornmeal or Semolina: 2 tablespoons for dusting the pizza peel or baking surface to prevent sticking and add crunch.
Optional additions:
- Garlic Powder or Italian Herbs: For mixing into the dough if you want a bit of extra flavor.
- Honey: Swap sugar for honey (same amount) if you want a slightly different sweetness and moisture.
If you need gluten-free options, I’ve found that a blend of gluten-free all-purpose flour works, but add a little xanthan gum for texture. And if you’re dairy-free, olive oil is your best friend here, no butter needed!
Equipment Needed
- Mixing Bowl: A large bowl for kneading dough — glass or stainless steel works fine.
- Measuring Cups and Spoons: Accuracy is key for that perfect crust.
- Pizza Stone or Steel: Highly recommended for crispy crust; heats evenly and pulls moisture out of the dough. If you don’t have one, a heavy baking sheet flipped upside down works in a pinch.
- Pizza Peel or Flat Baking Sheet: For transferring the pizza onto the hot stone or oven rack without losing shape.
- Dough Scraper: Optional but super handy for handling sticky dough and cleaning surfaces.
- Oven Thermometer: To check your oven’s real temperature — ovens can be tricky!
Personally, investing in a pizza steel was a game changer — it heats up fast and delivers a crispy bottom crust every time. If you’re on a budget, a cast iron skillet also does the trick for smaller pizzas. Just remember to preheat well!
Preparation Method
- Activate the Yeast: In your large bowl, stir 1 ¼ cups (300ml) warm water with 1 teaspoon sugar and the 2 ¼ teaspoons instant yeast. Let it rest for 5 minutes until foamy. If it doesn’t foam, your yeast might be dead — start over with fresh yeast.
- Mix Dry Ingredients: In a separate bowl, combine 3 ½ cups (420g) all-purpose flour and 1 ½ teaspoons salt. If you want, add a pinch of garlic powder or Italian herbs here.
- Form the Dough: Slowly add the flour mixture to the yeast mixture, stirring as you go. Add 2 tablespoons olive oil. When it gets too thick to stir, start kneading with your hands or a stand mixer fitted with a dough hook.
- Knead the Dough: Knead for about 8-10 minutes until smooth and elastic. It should be slightly tacky but not sticky. If too sticky, add a tablespoon of flour at a time; if too dry, a splash of water.
- First Rise: Lightly oil a clean bowl, place your dough inside, and cover with a damp cloth or plastic wrap. Let it rise in a warm spot for 1 to 1 ½ hours, or until doubled in size.
- Preheat the Oven and Stone: Place your pizza stone or steel in the oven and preheat to 500°F (260°C) for at least 45 minutes — this step is crucial for crispy crust!
- Shape the Dough: Punch down the dough gently and divide into 2 equal parts for thinner crusts or keep whole for a thick one. On a floured surface, stretch or roll the dough into a 12-inch circle. Don’t overwork it — let gravity do some of the work.
- Prepare the Pizza Peel: Sprinkle cornmeal or semolina on your pizza peel or baking sheet to keep the dough from sticking.
- Brush with Olive Oil: Lightly brush the dough surface with olive oil to lock moisture in and help browning.
- Add Your Toppings: Layer on sauce, cheese, and toppings of choice — but beware of soggy toppings that weigh down the crust.
- Bake: Slide the pizza onto the hot stone or steel. Bake for 8-12 minutes, rotating halfway, until the crust edges are golden and crisp, and cheese is bubbling.
- Rest and Serve: Let the pizza cool for 2-3 minutes before slicing — this helps the crust set and keeps toppings from sliding off.
Pro tip: If your crust isn’t crisping as much as you’d like, try finishing with a quick broil for 1-2 minutes — but watch closely!
Cooking Tips & Techniques
Getting a crispy pizza crust can be tricky, but these tips from my own kitchen experiments will save you some head-scratching moments:
- Use a Pizza Stone or Steel: This is non-negotiable for me. It mimics a brick oven by soaking up and radiating intense heat evenly, which crisps the crust from underneath.
- Don’t Overload the Pizza: Too many wet toppings will steam the crust, making it soggy — less is more here.
- Hydration Levels Matter: The dough should be slightly sticky when kneading — higher water content helps create steam pockets that crisp the crust nicely.
- Brush with Olive Oil: A light coating of olive oil on the dough before baking locks in moisture and brown color, giving that irresistible crunch.
- Preheat the Oven: Oven temperature is everything. I learned the hard way that skipping the full preheat means dull crust — wait it out.
- Use a Thin Layer of Flour or Cornmeal: Dust your peel or pan generously to prevent sticking and add a subtle crunch.
- Let the Dough Rest: After shaping, let the dough rest 10 minutes before baking for better texture and less shrinkage.
Honestly, I used to rush the rise time and ended up with dense crusts. Patience pays off! Also, multitasking by prepping toppings while the dough rises keeps things smooth in the kitchen.
Variations & Adaptations
Customize your crispy pizza crust with these fun and easy variations:
- Gluten-Free Crust: Swap all-purpose flour for a gluten-free blend and add 1 teaspoon xanthan gum to help bind. Keep an eye on hydration, as GF dough behaves differently.
- Whole Wheat Crust: Use half whole wheat flour and half all-purpose for a nuttier flavor and more fiber. Add an extra tablespoon of water to keep it from drying out.
- Cauliflower Crust Hack: For a low-carb twist, mix finely grated cauliflower with cheese and egg, then bake on a pizza stone. The crisp comes from broiling at the end.
- Herb-Infused Dough: Knead in dried rosemary, thyme, or oregano for extra aroma.
- Overnight Cold Rise: Let the dough rise in the refrigerator overnight for deeper flavor and easier digestion. Just bring to room temp before shaping.
I personally love the cold rise hack — it adds a subtle tang that reminds me of artisan pizzerias. It’s a little more planning but so worth it!
Serving & Storage Suggestions
Serve your pizza hot and fresh for that perfect crackle with each bite. I like to slice mine on a wooden board, garnished with fresh basil leaves or a drizzle of good olive oil. Pair with a crisp salad or a cold beer to balance the richness.
If you have leftovers (rare, trust me), store slices in an airtight container in the fridge for up to 3 days. To reheat, pop slices in a hot skillet over medium heat for a few minutes to revive the crispiness — avoid microwaving unless you want a soggy mess.
For longer storage, freeze fully cooled slices wrapped tightly in foil or plastic wrap for up to 2 months. Reheat from frozen in a 375°F (190°C) oven on a baking sheet for 10-12 minutes.
Fun fact: The crust crisps up even more after resting a day, so if you’re making ahead, this recipe rewards patience.
Nutritional Information & Benefits
Each slice (assuming 8 slices per pizza) roughly contains:
| Calories | 220-250 kcal |
|---|---|
| Carbohydrates | 30-35g |
| Protein | 7-9g |
| Fat | 6-8g |
| Fiber | 1-3g (more if using whole wheat) |
This recipe uses olive oil, which is a heart-healthy fat rich in antioxidants. Using simple ingredients means you avoid preservatives and additives often found in store-bought dough. For those watching gluten, the variations make this recipe adaptable. Personally, I appreciate that this homemade crust feels nourishing and wholesome — a treat you can feel good about.
Conclusion
These crispy pizza crust hacks take the guesswork out of homemade pizza and deliver that perfect crunch every time. Whether you’re a kitchen newbie or a seasoned dough tamer, this recipe is flexible and forgiving — and you can customize it to fit your taste and dietary needs. Honestly, this crispy crust has become one of my kitchen staples because it’s just so satisfying and straightforward. Give it a try, tweak it your way, and share your favorite toppings too! Don’t be shy — leave a comment, share your success stories, or ask questions. I’m cheering you on from my kitchen to yours. Here’s to crispy, crackly, and utterly delicious pizza slices that bring everyone together!
FAQs About Crispy Pizza Crust
How do I get my pizza crust crispy without a pizza stone?
You can use a heavy-duty baking sheet flipped upside down and preheated in the oven to mimic a stone. Also, bake on the lowest rack to get heat closer to the crust.
Can I make the dough ahead of time?
Absolutely! Let it rise in the fridge overnight for better flavor and texture. Just bring it to room temperature before shaping.
Why is my pizza crust chewy instead of crispy?
Usually, this happens if the oven isn’t hot enough or if there are too many wet toppings. Preheating your oven and using a pizza stone help a lot.
What’s the best flour for crispy pizza crust?
Bread flour has more protein, which gives better gluten development and chewiness. But all-purpose flour works well too, especially with these hacks.
Can I freeze pizza dough?
Yes! After the first rise, divide and wrap dough balls tightly. Freeze for up to 3 months. Thaw in the fridge overnight before using.
Pin This Recipe!
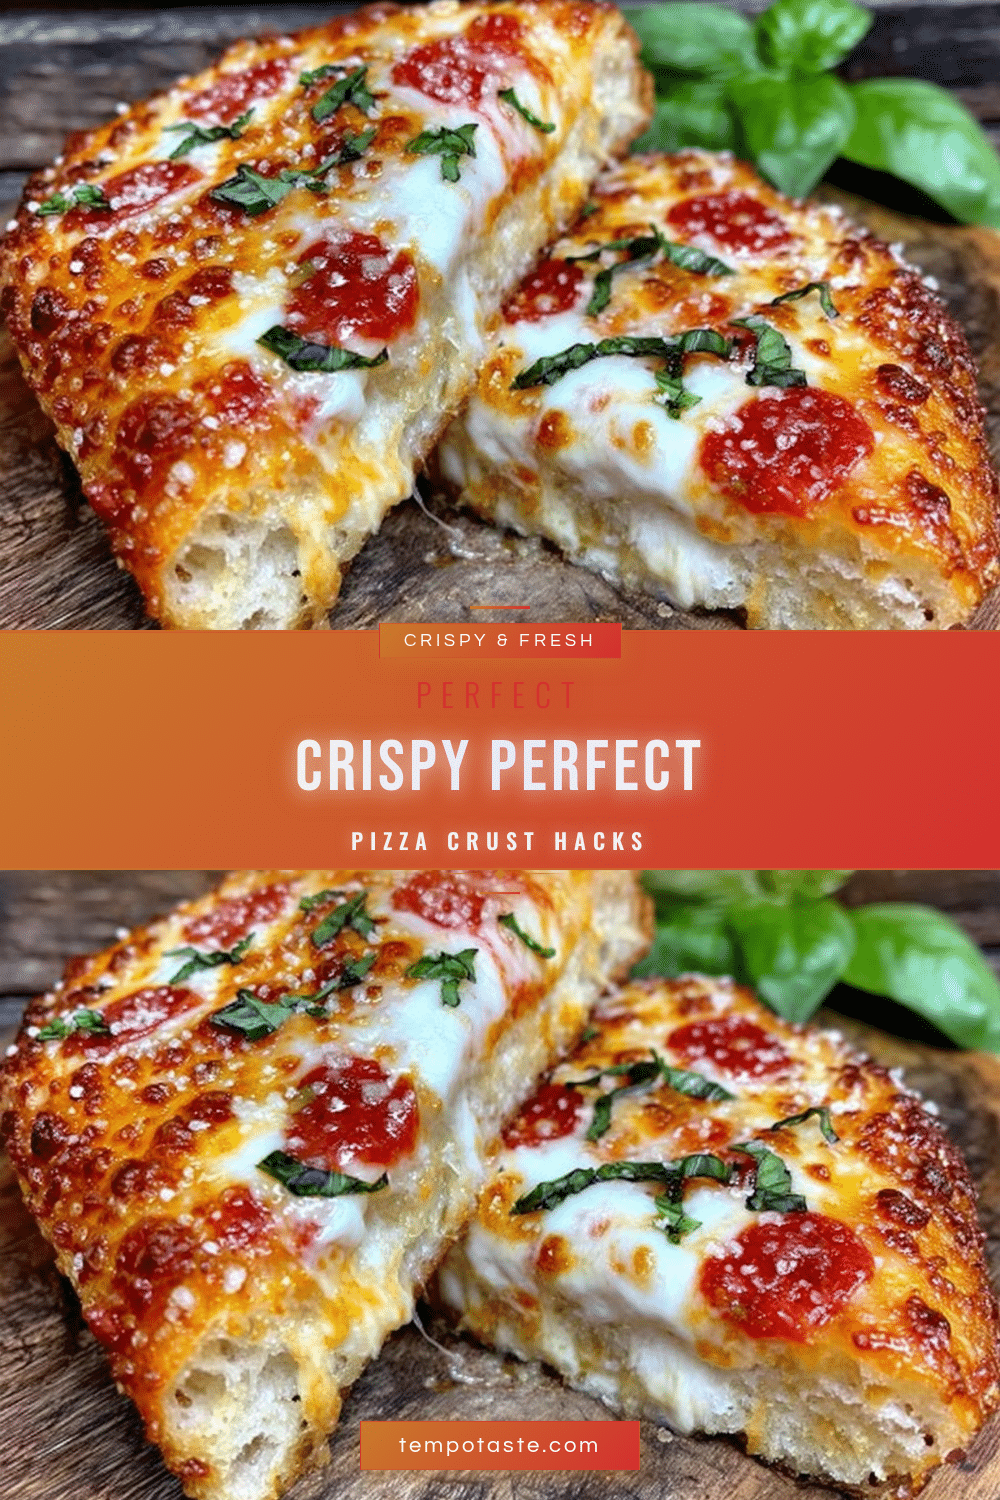
Crispy Pizza Crust Hacks 5 Easy Tips for the Perfect Slice

This recipe delivers a perfectly crispy pizza crust with simple ingredients and easy hacks, ideal for quick weeknight dinners or casual gatherings.
- Prep Time: 15 minutes
- Cook Time: 12 minutes
- Total Time: 1 hour 30 minutes
- Yield: 8 servings 1x
- Category: Main Course
- Cuisine: Italian
Ingredients
- 3 ½ cups (420g) all-purpose flour (can substitute bread flour or gluten-free blend with xanthan gum)
- 2 ¼ teaspoons instant yeast (one packet)
- 1 teaspoon sugar (optional)
- 1 ½ teaspoons salt
- 1 ¼ cups (300ml) warm water (about 110°F / 43°C)
- 2 tablespoons olive oil (plus extra for brushing)
- 2 tablespoons cornmeal or semolina for dusting
- Optional: garlic powder or Italian herbs
- Optional: honey (swap for sugar, same amount)
Instructions
- Activate the yeast by stirring warm water, sugar, and instant yeast in a large bowl. Let rest for 5 minutes until foamy.
- Mix dry ingredients: combine flour and salt (add garlic powder or Italian herbs if desired) in a separate bowl.
- Slowly add the flour mixture to the yeast mixture, stirring. Add olive oil. When too thick to stir, knead by hand or mixer.
- Knead dough for 8-10 minutes until smooth and elastic, slightly tacky but not sticky. Adjust flour or water as needed.
- Lightly oil a clean bowl, place dough inside, cover, and let rise in a warm spot for 1 to 1 ½ hours until doubled.
- Preheat oven and pizza stone or steel to 500°F (260°C) for at least 45 minutes.
- Punch down dough and divide if desired. Stretch or roll into a 12-inch circle on a floured surface.
- Sprinkle cornmeal or semolina on pizza peel or baking sheet to prevent sticking.
- Brush dough surface lightly with olive oil to lock in moisture and aid browning.
- Add sauce, cheese, and toppings of choice, avoiding too many wet toppings.
- Slide pizza onto hot stone or steel and bake for 8-12 minutes, rotating halfway, until crust is golden and cheese bubbles.
- Let pizza rest 2-3 minutes before slicing to set crust and prevent toppings from sliding.
- Optional: finish with a 1-2 minute broil for extra crispness, watching closely.
Notes
Use a pizza stone or steel for best crispness. Avoid overloading with wet toppings to prevent sogginess. Let dough rest 10 minutes after shaping for better texture. Preheat oven fully. For gluten-free, use gluten-free flour blend with xanthan gum. For dairy-free, olive oil replaces butter. Leftovers reheat best in a skillet or oven, not microwave.
Nutrition
- Serving Size: 1 slice (1/8 of pizz
- Calories: 235
- Sugar: 2
- Sodium: 300
- Fat: 7
- Saturated Fat: 1
- Carbohydrates: 32
- Fiber: 2
- Protein: 8
Keywords: crispy pizza crust, pizza dough, homemade pizza, pizza crust hacks, easy pizza crust, pizza stone, pizza recipe


