There was this one late Sunday afternoon when I realized I had just enough ingredients to whip up something sweet, but nothing too complicated. I wasn’t in the mood for a plain vanilla cake or the usual chocolate go-to. Honestly, I was kind of skeptical about trying a pink velvet bundt cake—pink cakes always sounded a bit gimmicky to me. But the idea of a moist, tender crumb paired with a shiny, glossy glaze nudged me to give it a shot.
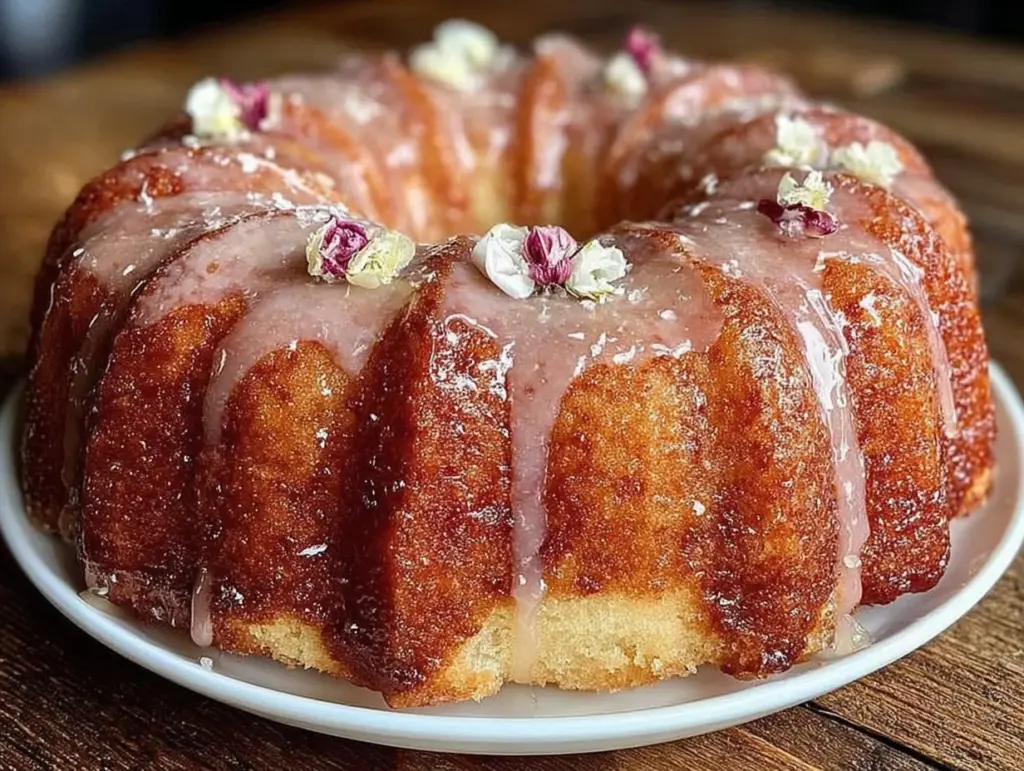
The kitchen smelled like a gentle mix of vanilla and cocoa, and as the batter swirled around the bowl, I couldn’t help but smile at how effortlessly the soft pink color came to life. When it came out of the oven, golden and puffed just right, I was honestly surprised by how moist and tender it was. The glaze added just the right amount of sweet shine, making every slice feel a little fancy without fuss.
Now, every time I make this Moist Pink Velvet Bundt Cake with Glossy Glaze, it feels like a small celebration—easy to pull together but impressive to serve. It’s the kind of cake that sneaks up on you, turning a simple afternoon into a sweet little moment worth savoring.
Why You’ll Love This Recipe
- Quick & Easy: This recipe comes together in under 45 minutes, perfect for those unexpected dessert cravings or last-minute get-togethers.
- Simple Ingredients: No need for fancy or hard-to-find items—just pantry staples you probably have on hand, like buttermilk and a hint of cocoa powder.
- Perfect for Celebrations: Whether it’s a birthday, brunch, or just a cozy weekend treat, this cake adds a lovely pop of color and flavor to any occasion.
- Crowd-Pleaser: Kids, adults, skeptics alike—everyone asks for seconds, especially when the glossy glaze catches the light.
- Unbelievably Delicious: The subtle cocoa undertone balances the sweetness, while the tender crumb stays moist for days.
What sets this cake apart is the balance between its delicate pink hue and that unmistakably rich, velvety texture. The glossy glaze isn’t just decoration—it adds moisture and a slight tang that cuts through the sweetness. Honestly, it’s the kind of recipe that surprised me more than once, proving that you don’t need complicated steps to impress.
If you’re looking for a recipe that feels fancy but is totally doable, this pink velvet bundt cake is it. It’s simple, satisfying, and just the right amount of indulgent without being over the top.
What Ingredients You Will Need
This Moist Pink Velvet Bundt Cake uses straightforward, wholesome ingredients to deliver that perfect texture and flavor without fuss. Most of these are pantry staples, with just a few easy-to-find items that make all the difference.
- All-purpose flour (2 ½ cups / 312 g) – for that tender yet sturdy crumb.
- Granulated sugar (1 ¾ cups / 350 g) – the sweet backbone.
- Unsweetened cocoa powder (2 tbsp / 15 g) – adds a gentle chocolate hint that deepens the pink.
- Baking soda (1 tsp) & baking powder (1 tsp) – for that perfect rise.
- Salt (½ tsp) – balances the sweetness.
- Buttermilk (1 cup / 240 ml) – the secret to moisture and tang (I love using Organic Valley buttermilk for consistency).
- Vegetable oil (1 cup / 240 ml) – keeps the cake moist and tender.
- Large eggs (3, room temperature) – structure and richness.
- Vanilla extract (2 tsp) – adds warmth and depth.
- Red food coloring (1 tbsp) – for that signature pink color (gel-based colors work best to avoid thinning the batter).
- White vinegar (1 tsp) – reacts with baking soda to give a light crumb.
For the Glossy Glaze:
- Powdered sugar (1 ½ cups / 180 g) – smooth sweetness.
- Milk (3-4 tbsp / 45-60 ml) – adjust for desired glaze thickness.
- Vanilla extract (1 tsp) – a touch of flavor.
- Butter (1 tbsp, melted) – adds shine and richness.
Substitution tips: You can swap almond milk for regular milk in the glaze to keep it dairy-free, and coconut oil works well in place of vegetable oil if you want a subtle tropical note.
Equipment Needed
- 10-12 cup bundt pan: Essential for that signature shape. I’ve had good luck with non-stick silicone pans for easy release, but a well-greased metal pan works just fine.
- Mixing bowls: A few medium and large bowls for wet and dry ingredients.
- Electric mixer or stand mixer: Makes the mixing quick and smooth, but a sturdy whisk will do if you don’t have one.
- Measuring cups and spoons: For precise ingredient amounts.
- Rubber spatula: To scrape down the bowl and fold in ingredients gently.
- Cooling rack: Allows the cake to cool evenly without sogginess.
For budget-friendly alternatives, a loaf pan can stand in for a bundt pan, though the presentation won’t be quite the same. I like to keep my bundt pans well-seasoned by wiping them with a bit of oil after each use—keeps the glaze from sticking.
Preparation Method
- Preheat your oven to 350°F (175°C). Grease your bundt pan generously with butter and dust with flour to prevent sticking. This step is key for a clean release later.
- Mix dry ingredients: In a large bowl, sift together 2 ½ cups all-purpose flour, 1 ¾ cups granulated sugar, 2 tablespoons cocoa powder, 1 teaspoon baking soda, 1 teaspoon baking powder, and ½ teaspoon salt. Whisk them well for even distribution (about 2 minutes).
- Combine wet ingredients: In another bowl, whisk 1 cup buttermilk, 1 cup vegetable oil, 3 large eggs, 2 teaspoons vanilla extract, 1 tablespoon red food coloring, and 1 teaspoon white vinegar until smooth and uniform in color — this usually takes about 2-3 minutes.
- Incorporate wet into dry: Slowly pour the wet mixture into the dry ingredients. Use a rubber spatula or mixer on low speed to blend until just combined. Be careful not to overmix; the batter should be smooth but slightly thick. Overworking can make the cake dense.
- Pour the batter evenly into the prepared bundt pan. Give the pan a gentle tap on the counter to release air bubbles.
- Bake for 45-50 minutes, or until a toothpick inserted into the center comes out clean. The cake should spring back lightly when touched. Avoid opening the oven door too early (no peeking!)—this can cause the cake to collapse.
- Cool the cake in the pan on a wire rack for 15 minutes. Then carefully invert it onto the rack and let it cool completely before glazing. This step prevents the glaze from melting off.
- Prepare the glaze: In a small bowl, whisk 1 ½ cups powdered sugar with 3-4 tablespoons milk, 1 teaspoon vanilla extract, and 1 tablespoon melted butter. Adjust milk quantity to get a pourable but thick consistency.
- Drizzle the glaze over the cooled cake using a spoon or a piping bag for more control. The glaze will set with a glossy finish in about 10 minutes.
If your cake looks a little uneven, no worries—that’s part of its charm. Just make sure to let it cool fully before glazing for the best shine and moisture retention.
Cooking Tips & Techniques
One trick I’ve learned is to always use room temperature eggs and buttermilk. It helps the batter come together more smoothly, and you avoid that dreaded curdled look in your mix. Also, when measuring flour, spoon it lightly into your cup and level it off rather than scooping—too much flour can dry out your cake.
Don’t skip sifting the cocoa powder with the flour. It’s a small step but keeps the batter silky smooth and free of clumps. When mixing, fold gently once you combine wet and dry ingredients to keep the crumb tender. I’ve definitely ended up with a dense cake when I got too enthusiastic with the mixer!
Using a gel-based red food coloring means you add less liquid, which helps keep the batter thick and the color vibrant. If the batter feels too thin, a quick chill in the fridge for 10 minutes can help it thicken up before baking.
When glazing, drizzle slowly from the center outwards and let gravity do the work. If your glaze is too runny, add a bit more powdered sugar; if too thick, a splash more milk. It’s a bit like Goldilocks but worth the fuss for that perfect gloss!
Variations & Adaptations
- Dietary Swap: For a gluten-free version, substitute the all-purpose flour with a 1:1 gluten-free baking flour blend. The texture comes out surprisingly close to the original.
- Flavor Twist: Add ½ teaspoon almond extract alongside vanilla for a delicate nutty aroma that pairs beautifully with the pink hue.
- Seasonal Flair: In spring or summer, fold in a handful of fresh raspberries or strawberries into the batter for bursts of fruitiness and an extra pop of color.
- Cooking Method: Try baking mini bundt cakes—adjust baking time to about 25-30 minutes. They make adorable individual servings for parties.
- Glaze Options: Swap the vanilla glaze for a cream cheese glaze (blend cream cheese, powdered sugar, and milk) to add tangy richness.
I once swapped in coconut yogurt for buttermilk when I was out, and while the texture was a little denser, the tropical undertones were a fun surprise. It’s a great option if you want a dairy-free spin.
Serving & Storage Suggestions
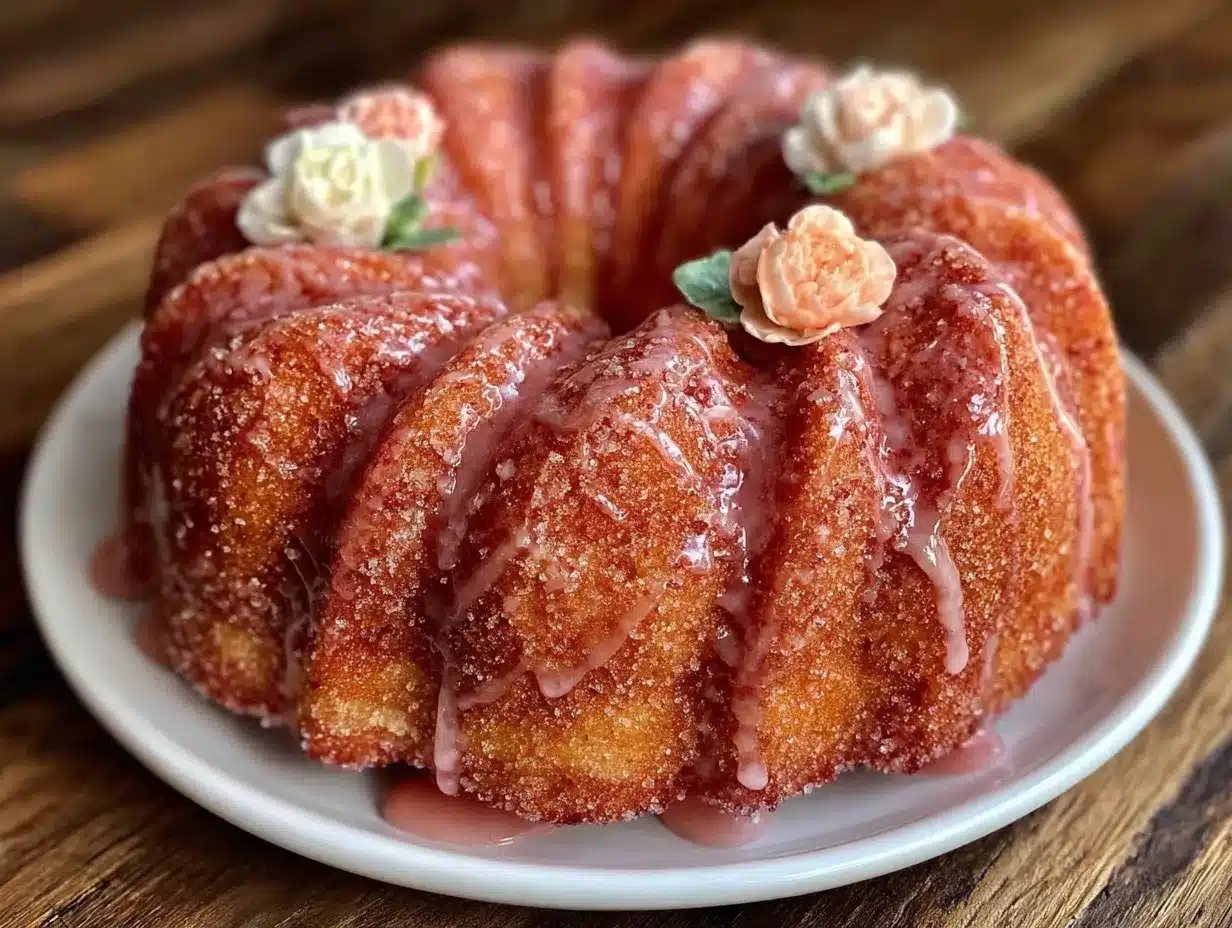
This cake is best served at room temperature, allowing the glaze to stay glossy and the crumb tender. For presentation, slice it thick to show off the gentle pink color contrasted with the shiny glaze. A dusting of powdered sugar or a few fresh berries on the side adds charm without extra effort.
Pair it with a cup of strong coffee or a light herbal tea—both balance the sweetness nicely. If serving at a brunch, it goes well alongside fresh fruit and a dollop of whipped cream.
Store the cake covered at room temperature for up to 2 days, or refrigerate for up to 5 days. If refrigerated, let it come back to room temperature before serving for best texture. You can also freeze slices wrapped tightly in plastic wrap and foil for up to 3 months. Thaw overnight in the fridge and refresh with a quick warm-up in the oven.
Interestingly, the flavors deepen a bit after a day, making leftovers even more enjoyable. Just don’t expect it to last long around here!
Nutritional Information & Benefits
Each slice (based on 12 servings) contains approximately 320 calories, 12 grams of fat, 45 grams carbohydrates, and 3 grams protein. The use of vegetable oil and buttermilk contributes to a moist, tender crumb without excess saturated fat.
The cocoa powder adds antioxidants, while buttermilk provides a dose of calcium and probiotics that aid digestion. This cake isn’t low-calorie, but it’s a balanced treat that fits nicely into a realistic eating plan.
For those with dietary needs, the recipe can be adapted to gluten-free and dairy-free versions without losing its charm. Just a heads up—contains eggs and dairy in the classic version, so watch for allergies.
Conclusion
This Moist Pink Velvet Bundt Cake with Glossy Glaze is one of those recipes that feels special without the fuss. It’s easy to make, visually striking, and honestly, it tastes like a little slice of celebration. I love how it brightens up an ordinary day or makes a simple gathering feel thoughtfully prepared.
Feel free to tweak it to your taste—whether that’s adding berries, swapping extracts, or trying different glazes. That’s the fun part, really, making it your own. I hope it brings a bit of sweet comfort and a splash of color to your kitchen, just like it did to mine.
If you try this recipe, I’d love to hear how it turned out or what variations you dreamed up. Baking’s better when shared, after all. Happy baking!
FAQs
What’s the difference between pink velvet and red velvet cake?
Pink velvet cake uses less cocoa powder and more red food coloring, resulting in a softer chocolate flavor and a brighter pink color compared to the deeper red and stronger cocoa taste of traditional red velvet.
Can I make this cake without a bundt pan?
Absolutely! A 9×13-inch baking pan or two 8-inch round pans work fine. Just adjust baking time—usually 30-40 minutes for round pans.
How do I prevent the cake from sticking to the bundt pan?
Grease the pan thoroughly with butter, then dust with flour or cocoa powder. Silicone pans also help with easy release.
Can I prepare the glaze in advance?
Yes, you can make the glaze a day ahead. Keep it refrigerated and give it a good stir before drizzling over the cake.
What’s the best way to store leftover cake?
Store in an airtight container at room temperature for up to 2 days or in the fridge for up to 5 days. For longer storage, freeze wrapped slices for up to 3 months.
Pin This Recipe!
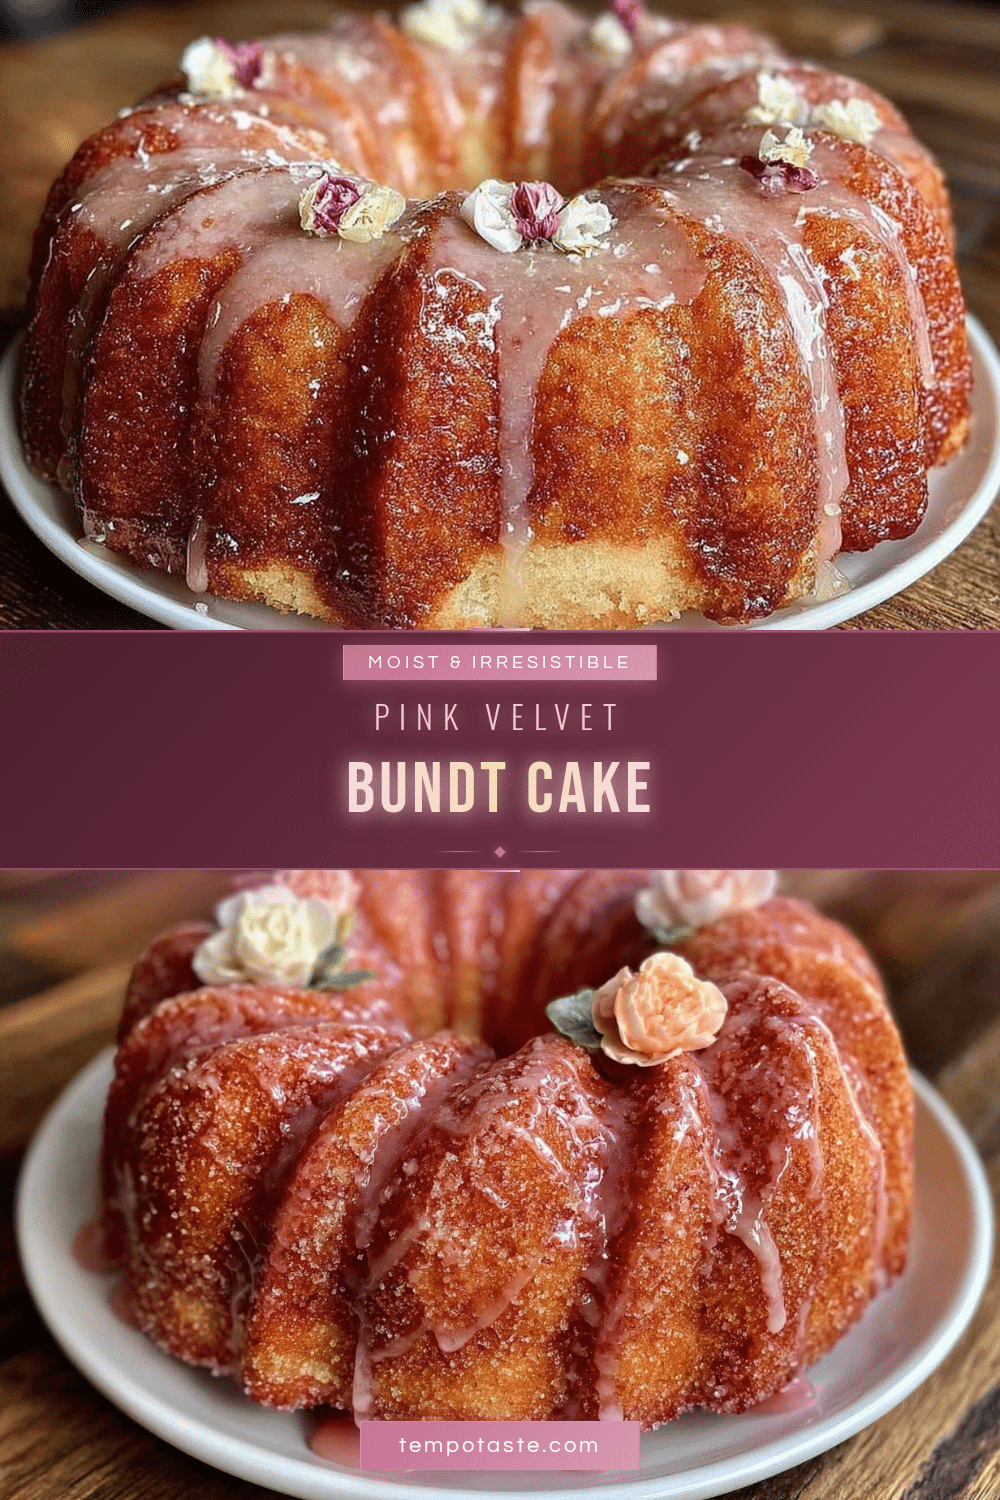
Moist Pink Velvet Bundt Cake with Glossy Glaze

A moist and tender pink velvet bundt cake with a subtle cocoa undertone, topped with a shiny, glossy glaze that adds moisture and a slight tang. Easy to make with simple pantry ingredients, perfect for celebrations or a cozy treat.
- Prep Time: 15 minutes
- Cook Time: 45-50 minutes
- Total Time: 60-65 minutes
- Yield: 12 servings 1x
- Category: Dessert
- Cuisine: American
Ingredients
- 2 ½ cups all-purpose flour (312 g)
- 1 ¾ cups granulated sugar (350 g)
- 2 tablespoons unsweetened cocoa powder (15 g)
- 1 teaspoon baking soda
- 1 teaspoon baking powder
- ½ teaspoon salt
- 1 cup buttermilk (240 ml)
- 1 cup vegetable oil (240 ml)
- 3 large eggs, room temperature
- 2 teaspoons vanilla extract
- 1 tablespoon red food coloring (gel-based recommended)
- 1 teaspoon white vinegar
- For the Glossy Glaze:
- 1 ½ cups powdered sugar (180 g)
- 3–4 tablespoons milk (45–60 ml)
- 1 teaspoon vanilla extract
- 1 tablespoon melted butter
Instructions
- Preheat your oven to 350°F (175°C). Grease your bundt pan generously with butter and dust with flour to prevent sticking.
- In a large bowl, sift together the flour, granulated sugar, cocoa powder, baking soda, baking powder, and salt. Whisk well for even distribution.
- In another bowl, whisk together the buttermilk, vegetable oil, eggs, vanilla extract, red food coloring, and white vinegar until smooth and uniform in color.
- Slowly pour the wet mixture into the dry ingredients. Use a rubber spatula or mixer on low speed to blend until just combined. Avoid overmixing.
- Pour the batter evenly into the prepared bundt pan. Tap the pan gently on the counter to release air bubbles.
- Bake for 45-50 minutes, or until a toothpick inserted into the center comes out clean and the cake springs back lightly when touched. Avoid opening the oven door early.
- Cool the cake in the pan on a wire rack for 15 minutes. Then invert onto the rack and let cool completely before glazing.
- Prepare the glaze by whisking powdered sugar, milk, vanilla extract, and melted butter in a small bowl. Adjust milk to achieve a pourable but thick consistency.
- Drizzle the glaze over the cooled cake using a spoon or piping bag. Let the glaze set with a glossy finish in about 10 minutes.
Notes
Use room temperature eggs and buttermilk for smooth batter. Spoon and level flour when measuring to avoid dryness. Use gel-based red food coloring to keep batter thick and color vibrant. Chill batter if too thin. Drizzle glaze slowly from center outwards. Adjust glaze thickness with powdered sugar or milk. For gluten-free, substitute flour with gluten-free baking blend. For dairy-free glaze, use almond milk instead of regular milk and coconut oil instead of vegetable oil.
Nutrition
- Serving Size: 1 slice (1/12 of cak
- Calories: 320
- Fat: 12
- Carbohydrates: 45
- Protein: 3
Keywords: pink velvet cake, bundt cake, glossy glaze, easy cake recipe, moist cake, homemade dessert, celebration cake


