Introduction
It was one of those nights when the power flickered out just as I was about to put the finishing touches on a dinner party dessert. Honestly, I wasn’t even sure if the oven would cooperate, and my usual go-to recipes felt too fussy for the moment. That’s when I remembered a little experiment I’d been playing around with—red velvet lava cakes with a gooey chocolate center. I wasn’t expecting much, just something to impress last-minute guests without a lot of stress.
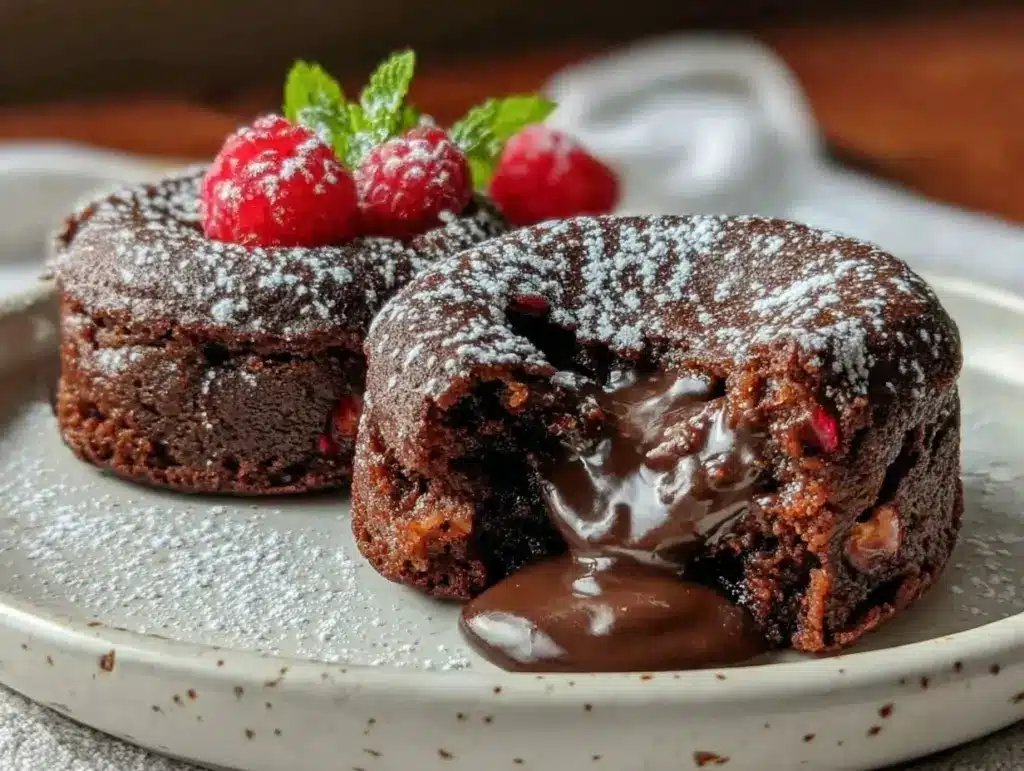
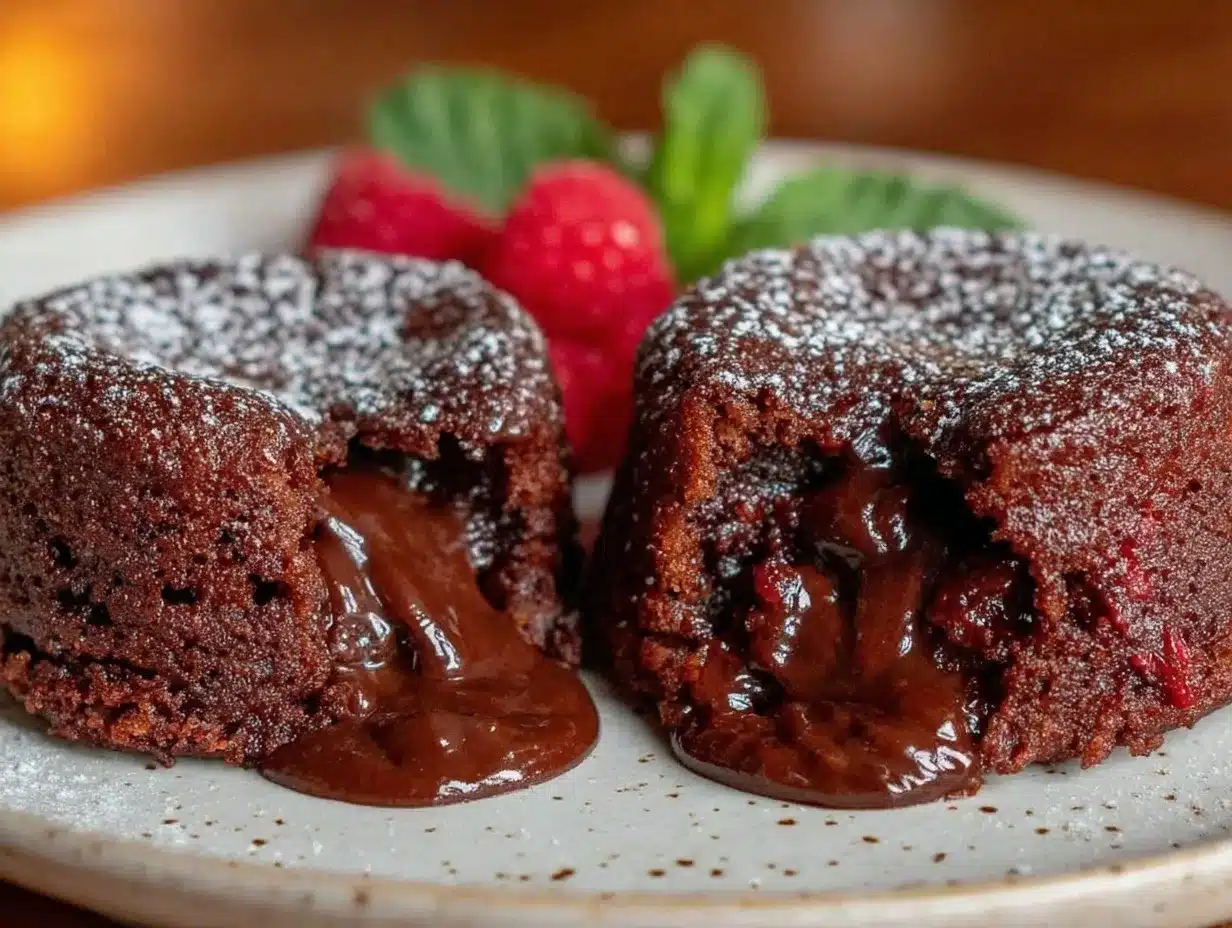
As the batter swirled with its rich crimson hue and the house filled with the smell of cocoa mingling with a hint of vanilla, I realized this wasn’t just another dessert. The first bite was like a warm hug on a chilly night—the smooth cake giving way to molten chocolate that pooled in my mouth. It became clear why this recipe had quietly become a staple for me, whether it’s a spontaneous celebration or a quiet night craving something indulgent. It’s the kind of dessert that feels special, but never too complicated to make.
After several tries and tweaks, this version of red velvet lava cakes with gooey chocolate center strikes the perfect balance. It’s rich but not overwhelming, sweet but not cloying, and always leaves you wanting just one more bite. The way the molten core oozes out is pure magic—trust me, it’s worth the wait. This recipe stuck with me because it turns simple ingredients into a little moment of decadence that feels like a treat, not a chore.
Why You’ll Love This Recipe
- Quick & Easy: Ready in about 25 minutes from start to finish, ideal for busy evenings or unexpected guests.
- Simple Ingredients: Uses pantry staples plus a few special touches like cocoa powder and red food coloring for that classic red velvet look.
- Perfect for Romantic Dinners & Celebrations: Whether it’s Valentine’s Day, a birthday, or just because, these cakes set the mood effortlessly.
- Crowd-Pleaser: Kids and adults alike rave about the combination of moist cake and molten chocolate center.
- Unbelievably Delicious: The contrast between the velvety cake and rich chocolate filling is pure comfort food bliss.
- Unique Technique: The secret is wrapping a small piece of chocolate inside the batter, so it melts perfectly while the cake bakes just right—no fancy equipment needed.
- This isn’t just red velvet cake; it’s an experience that makes you sigh with pleasure after the first bite.
What Ingredients You Will Need
This recipe comes together with straightforward ingredients that work in harmony to create that luscious blend of red velvet and molten chocolate. Most are pantry staples, with a few easy-to-find special items that make all the difference.
- All-purpose flour – ½ cup (65g) (for a tender crumb)
- Cocoa powder – 2 tablespoons (unsweetened, I recommend Ghirardelli for deep flavor)
- Sifted powdered sugar – 1 cup (120g) (balances the cocoa bitterness)
- Baking powder – ½ teaspoon (for lift)
- Salt – ¼ teaspoon (enhances flavor)
- Unsalted butter – 4 tablespoons (57g), melted and slightly cooled (adds richness)
- Buttermilk – ⅓ cup (80ml), room temperature (or milk with 1 tsp lemon juice, let sit 5 min)
- Vanilla extract – 1 teaspoon (pure vanilla is best)
- Large egg – 1, room temperature (for structure and moisture)
- Red food coloring – 1 to 1½ teaspoons (gel paste works best for vibrant color)
- Bittersweet or semisweet chocolate squares – 4 small pieces (one per cake), good quality like Valrhona or Lindt
Optional: A dusting of powdered sugar or a dollop of cream cheese frosting for serving.
Substitution tips: For a dairy-free version, swap buttermilk with almond or oat milk mixed with a teaspoon of apple cider vinegar, and use dairy-free butter. Gluten-free? Use a 1:1 gluten-free flour blend with xanthan gum.
Equipment Needed
- Ramekins or muffin tins: Four 6-ounce ramekins work perfectly; if you don’t have ramekins, a muffin tin lined with foil cups can substitute.
- Mixing bowls: At least two — one for dry ingredients, one for wet.
- Whisk and spatula: For mixing ingredients smoothly without overworking the batter.
- Measuring cups and spoons: Precise measurements matter for the perfect texture.
- Oven: Preheated and reliable for consistent baking.
- Cooling rack: To let cakes rest briefly before serving.
If you don’t have a kitchen scale, measuring cups will do, but I find weighing ingredients helps keep things consistent. When I first started making these, I used a muffin tin and lined it with parchment; that worked fine but ramekins give a nicer shape and better heat distribution.
Preparation Method
- Preheat your oven to 425°F (220°C). Butter and lightly flour four 6-ounce ramekins—this prevents sticking and helps the cakes release easily.
- In a medium bowl, whisk together the dry ingredients: ½ cup all-purpose flour, 2 tablespoons cocoa powder, 1 cup powdered sugar, ½ teaspoon baking powder, and ¼ teaspoon salt. Make sure they’re well combined with no lumps.
- In a separate bowl, combine the wet ingredients: Melted butter, ⅓ cup buttermilk, 1 teaspoon vanilla extract, 1 large egg, and 1 to 1½ teaspoons red food coloring. Whisk until smooth and the vibrant red color is consistent throughout—this usually takes about 2 minutes.
- Pour the wet ingredients into the dry, stirring gently but thoroughly with a spatula until just combined. The batter will be thick and glossy, and that’s exactly right—don’t overmix or it might get tough.
- Fill each ramekin halfway with batter, about ⅓ cup (80ml). Then, gently press a piece of chocolate square into the center of each.
- Top with the remaining batter, covering the chocolate completely but don’t overfill—leave a small gap at the top to allow for rising.
- Bake for 12 to 14 minutes. The edges should be set but the center will look slightly soft and jiggly—this is the gooey part you want. Keep a close eye starting at 12 minutes to avoid overbaking.
- Remove from oven and let cool for 2 minutes. Run a knife gently around the edges to loosen, then invert each cake onto a plate.
- Serve immediately while the chocolate center is molten and warm. If you wait too long, the lava effect diminishes.
Tip: If you find the chocolate isn’t melting enough, try a slightly higher oven temperature or use thinner chocolate pieces. Also, room temperature eggs and buttermilk make mixing easier and the cake texture smoother.
Cooking Tips & Techniques
One of the trickiest parts about red velvet lava cakes is getting the timing just right. You want the outside fully cooked but the inside beautifully molten. I learned the hard way that even a couple of extra minutes in the oven can turn the lava into a solid blob, and that’s just not what we’re after.
Using room-temperature ingredients helps everything blend more evenly, which leads to a silkier batter. I also recommend sifting the cocoa powder and flour together; it avoids clumps that can make the cake gritty.
Another tip: don’t skip greasing your ramekins thoroughly. I once had a cake stuck so badly it broke apart trying to get it out. Butter and a light dusting of flour is a fail-safe combo.
When melting butter, let it cool slightly before mixing with eggs—hot butter can scramble them. The red food coloring can stain, so I keep a small bowl and spoon just for mixing the batter.
Lastly, if you’re baking multiple batches, rotate your ramekins halfway through baking for even heat distribution, especially if your oven has hot spots.
Variations & Adaptations
- White Chocolate Center: Swap the bittersweet chocolate for white chocolate squares for a sweeter, creamier surprise inside.
- Vegan Version: Use flax egg (1 tbsp flaxseed meal + 3 tbsp water), plant-based butter, and almond milk mixed with vinegar instead of buttermilk. Use dairy-free chocolate as the center.
- Spiced Red Velvet: Add ¼ teaspoon cinnamon and a pinch of cayenne to the dry ingredients for a subtle warmth and depth that pairs beautifully with chocolate.
- Seasonal Twist: Mix in finely chopped fresh raspberries or strawberries on top of the chocolate before covering with batter for a fruity burst.
- Gluten-Free: Substitute all-purpose flour with a 1:1 gluten-free baking flour blend containing xanthan gum for structure—results have been reliably delicious.
Personally, I love adding a sprinkle of flaky sea salt on top right before serving—it cuts the sweetness and highlights the chocolate’s richness. It’s a small thing that makes a big impact.
Serving & Storage Suggestions
Serve these cakes warm, ideally fresh out of the oven or within 10 minutes. They pair beautifully with a scoop of vanilla ice cream or a dollop of whipped cream to balance the richness. A cup of strong coffee or a glass of red wine complements the flavors nicely, too.
If you need to store leftovers, cover the cakes tightly with plastic wrap and refrigerate for up to 2 days. Reheat gently in a microwave for about 20 seconds or in a warm oven at 300°F (150°C) for 5–7 minutes—just enough to soften the center without drying out the cake.
Keep in mind, the gooey center is best enjoyed fresh; over time, it firms up and loses that signature lava effect. But honestly, even when cooled, these cakes are still deliciously rich and satisfying.
Nutritional Information & Benefits
Each red velvet lava cake contains roughly 320 calories, with 18 grams of fat, 35 grams of carbohydrates, and 4 grams of protein. The cocoa powder adds antioxidants, and using buttermilk contributes calcium and vitamin B12.
This dessert isn’t an everyday treat, but it offers a comforting indulgence with a bit of nutritional value from quality ingredients. For those mindful of allergens, this recipe contains dairy, eggs, and gluten, but can be adapted as noted above.
From a wellness perspective, I appreciate that this recipe balances indulgence with simplicity—no artificial stabilizers or preservatives, just real ingredients you can trust.
Conclusion
These decadent red velvet lava cakes with gooey chocolate center are my go-to when I want to impress without stress. They combine classic flavors with a fun, molten surprise that feels special every time. You can tweak the recipe to suit your taste or dietary needs, but the heart of it remains the same—a rich, comforting bite that melts in your mouth and lingers in memory.
I love how this dessert turns simple ingredients into a little celebration on a plate, perfect for sharing or savoring solo. Try making it your own—add a personal twist, serve it with your favorite treat, and watch how quickly it becomes a favorite in your kitchen.
Feel free to share your thoughts or adaptations—I’m always curious to hear how you make this recipe yours. Here’s to many delicious moments ahead!
FAQs
Can I make these red velvet lava cakes ahead of time?
You can prepare the batter and fill the ramekins, then refrigerate for up to 24 hours before baking. Just add a couple of extra minutes to the baking time if baking straight from the fridge.
What if I don’t have red food coloring?
You can omit the food coloring for a chocolate lava cake version or use natural alternatives like beet juice powder, but the classic red velvet color won’t be as vibrant.
How do I know when the cakes are done?
The edges should be firm and set, but the center should still jiggle slightly when you gently shake the ramekin. Overbaking will cause the molten center to solidify.
Can I use chocolate chips instead of chocolate squares?
Yes, but use a handful (about 1 tablespoon) per cake and press them into the batter to create a gooey center. Larger chocolate pieces melt more evenly, though.
Are these cakes gluten-free?
The recipe as written contains gluten, but you can substitute with a gluten-free flour blend that includes xanthan gum for best results.
Pin This Recipe!
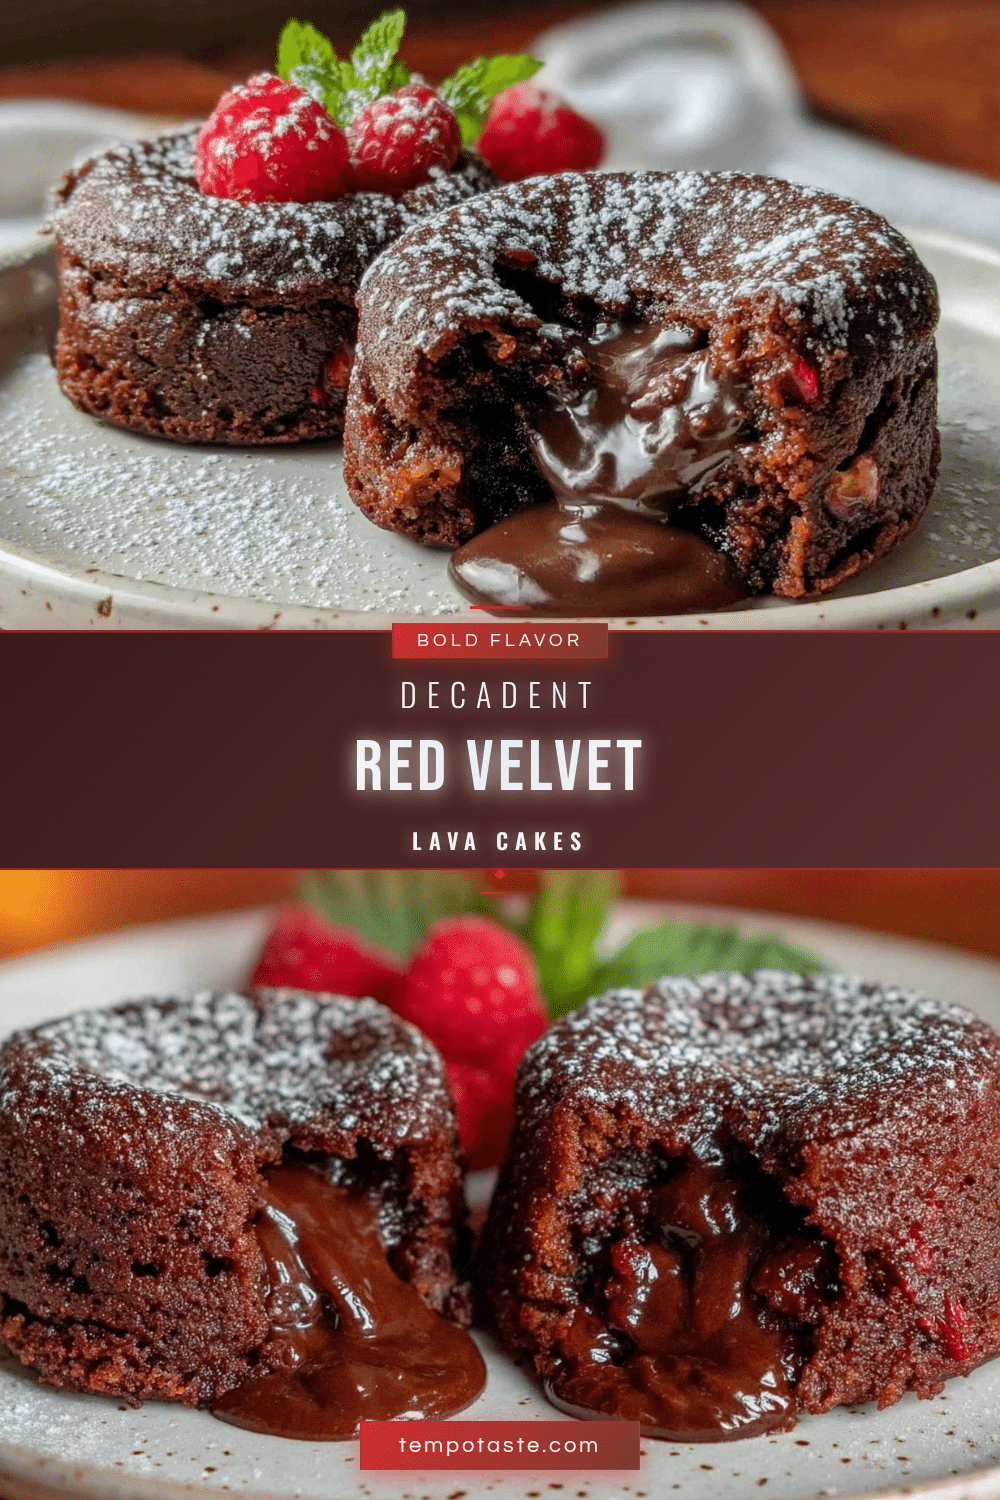
Decadent Red Velvet Lava Cakes Recipe Easy Homemade Gooey Chocolate Center

These red velvet lava cakes feature a rich, moist cake with a molten chocolate center, perfect for quick, impressive desserts that feel indulgent yet simple to make.
- Prep Time: 10 minutes
- Cook Time: 14 minutes
- Total Time: 24 minutes
- Yield: 4 servings 1x
- Category: Dessert
- Cuisine: American
Ingredients
- ½ cup (65g) all-purpose flour
- 2 tablespoons unsweetened cocoa powder
- 1 cup (120g) sifted powdered sugar
- ½ teaspoon baking powder
- ¼ teaspoon salt
- 4 tablespoons (57g) unsalted butter, melted and slightly cooled
- ⅓ cup (80ml) buttermilk, room temperature (or milk with 1 tsp lemon juice, let sit 5 min)
- 1 teaspoon vanilla extract
- 1 large egg, room temperature
- 1 to 1½ teaspoons red food coloring (gel paste preferred)
- 4 small pieces bittersweet or semisweet chocolate squares (one per cake)
Instructions
- Preheat your oven to 425°F (220°C). Butter and lightly flour four 6-ounce ramekins to prevent sticking.
- In a medium bowl, whisk together the dry ingredients: all-purpose flour, cocoa powder, powdered sugar, baking powder, and salt until well combined with no lumps.
- In a separate bowl, combine the wet ingredients: melted butter, buttermilk, vanilla extract, egg, and red food coloring. Whisk until smooth and evenly colored, about 2 minutes.
- Pour the wet ingredients into the dry ingredients and stir gently with a spatula until just combined. The batter should be thick and glossy; do not overmix.
- Fill each ramekin halfway with batter (about ⅓ cup or 80ml). Gently press a piece of chocolate square into the center of each.
- Top with the remaining batter, covering the chocolate completely but leaving a small gap at the top for rising.
- Bake for 12 to 14 minutes until edges are set but centers remain slightly soft and jiggly. Start checking at 12 minutes to avoid overbaking.
- Remove from oven and let cool for 2 minutes. Run a knife around edges to loosen, then invert each cake onto a plate.
- Serve immediately while the chocolate center is molten and warm.
Notes
Use room temperature ingredients for smoother batter and better texture. Do not overmix batter to avoid toughness. Grease ramekins thoroughly with butter and flour to prevent sticking. Check cakes at 12 minutes to ensure molten center. Rotate ramekins halfway through baking if your oven has hot spots. For dairy-free or gluten-free versions, see substitution tips in the recipe.
Nutrition
- Serving Size: 1 lava cake (1 of 4
- Calories: 320
- Fat: 18
- Carbohydrates: 35
- Protein: 4
Keywords: red velvet lava cakes, molten chocolate center, easy dessert, quick dessert, homemade lava cake, chocolate lava cake, red velvet cake


