“You know those moments when the clock’s ticking, the kids are hangry, and the idea of a complicated dessert feels like a cruel joke? That’s exactly when the Crispy Classic Rice Krispie Treats Recipe became my go-to lifesaver. Honestly, it all started because I was out of my usual snack stash and didn’t want to make a big mess. I figured, why not try whipping up those marshmallowy squares everyone raves about? Skeptical at first, I was surprised by how quickly they came together—just five minutes and a handful of pantry staples. The smell of melting marshmallows and butter filling the kitchen was oddly comforting amid the chaos.
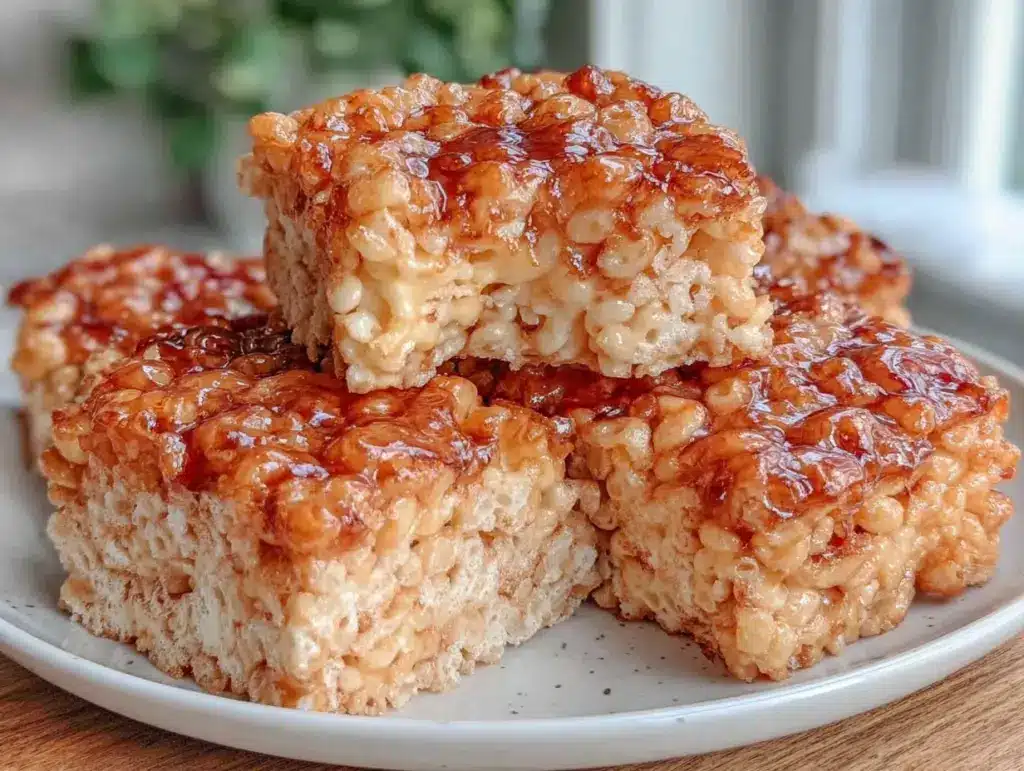
And then there’s the crunch—oh, that satisfying crispness as you bite into a treat that’s soft inside but with that perfect toasted snap. I remember my friend texting me later that evening, “Seriously, send me that recipe!” after trying them at a last-minute get-together. It’s funny how this simple snack has become a little ritual in my house, a reminder that sometimes the easiest recipes shine brightest. No frills, no fancy ingredients—just that classic, nostalgic flavor that never gets old. These treats aren’t just a recipe; they’re a cozy little pause in a busy day, and honestly, that’s why they stick around in my kitchen (and heart) for good.”
Why You’ll Love This Recipe
Having made the Crispy Classic Rice Krispie Treats Recipe more times than I can count, I can say with full confidence that it’s a winner for all the right reasons. Here’s why it quickly became a staple in my snack arsenal:
- Quick & Easy: Ready in just 5 minutes, making this recipe perfect for those last-minute snack attacks or when you’re juggling a million things.
- Simple Ingredients: No hunting down obscure items here. If you have marshmallows, butter, and Rice Krispies on hand, you’re set.
- Perfect for Any Occasion: Whether it’s a kid’s birthday party, a casual potluck, or just a cozy night in, these treats fit right in.
- Crowd-Pleaser: Kids, adults, picky eaters—you name it. Everyone asks for seconds.
- Unbelievably Delicious: That crispy, chewy texture combo is the kind of comfort food that makes you close your eyes and smile after the first bite.
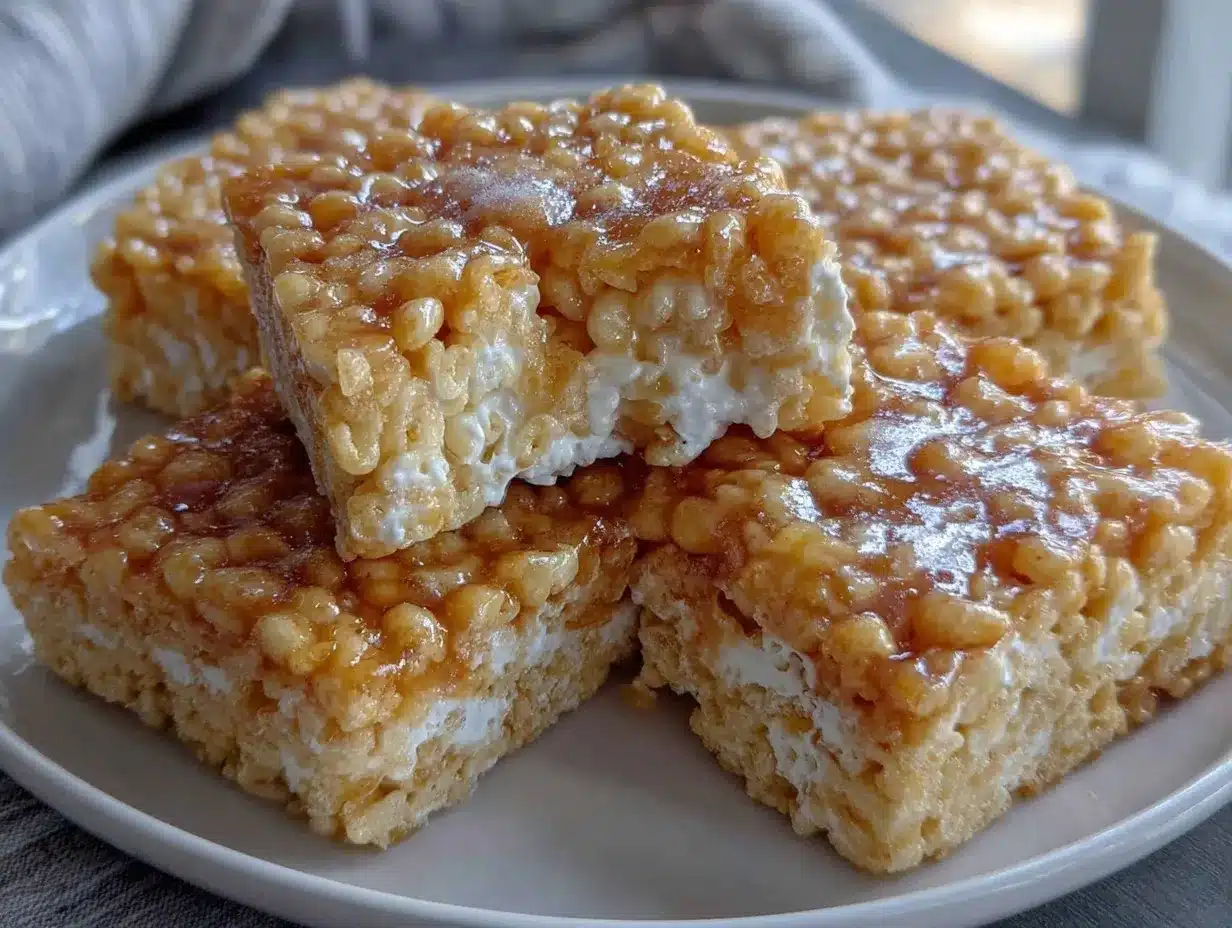
What really makes this recipe stand out is the balance—no overly sticky mess, no dry clumps. It’s all about melting the marshmallows just right, folding in the cereal gently, and pressing the mixture firmly but not too tight. I’ve tweaked the butter-to-marshmallow ratio a bit over time, and this version hits that sweet spot every time.
Plus, if you appreciate a quick homemade snack without the fuss, this recipe is a breath of fresh air. It’s like comfort food reimagined: faster, fuss-free, yet still delivering that nostalgic hit. Honestly, if you’ve enjoyed the rich indulgence of my classic Boston cream pie, this crispy treat is a playful, lighter companion for your sweet tooth cravings.
What Ingredients You Will Need
This recipe uses simple, wholesome ingredients to deliver bold flavor and satisfying texture without the fuss. Most of these are pantry staples, and substitutions are easy if needed.
- Unsalted butter (3 tablespoons) – I prefer Kerrygold for a rich, creamy melt that isn’t too salty.
- Mini marshmallows (4 cups or approximately 10 oz/280 g) – Using mini marshmallows helps them melt evenly and quickly, but regular size works if chopped roughly.
- Rice Krispies cereal (6 cups or 180 g) – The classic choice for that signature crispness. You can swap for gluten-free puffed rice cereal if needed.
- Vanilla extract (1 teaspoon) – Adds a subtle warmth and depth to the sweetness.
- Salt (a pinch) – Balances the sweetness and enhances the buttery flavor.
You can also get creative with add-ins, but this version keeps it pure and classic. If you’re feeling adventurous, try folding in some mini chocolate chips or a sprinkle of cinnamon for a cozy twist. For a dairy-free option, swap the butter with coconut oil and use vegan marshmallows. When I’m pressed for time but want a little flair, I sometimes add a dash of vanilla syrup instead of extract.
Equipment Needed
The beauty of this Crispy Classic Rice Krispie Treats Recipe is that it requires only basic kitchen equipment:
- Large saucepan or pot: For melting the butter and marshmallows together. A heavy-bottomed pan helps prevent scorching.
- Wooden spoon or silicone spatula: Essential for stirring marshmallows as they melt—silicone is great for scraping the sides.
- 9×13-inch (23×33 cm) baking dish or pan: For pressing the mixture into shape. If you don’t have this exact size, any similar shallow pan works.
- Non-stick spray or parchment paper: To grease the pan or line it for easy removal.
Personally, I find a silicone spatula the easiest tool for folding in the cereal without breaking it apart. When I’m in a pinch, a buttered hand works wonders for spreading and pressing the mixture evenly—just don’t burn yourself! For a budget-friendly option, any sturdy pot and a glass baking dish will do the trick. Keeping your pan well-greased or lined saves cleanup time, which is always a win.
Preparation Method
- Prepare your pan: Lightly grease a 9×13-inch (23×33 cm) baking dish with butter or non-stick spray. Alternatively, line it with parchment paper, leaving an overhang on the sides for easy removal later. Set aside. (2 minutes)
- Melt the butter: Place 3 tablespoons (43 g) of unsalted butter in a large saucepan over low heat. Stir occasionally until fully melted and bubbling gently. (3 minutes)
- Add marshmallows: Immediately add 4 cups (280 g) of mini marshmallows to the melted butter. Stir continuously with a wooden spoon or silicone spatula until all marshmallows are fully melted and smooth. Be patient here—low heat prevents burning and keeps the mixture silky. (4-5 minutes)
- Flavor it: Remove the pan from heat and stir in 1 teaspoon (5 ml) of vanilla extract and a pinch of salt. This little step balances the sweetness and adds a lovely warmth to the treats. (30 seconds)
- Fold in the Rice Krispies: Gently fold 6 cups (180 g) of Rice Krispies cereal into the melted marshmallow mixture. Use a folding motion to coat the cereal evenly without crushing it. The texture should be sticky but light. (2 minutes)
- Transfer and press: Immediately pour the mixture into your prepared pan. Using a buttered spatula or wax paper, press the mixture firmly but not too tightly to create an even layer. This prevents the treats from becoming too dense and maintains that crispy bite. (3 minutes)
- Cool and set: Let the treats cool at room temperature for at least 30 minutes before cutting into squares. This resting time lets the marshmallow firm up into that perfect chewy-crisp texture. (30 minutes)
- Cut and serve: Use a sharp knife, greased or warmed under hot water, to slice into 2-inch (5 cm) squares. Serve immediately, or store as desired. (5 minutes)
Quick tip: If your marshmallows aren’t melting smoothly, try lowering the heat and stirring more slowly to avoid scorching. Also, pressing the treats too hard can make them dense, so a gentle but firm touch is the sweet spot. Once cooled, the treats should snap cleanly but still feel soft in the middle.
Cooking Tips & Techniques
Making the perfect Crispy Classic Rice Krispie Treats Recipe is more about technique than complicated ingredients. Here are some lessons I learned from a few too many sticky situations:
- Low and slow melting: Melting the marshmallows over low heat prevents burning and keeps the texture silky. High heat will scorch and ruin the flavor.
- Use mini marshmallows: They melt more evenly and faster. If you only have large marshmallows, chop them roughly to speed up melting.
- Don’t over-press: Pressing the mixture firmly is good, but too much force makes the treats heavy and chewy instead of light and crispy.
- Grease your tools: Butter your spatula or hands before pressing or cutting to avoid sticking and tearing.
- Work quickly: Once marshmallows are melted, you want to fold in the cereal and press it into the pan before the mixture cools and hardens.
- Cut with a warm knife: Running your knife under hot water before slicing makes cleaner cuts without crumbling.
One time, I tried freezing the treats to speed cooling, but that made them crumbly and a little icy—definitely not recommended. Instead, patience at room temperature is key. Also, if you enjoy a bit of extra texture, adding a sprinkle of toasted coconut or chopped nuts can add a welcome crunch without messing with the classic vibe.
Variations & Adaptations
Want to mix things up a bit? The Crispy Classic Rice Krispie Treats Recipe is a versatile base that welcomes tweaks:
- Chocolate Lover’s Twist: Stir in 1 cup (175 g) of mini chocolate chips right after folding in the cereal for melty pockets of chocolate goodness. Or drizzle melted chocolate over the top once cool.
- Nutty Crunch: Add ½ cup (60 g) of chopped toasted almonds or pecans for an irresistible crunch and nutty flavor.
- Peanut Butter Swirl: Melt ½ cup (125 g) of peanut butter with the butter before adding marshmallows. This adds a rich, nutty depth that pairs beautifully with the marshmallow sweetness.
- Gluten-Free Option: Use certified gluten-free puffed rice cereal instead of Rice Krispies to keep the recipe safe for gluten sensitivities.
- Seasonal Flavors: For a festive touch, fold in dried cranberries and orange zest around the holidays, or a sprinkle of cinnamon and nutmeg for warmth.
I once tried a batch with crushed peppermint candies mixed in for a holiday party, and they were a hit! If you want a dairy-free version, substitute coconut oil for butter and use vegan marshmallows—just watch melting times as they can vary.
Serving & Storage Suggestions
Crispy Classic Rice Krispie Treats are best served fresh at room temperature, when that signature crisp-chewy contrast shines brightest. For a fun presentation, cut them into bite-sized squares and stack them on a platter for parties or pack them individually for grab-and-go snacks.
They pair wonderfully with a cold glass of milk, or if you’re in the mood for something warm, try serving alongside a cup of creamy hot chocolate or an espresso latte (like the one in my creamy iced pistachio latte recipe) to balance the sweetness.
To store, place treats in an airtight container at room temperature for up to 3 days. If you want to keep them longer, wrap individual squares tightly in plastic wrap and freeze for up to 3 months. When ready to enjoy, let thaw at room temperature—avoid microwaving or reheating, as that can make them sticky or tough. Over time, the treats soften slightly but flavors mellow and deepen, which some folks love.
Nutritional Information & Benefits
While Crispy Classic Rice Krispie Treats are definitely a treat and not an everyday snack, here’s a rough idea of what you’re enjoying in each 2-inch (5 cm) square:
| Calories | 110-130 kcal |
|---|---|
| Fat | 3-5 g (mostly from butter) |
| Carbohydrates | 22-25 g (mostly sugars and cereal carbs) |
| Protein | 1-2 g |
The key ingredients like butter and marshmallows provide energy-dense comfort, while the Rice Krispies cereal adds light crunch without overwhelming richness. For those watching gluten, be sure to use a certified gluten-free cereal option. Also, keep in mind the marshmallows contain gelatin, so they’re not suitable for vegetarians who avoid it.
From a wellness perspective, these treats are a nostalgic indulgence—perfect for sharing and lifting spirits when you need a little homemade joy. They remind me how simple ingredients can create moments of happiness, which sometimes is just as nourishing as nutrition.
Conclusion
There’s something undeniably satisfying about the Crispy Classic Rice Krispie Treats Recipe that keeps me coming back. It’s quick, fuss-free, and reliably delicious—perfect for when life gets busy or when you just want that familiar chewy-crisp comfort without the wait. I love how easy it is to customize, making it a snack that fits any mood or occasion.
Whether you stick to the classic or try a variation like peanut butter swirl or chocolate chips, these treats deliver smiles every time. Honestly, I never thought a simple marshmallow and cereal combo could feel so cozy and special. If you give this recipe a try, I’d love to hear how you make it your own—drop a comment or share your favorite twist!
Here’s to many more crispy, sweet moments in your kitchen.
FAQs
Can I use regular marshmallows instead of mini marshmallows?
Yes, but chopping them into smaller pieces helps them melt evenly and faster, preventing clumps.
How do I keep the Rice Krispie treats from getting too sticky?
Make sure to melt the marshmallows on low heat and avoid pressing the mixture too firmly when transferring to the pan.
Can I make these treats ahead of time?
Absolutely! Store them in an airtight container at room temperature for up to 3 days or freeze wrapped tightly for longer storage.
What’s the best way to cut the treats for clean edges?
Use a sharp knife warmed under hot water and greased lightly to slice without crumbling.
Is there a dairy-free version of this recipe?
Yes, swap butter for coconut oil and use vegan marshmallows. Melting times may vary slightly, so watch closely.
Pin This Recipe!
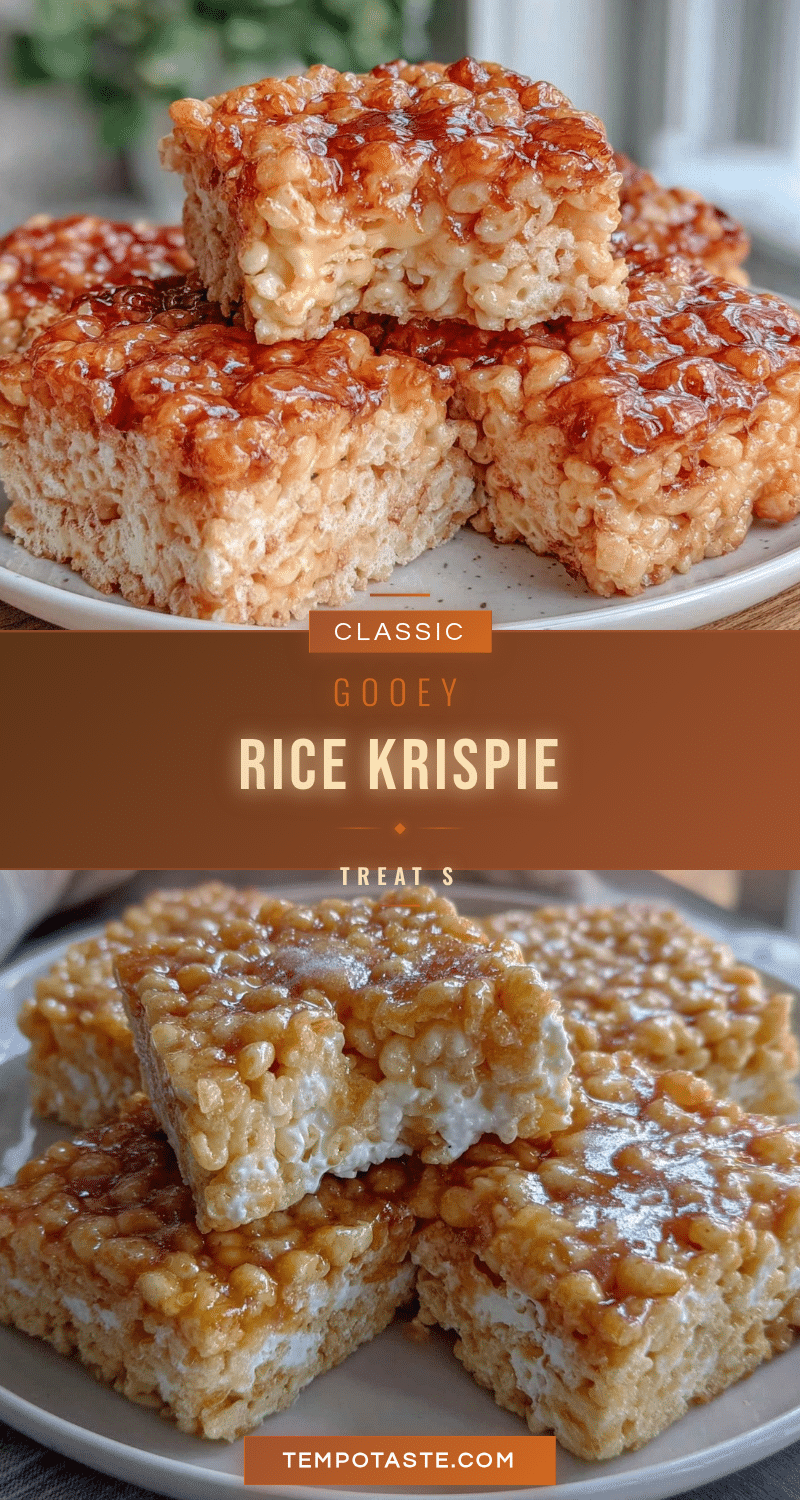
Crispy Classic Rice Krispie Treats Recipe Easy Homemade Snack in 5 Minutes

A quick and easy recipe for classic crispy and chewy Rice Krispie treats made with marshmallows, butter, and Rice Krispies cereal. Ready in just 5 minutes, perfect for a nostalgic homemade snack.
- Prep Time: 5 minutes
- Cook Time: 10 minutes
- Total Time: 45 minutes
- Yield: 12 servings 1x
- Category: Snack
- Cuisine: American
Ingredients
- 3 tablespoons unsalted butter
- 4 cups mini marshmallows (approximately 10 oz / 280 g)
- 6 cups Rice Krispies cereal (180 g)
- 1 teaspoon vanilla extract
- Pinch of salt
Instructions
- Lightly grease a 9×13-inch baking dish with butter or non-stick spray, or line it with parchment paper with an overhang for easy removal. Set aside.
- Place 3 tablespoons of unsalted butter in a large saucepan over low heat. Stir occasionally until fully melted and bubbling gently.
- Immediately add 4 cups of mini marshmallows to the melted butter. Stir continuously with a wooden spoon or silicone spatula until all marshmallows are fully melted and smooth.
- Remove the pan from heat and stir in 1 teaspoon of vanilla extract and a pinch of salt.
- Gently fold 6 cups of Rice Krispies cereal into the melted marshmallow mixture using a folding motion to coat the cereal evenly without crushing it.
- Pour the mixture into the prepared pan. Using a buttered spatula or wax paper, press the mixture firmly but not too tightly to create an even layer.
- Let the treats cool at room temperature for at least 30 minutes to set.
- Use a sharp knife, greased or warmed under hot water, to slice into 2-inch squares. Serve immediately or store as desired.
Notes
Use low heat to melt marshmallows to avoid burning. Press the mixture firmly but not too tight to keep treats light and crispy. Use a warm, greased knife for clean cutting. For dairy-free, substitute butter with coconut oil and use vegan marshmallows. Variations include adding chocolate chips, nuts, or peanut butter swirl.
Nutrition
- Serving Size: 1 square (2-inch)
- Calories: 120
- Sugar: 15
- Sodium: 90
- Fat: 4
- Saturated Fat: 2.5
- Carbohydrates: 24
- Protein: 1.5
Keywords: Rice Krispie treats, marshmallow treats, easy snack, quick dessert, homemade snack, classic recipe


