“You’re telling me this bread needs no kneading at all?” I remember muttering skeptically, watching my friend pull a crusty, golden loaf from her oven. It was late Sunday afternoon, and I’d just about given up on my usual weekend baking experiment going right. The kitchen smelled like warm yeast and toasted flour, but honestly, I wasn’t convinced a no-knead method could deliver that kind of crust and crumb.
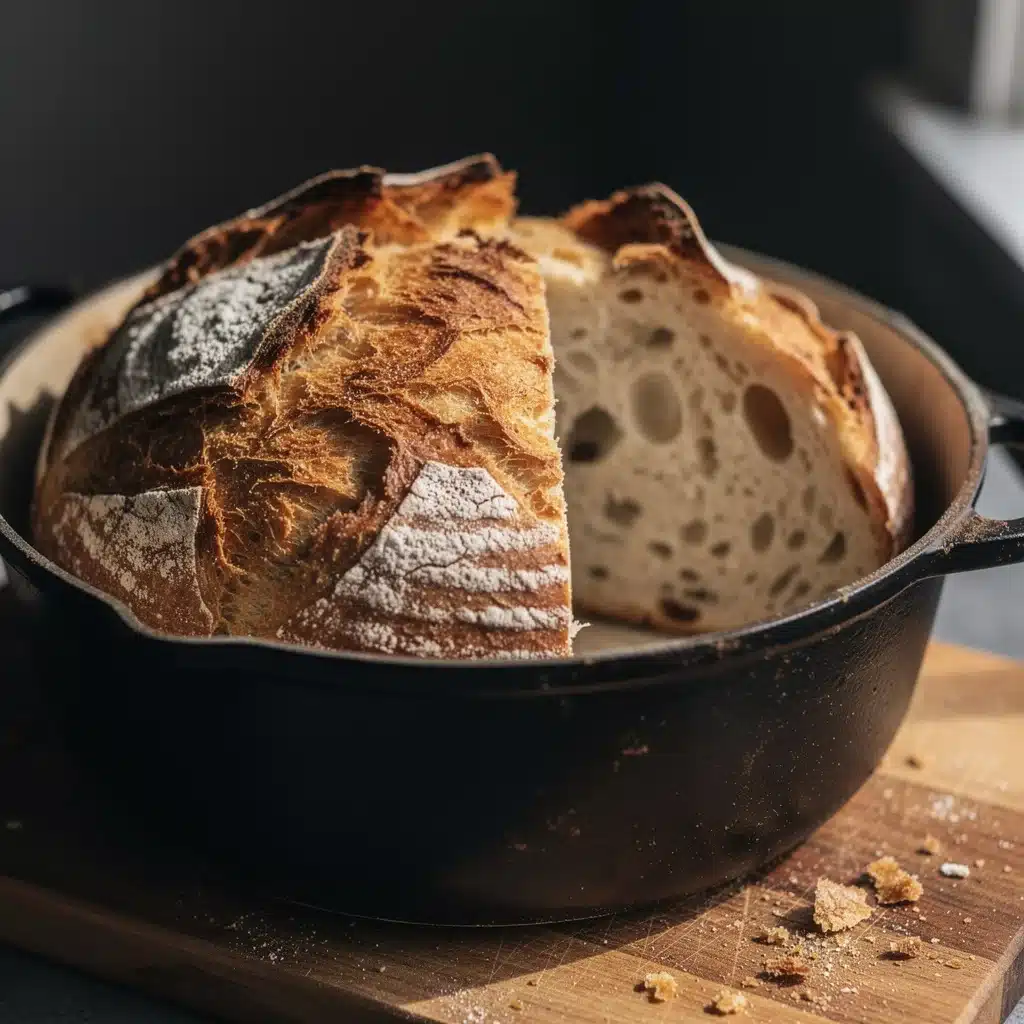
That first bite—crackly crust giving way to a soft, pillowy inside—quieted my doubts immediately. After a few tries (okay, maybe six or seven times in one week), I realized this crispy no-knead artisan bread loaf made easy wasn’t just a fluke or a lucky break. It was a game-changer for my hectic weekends.
See, I’m not really a baker, but this recipe feels like cheating in the best way possible. It fits perfectly with those lazy mornings when I want fresh bread but zero fuss. No hours of kneading, no fancy mixers—just a simple mix, a long rest, and a hot oven that does all the work. Plus, the crust? Oh, that’s the kind that makes you want to tear off a big chunk and savor every crumb.
There’s something quietly satisfying about the ritual too—stirring the dough, letting it rise overnight, and waking up to the smell that fills the kitchen. It’s the kind of bread that turns a simple breakfast into a special moment. Honestly, it’s stuck with me because it’s practical but still feels like a small kitchen victory every time. No stress, no mess, just really good bread waiting to be devoured.
Why You’ll Love This Recipe
After countless batches and tweaks, this crispy no-knead artisan bread loaf has become my go-to for homemade bread that impresses without the hassle. Here’s why it earns a permanent spot on my recipe list:
- Quick & Easy: Mix it up in 10 minutes, then let the dough rest at its own pace—perfect for busy days or when you want fresh bread with minimal effort.
- Simple Ingredients: No fancy flours or additives here—just flour, water, salt, and yeast, all pantry staples you probably already have.
- Perfect for Any Occasion: Whether you’re hosting a cozy dinner or just craving a crusty loaf for your morning toast, this recipe fits the bill.
- Crowd-Pleaser: Friends and family always ask for seconds. The crust’s crunch and tender crumb are just irresistible.
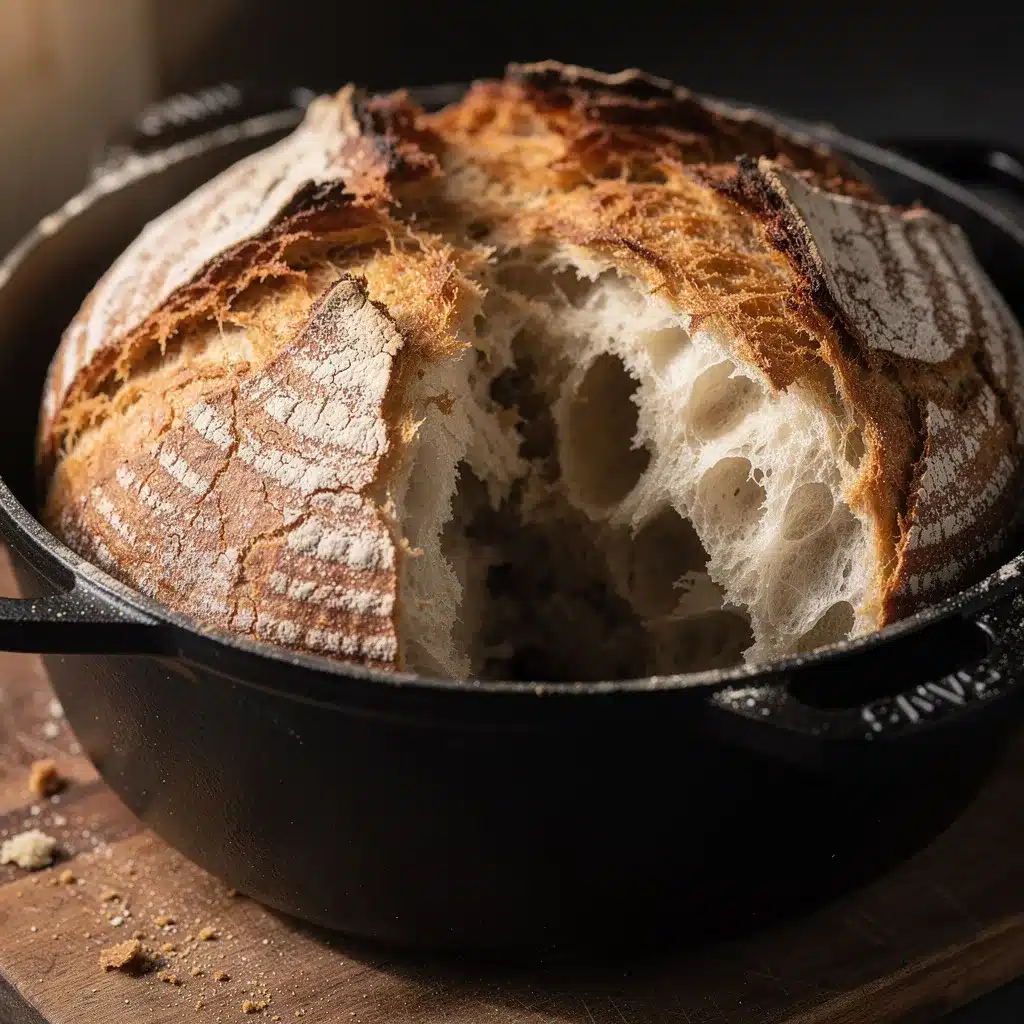
- Unbelievably Delicious: That perfect balance of chewy interior and crackly crust feels like artisan bread from a bakery, but it’s all yours.
What sets this apart from other no-knead bread recipes? I like to let the dough ferment a bit longer for a richer flavor and develop a slightly more open crumb. I also swear by baking it in a heavy Dutch oven to trap steam, which gives the crust that coveted crispiness. If you’ve ever tried making bread and wondered why the crust wasn’t quite right, this little trick makes all the difference.
Honestly, this recipe isn’t just bread—it’s a reminder that you can make something special without complicated steps or fancy equipment. It’s perfect for those moments when you want to impress without the stress, or simply enjoy the magic of fresh-baked goodness any day of the week.
What Ingredients You Will Need
This recipe uses simple, wholesome ingredients to deliver bold flavor and satisfying texture without the fuss. All of these are kitchen staples, and you can find them easily in most grocery stores.
- All-purpose flour (3 cups / 360 grams) – I prefer a brand like King Arthur for consistent results and good gluten development.
- Instant yeast (1/4 teaspoon) – Using instant yeast means no proofing needed, just mix and go.
- Salt (1 1/2 teaspoons) – Fine sea salt works best to evenly season the dough.
- Lukewarm water (1 1/2 cups / 360 ml) – Around 75-80°F (24-27°C) to help activate the yeast gently.
That’s it. No oils, sugars, or fancy enhancers—just the basics creating that perfect artisan loaf. If you want to experiment a bit, you can try this with bread flour for a chewier texture or swap some of the all-purpose flour with whole wheat for a nuttier flavor. When I’ve tried adding herbs or seeds, it’s been fun but sometimes interferes with that classic airy crumb, so I save those for special loaves.
Tip: If you want to go gluten-free, this recipe won’t work as-is, but you might like my flavor-packed pantry cleanout dinner ideas which feature some gluten-free options that are just as satisfying.
Equipment Needed
- Large mixing bowl: A big one that can handle the sticky dough comfortably. Glass or stainless steel works well.
- Wooden spoon or spatula: For stirring the dough. No mixer needed here!
- Dutch oven or heavy oven-safe pot: This is key for baking. The lid traps steam, which creates that crispy crust. If you don’t have a Dutch oven, a cast-iron pot or even a deep oven-safe casserole dish with a lid can work.
- Parchment paper: To easily transfer the dough to the pot and prevent sticking.
- Kitchen towel or plastic wrap: For covering the dough while it rises.
I started baking this bread with a plain metal pot and noticed the crust wasn’t as crackly—investing in a good Dutch oven changed the game. But hey, if you’re on a budget, using a covered roasting pan or a large covered saucepan can still get you tasty results. Just remember to preheat it well for that oven spring!
Preparation Method
- Mix the dough: In your large bowl, combine 3 cups (360 g) of all-purpose flour, 1/4 teaspoon instant yeast, and 1 1/2 teaspoons of salt. Stir them together so the yeast and salt are evenly distributed.
- Add water: Pour in 1 1/2 cups (360 ml) of lukewarm water. Using a wooden spoon or spatula, stir until a shaggy, sticky dough forms—this should take about 2-3 minutes. The dough will be sticky and rough; that’s exactly what you want.
- First rise: Cover the bowl with a kitchen towel or plastic wrap and leave it at room temperature for 12 to 18 hours. This long, slow fermentation develops flavor and texture. You’ll know it’s ready when the surface is bubbly and the dough has doubled in size.
- Shape the dough: Lightly flour a clean surface and your hands. Scrape the dough onto the surface—it will be sticky and loose, but resist the urge to add too much flour. Fold it over itself gently a few times to shape it into a rough ball. Cover it with a towel and rest for 30-60 minutes.
- Preheat the oven: About 30 minutes before baking, place your Dutch oven with the lid inside your oven and preheat to 450°F (230°C). This step is important to get the pot hot enough for a good crust.
- Transfer the dough: Carefully remove the hot Dutch oven from the oven. Using parchment paper, lift the dough ball and place it inside. Cover with the lid.
- Bake with lid on: Bake for 30 minutes. The steam trapped inside helps form that crispy crust and tender crumb.
- Finish baking: Remove the lid and bake for another 10-15 minutes to brown the crust to your liking. The bread should sound hollow when tapped.
- Cool: Transfer the loaf to a wire rack and let it cool completely before slicing. This final step lets the crumb set and keeps the bread from being gummy inside.
Pro tip: If the crust gets a little too dark for your taste, tent it with foil during the last 10 minutes. Also, cutting the bread right away is tempting, but patience pays off with better texture.
Cooking Tips & Techniques
Making this crispy no-knead artisan bread loaf feel like second nature took a few tries—here are some insights from my kitchen:
- Don’t skip the long rise: I know it sounds like a long wait, but that slow fermentation is what brings out that deep, complex flavor and airy crumb. Trying to rush it results in dense bread.
- Keep water temperature right: Too hot and you’ll kill the yeast; too cold and it won’t activate well. Lukewarm is ideal—think bathwater temperature (around 75-80°F or 24-27°C).
- Use a heavy pot with a tight lid: A well-sealed Dutch oven traps steam and creates the perfect environment for a crunchy crust. I once tried baking the loaf on a baking sheet and it just wasn’t the same.
- Flour your hands lightly, not heavily: When shaping, avoid adding too much flour. It can dry out the dough and make the crust tougher.
- Multitask during the rise: This is a great recipe for busy days. Mix the dough before bed, let it rise overnight, then bake fresh bread in the morning. The smell alone is worth it.
One time, I forgot the dough on the counter for 24 hours instead of 18—surprisingly, it was even better! Just keep an eye on it; if it smells too sour, it might be over-fermented.
Variations & Adaptations
Feel free to tweak this recipe to suit your mood, diet, or season:
- Herb-infused bread: Add a tablespoon of fresh chopped rosemary or thyme to the dry ingredients for a fragrant twist.
- Whole wheat blend: Swap half of the all-purpose flour with whole wheat flour for a heartier, nuttier loaf.
- Gluten-free attempt: This recipe isn’t naturally gluten-free, but you can try a gluten-free flour blend and add xanthan gum. Expect a different texture but still tasty.
- Cold fermentation: For an even deeper flavor, place the dough in the fridge for up to 48 hours during the first rise before shaping and baking.
- Alternative baking vessels: No Dutch oven? Try a covered clay baker or a heavy cast-iron skillet with a metal bowl as a cover.
I’ve tried adding olives and sun-dried tomatoes once, but I love the classic simplicity too much to stray often. If you want a quick snack to go with your bread, try pairing it with my easy homemade hummus—it’s a combo that never disappoints.
Serving & Storage Suggestions
This bread is best served fresh and warm, ideally within a few hours of baking. The crust is at its crispiest and the crumb softest right out of the oven.
- Slice thick for toast, or tear chunks for dipping into soups or sauces.
- Pairs beautifully with butter, olive oil, or a spread like the creamy southern-style pimento cheese dip.
- Store leftovers at room temperature in a paper bag or bread box for up to 2 days to keep the crust from softening too much.
- For longer storage, slice and freeze in an airtight bag. Toast slices directly from the freezer for a fresh-baked feel.
- Reheating in a 350°F (175°C) oven for 5-10 minutes restores some crunch if the bread has gone a bit stale.
Over time, the flavors mellow and the crumb firms up slightly, making it excellent for sandwiches the next day. I often use leftover slices for homemade croutons or a rustic bread pudding.
Nutritional Information & Benefits
Here’s a rough breakdown per slice (based on 12 slices per loaf):
| Calories | 150-170 kcal |
|---|---|
| Carbohydrates | 30-35 g |
| Protein | 5-6 g |
| Fat | 0.5-1 g |
| Fiber | 1-2 g |
This bread is naturally vegan and free from additives, making it a wholesome choice. Using unbleached all-purpose flour means you’re getting minimal processing. If you swap in whole wheat flour, you add more fiber and nutrients.
For those watching carbs, this bread is moderate but satisfying—perfect for balanced meals focused on real food. I appreciate that it contains very few ingredients and no preservatives, making it a better option than many store-bought breads.
Conclusion
This crispy no-knead artisan bread loaf made easy has earned a permanent place in my kitchen routine. It’s foolproof enough for beginners yet yields a bakery-quality crust and crumb that’ll impress any bread lover. What I love most is how it turns a handful of simple ingredients into something that feels special without stealing your whole day.
Feel free to make it your own—whether that’s adding herbs, trying a longer rise, or pairing it with your favorite spreads. Baking bread doesn’t have to be complicated, and this recipe is proof. It’s all about enjoying the process and, of course, the delicious results.
If you give it a try, I’d love to hear how it goes—share your tweaks or moments when you pulled that piping-hot loaf from the oven. There’s nothing like the joy of fresh bread, is there?
FAQs about Crispy No-Knead Artisan Bread Loaf
How long does the dough need to rise?
The dough should rise for 12 to 18 hours at room temperature. This slow fermentation develops flavor and texture, so don’t rush it!
Can I make this bread without a Dutch oven?
Yes, you can use a heavy oven-safe pot with a lid, a cast-iron skillet covered with a metal bowl, or a clay baker. The key is trapping steam during baking to get a crispy crust.
Why is the dough so sticky?
Sticky dough is normal for no-knead bread. It means the hydration level is high, which helps create an open crumb and chewy texture. Use floured hands to handle it gently.
Can I add seeds or herbs to the dough?
Absolutely! Try adding fresh herbs like rosemary or thyme, or seeds like sesame or sunflower. Keep in mind it might slightly change the crumb.
How do I store leftover bread?
Store at room temperature in a paper bag for up to two days, or slice and freeze for longer storage. Reheat slices in the oven or toaster to refresh the crust.
Pin This Recipe!
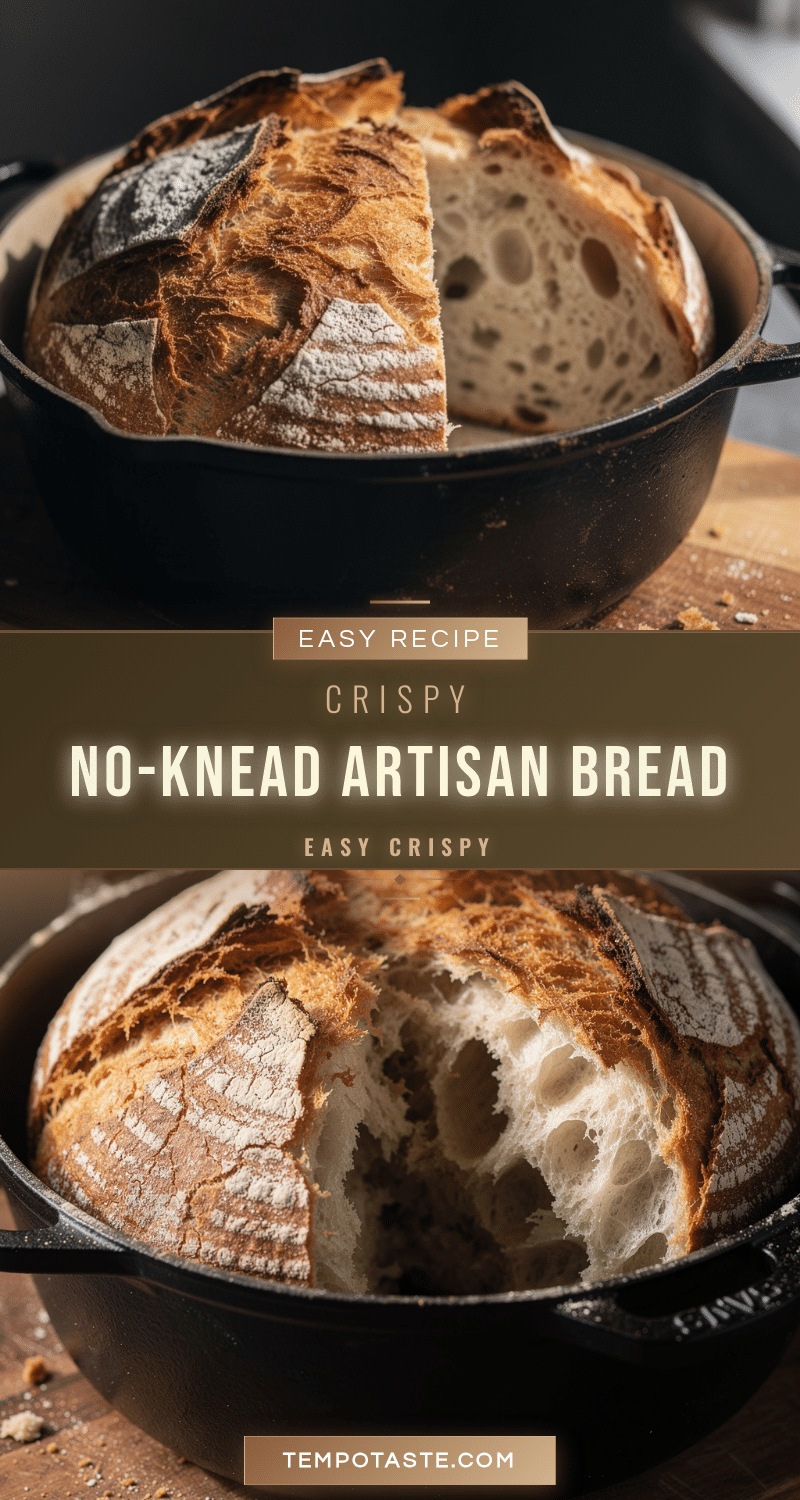
Crispy No-Knead Artisan Bread Loaf Easy Recipe for Perfect Crust

A simple no-knead bread recipe that yields a crusty, golden artisan loaf with a soft, pillowy inside. Perfect for busy days and beginner bakers looking for bakery-quality bread at home.
- Prep Time: 10 minutes
- Cook Time: 40-45 minutes
- Total Time: 12 hours 50 minutes to 18 hours 55 minutes
- Yield: 1 loaf (12 slices) 1x
- Category: Bread
- Cuisine: American
Ingredients
- 3 cups (360 grams) all-purpose flour
- 1/4 teaspoon instant yeast
- 1 1/2 teaspoons salt
- 1 1/2 cups (360 ml) lukewarm water (75-80°F / 24-27°C)
Instructions
- In a large mixing bowl, combine 3 cups (360 g) of all-purpose flour, 1/4 teaspoon instant yeast, and 1 1/2 teaspoons salt. Stir to evenly distribute yeast and salt.
- Pour in 1 1/2 cups (360 ml) lukewarm water. Stir with a wooden spoon or spatula until a shaggy, sticky dough forms, about 2-3 minutes.
- Cover the bowl with a kitchen towel or plastic wrap and let the dough rise at room temperature for 12 to 18 hours until bubbly and doubled in size.
- Lightly flour a clean surface and your hands. Scrape the dough onto the surface and fold it over itself gently a few times to form a rough ball. Cover and rest for 30-60 minutes.
- About 30 minutes before baking, preheat your oven to 450°F (230°C) with a Dutch oven and lid inside.
- Carefully remove the hot Dutch oven from the oven. Using parchment paper, lift the dough ball and place it inside the pot. Cover with the lid.
- Bake for 30 minutes with the lid on to trap steam and create a crispy crust.
- Remove the lid and bake for an additional 10-15 minutes until the crust is browned and the bread sounds hollow when tapped.
- Transfer the loaf to a wire rack and cool completely before slicing.
Notes
Do not rush the long rise; it develops flavor and texture. Use lukewarm water to activate yeast gently. Use a heavy pot with a tight lid to trap steam for a crispy crust. Lightly flour hands when shaping dough to avoid drying it out. Tent with foil if crust browns too quickly. Let bread cool completely before slicing for best texture.
Nutrition
- Serving Size: 1 slice (1/12th of l
- Calories: 150170
- Sodium: 0.3
- Fat: 0.51
- Carbohydrates: 3035
- Fiber: 12
- Protein: 56
Keywords: no-knead bread, artisan bread, easy bread recipe, crispy crust bread, homemade bread, Dutch oven bread


