
Introduction
Let me tell you, the scent of freshly blended chickpeas mingling with zesty lemon and earthy garlic is enough to make anyone’s mouth water. The first time I whipped up this easy 2-minute food processor hummus recipe, it was one of those rare kitchen moments where everything just clicks. I was instantly hooked—honestly, the kind of moment where you pause, take a deep breath, and just smile because you know you’re onto something truly special.
Years ago, when I was knee-high to a grasshopper, hummus was something you bought pre-made at the store. But stumbling upon this quick homemade version changed my snack game forever. It’s dangerously easy, with pure, nostalgic comfort packed into every creamy bite. My family couldn’t stop sneaking it off the counter (and I can’t really blame them!).
You know what makes this recipe a winner? It’s perfect for those busy afternoons when you need a quick snack, a last-minute party platter, or just something to brighten up your Pinterest snack board. After testing this recipe multiple times (in the name of research, of course), it’s become a staple for family gatherings and gifting alike. Trust me, you’re going to want to bookmark this one.
Why You’ll Love This Recipe
This easy 2-minute food processor hummus recipe isn’t just another dip—it’s the kind that makes you close your eyes after the first bite. Here’s why it stands out:
- Quick & Easy: Comes together in under 2 minutes, perfect for sudden snack cravings or busy weeknights.
- Simple Ingredients: No fancy grocery trips needed; you likely have everything in your pantry already.
- Perfect for Any Occasion: Whether it’s a casual get-together, a healthy snack for kids, or a colorful addition to your lunchbox.
- Crowd-Pleaser: Always gets rave reviews from kids and adults alike, thanks to its creamy texture and balanced flavors.
- Unbelievably Delicious: The blend of tahini, garlic, and lemon creates a flavor combo that feels like comfort food reinvented.
What makes this recipe different? The magic is in the food processor technique—blending the chickpeas with tahini and lemon juice just right gives you that silky smooth texture that store-bought hummus often lacks. Plus, the seasoning is perfectly balanced, not too sharp or bland. It’s comfort food that’s healthier, faster, and packed with personality. Honestly, it’s a recipe you’ll be proud to serve and even prouder to share.
What Ingredients You Will Need
This recipe uses simple, wholesome ingredients to deliver bold flavor and satisfying texture without the fuss. Most of these are pantry staples, and substitutions are easy if needed.
- Chickpeas (Garbanzo Beans): 1 can (15 oz / 425 g), drained and rinsed (you can cook dried chickpeas if preferred, but canned makes it quick!)
- Tahini: 3 tablespoons (I recommend a smooth, well-stirred brand like Soom for the best texture)
- Fresh Lemon Juice: 2 tablespoons (about 1 medium lemon, freshly squeezed for bright flavor)
- Garlic: 1 large clove, minced (adds that punch, but adjust to taste)
- Extra Virgin Olive Oil: 2 tablespoons (plus extra for drizzling on top)
- Ground Cumin: ½ teaspoon (optional, but it adds a lovely warmth)
- Salt: ½ teaspoon, or to taste
- Cold Water: 2-4 tablespoons (to adjust consistency)
- Optional Garnishes: Paprika, chopped parsley, or toasted pine nuts for that fancy touch
If you want to keep it vegan or gluten-free, this recipe fits perfectly. For a twist, you can swap tahini for sunflower seed butter if you have a sesame allergy. Fresh lemon is non-negotiable here—bottled just doesn’t cut it! In summer, a sprinkle of fresh herbs adds a seasonal pop.
Equipment Needed

- Food Processor: Essential for this recipe to get that creamy, smooth hummus texture. A high-powered model helps, but a basic one works fine too.
- Measuring Spoons and Cups: For precise ingredient amounts, especially lemon juice and tahini.
- Citrus Juicer: Handy for squeezing fresh lemons without seeds, but you can also do it by hand.
- Spatula: To scrape down the sides of the processor bowl for even blending.
- Serving Bowl: To present your hummus beautifully—preferably something colorful or rustic.
If you don’t have a food processor, a strong blender can work, but you might need to add more water and stop to scrape more frequently. I’ve also tried a mortar and pestle for a chunkier version, but the smoothness is just unbeatable with the processor. For budget-friendly options, some small choppers available online are surprisingly effective.
Preparation Method
- Drain and Rinse Chickpeas: Drain the can of chickpeas and rinse under cold water to remove excess brine (about 1 minute). This step helps reduce any tinny flavor.
- Combine Ingredients in Food Processor: Add the chickpeas, tahini, fresh lemon juice, minced garlic, ground cumin, and salt into the bowl of your food processor (2-3 minutes prep time).
- Start Blending: Pulse the mixture a few times to break down the chickpeas. Then, run the processor continuously for about 30 seconds until it starts to look creamy.
- Add Olive Oil and Water: With the processor running, slowly drizzle in the olive oil. Begin adding cold water, one tablespoon at a time, to loosen the hummus to your desired consistency (about 1 minute). It should be smooth but still thick enough to scoop.
- Taste and Adjust Seasoning: Give your hummus a quick taste. Add more salt, lemon juice, or garlic if it needs a little boost. Pulse a few more times to mix any additions evenly.
- Serve or Store: Transfer hummus to a serving bowl, drizzle a little olive oil on top, and sprinkle with paprika or parsley if you like. It’s ready to enjoy immediately, but chilling for 30 minutes can marry the flavors beautifully.
Pro tip: If your hummus feels gritty, add a bit more water and blend longer. If it’s too runny, adding a handful of chickpeas can thicken it up. Also, scraping down the sides halfway through blending helps get the smoothest texture. I often make a double batch—works like a charm for parties!
Cooking Tips & Techniques
Getting that silky hummus texture is all about technique, and I’ve learned a few tricks over time. First, always use fresh lemon juice—bottled never offers that bright zing. Next, don’t skimp on the olive oil; it gives richness and smoothness that water alone can’t replace.
Common mistakes? Overblending can sometimes warm the hummus, which dulls the flavors, so pulse instead of running the processor nonstop. Also, adding water gradually is key—you want creamy but not watery dip.
I once tried using canned chickpeas straight from the can without rinsing, and the hummus tasted oddly salty and metallic. Lesson learned! Rinse and drain thoroughly.
Timing-wise, this recipe is a multitasking champ. While the hummus blends, you can chop veggies or set up your serving platter. It’s perfect when you’re in a rush but want something impressive.
For consistency, if you like your hummus thicker, reduce water and add more tahini. For a more tangy flavor, a bit of extra lemon juice goes a long way. Play with it—you’ll find your perfect balance.
Variations & Adaptations
- Roasted Red Pepper Hummus: Add ½ cup roasted red peppers before blending for a smoky, colorful twist.
- Spicy Hummus: Toss in a pinch of cayenne pepper or a small fresh chili to the mix for a kick.
- Herb-Infused: Blend in fresh herbs like cilantro, parsley, or basil for a bright, fresh flavor.
- Low-Fat Version: Use less olive oil and substitute some tahini with plain Greek yogurt (if dairy is okay).
- Allergen-Friendly: Swap tahini with sunflower seed butter if you have a sesame allergy, and use gluten-free pita or veggies for dipping.
Once, I added a bit of smoked paprika and cumin together and wow—the warmth it created was unforgettable. Feel free to experiment with your favorite spices or add-ins to make this recipe your own.
Serving & Storage Suggestions
This hummus is best served at room temperature or slightly chilled. It pairs beautifully with warm pita bread, crunchy veggie sticks, or as a spread on sandwiches and wraps. For a Mediterranean-themed snack, serve alongside olives and feta cheese.
Store leftovers in an airtight container in the refrigerator for up to 5 days. The flavors actually develop and deepen after sitting for a day—so if you can wait, that’s a bonus! When ready to eat, give it a good stir and drizzle a bit more olive oil on top for freshness.
If freezing, portion into small containers and thaw overnight in the fridge. The texture might be slightly grainier after freezing, but a quick stir and olive oil drizzle bring it back to life.
Nutritional Information & Benefits
Per serving (about 2 tablespoons), this easy 2-minute food processor hummus recipe provides roughly 70 calories, 4 grams of protein, 5 grams of fat (mostly healthy fats from olive oil and tahini), and 2 grams of fiber. It’s naturally gluten-free and vegan.
Chickpeas are a fantastic source of plant-based protein and fiber, which help keep you full and support digestion. Tahini adds calcium and healthy fats, while lemon juice supplies a boost of vitamin C. This hummus makes a wholesome, nutrient-packed snack that fuels your body without weighing you down.
For those watching carbs, this dip is low in net carbs and a perfect companion to fresh veggies or low-carb crackers. Just watch the salt if you’re monitoring sodium intake.
Conclusion
In a world full of complicated recipes, this easy 2-minute food processor hummus stands out as a quick, tasty, and reliable snack option. It’s customizable, kid-friendly, and ridiculously simple to make. I love how it brings people together—whether for an impromptu snack or a cozy gathering.
Don’t hesitate to tweak the seasonings or throw in your favorite add-ins to make this recipe yours. Give it a try, and I’d love to hear how you customize your hummus in the comments below! Share it with friends, save it for the next snack attack, and enjoy the creamy goodness that feels like a warm hug in every scoop.
FAQs
Can I use dried chickpeas instead of canned?
Absolutely! Just soak and cook them until tender before blending. Keep in mind this adds time, but the flavor can be even better.
How can I make hummus smoother if my food processor isn’t powerful?
Try peeling the chickpeas or adding a bit more water and blending longer in short bursts, scraping the sides often.
Is it okay to store hummus at room temperature?
It’s safest to keep hummus refrigerated and consume within 5 days. Room temperature storage can promote bacterial growth.
Can I freeze homemade hummus?
Yes, portion it into airtight containers and thaw in the fridge. Texture may change slightly but is still tasty.
What’s the best way to serve this hummus?
Serve it with warm pita, fresh veggies, or as a spread on sandwiches. Adding a drizzle of olive oil and a sprinkle of paprika makes it look extra inviting.
Pin This Recipe!
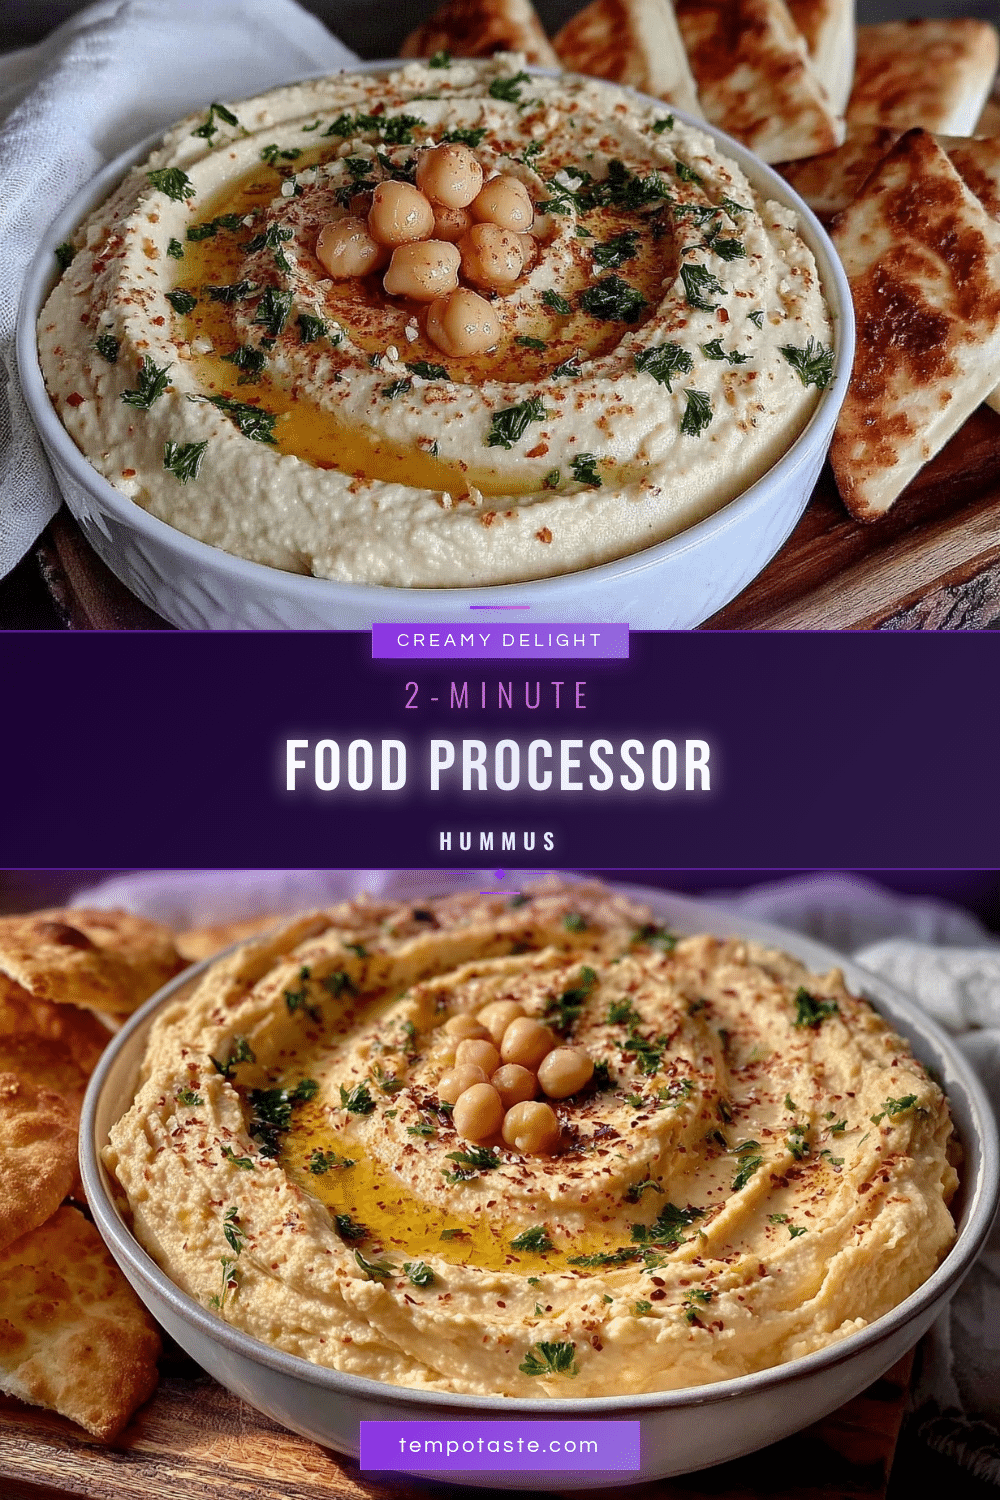
Easy 2-Minute Food Processor Hummus Recipe Perfect for Quick Snacks

A quick and easy hummus recipe made in a food processor with simple pantry ingredients, perfect for snacks, parties, and healthy eating.
- Prep Time: 3 minutes
- Cook Time: 0 minutes
- Total Time: 3 minutes
- Yield: 8 servings 1x
- Category: Snack
- Cuisine: Mediterranean
Ingredients
- 1 can (15 oz / 425 g) chickpeas (garbanzo beans), drained and rinsed
- 3 tablespoons tahini
- 2 tablespoons fresh lemon juice (about 1 medium lemon)
- 1 large clove garlic, minced
- 2 tablespoons extra virgin olive oil, plus extra for drizzling
- ½ teaspoon ground cumin (optional)
- ½ teaspoon salt, or to taste
- 2–4 tablespoons cold water (to adjust consistency)
- Optional garnishes: paprika, chopped parsley, or toasted pine nuts
Instructions
- Drain the can of chickpeas and rinse under cold water to remove excess brine (about 1 minute).
- Add chickpeas, tahini, fresh lemon juice, minced garlic, ground cumin, and salt into the bowl of your food processor.
- Pulse the mixture a few times to break down the chickpeas, then run the processor continuously for about 30 seconds until creamy.
- With the processor running, slowly drizzle in the olive oil. Add cold water one tablespoon at a time to loosen the hummus to desired consistency.
- Taste and adjust seasoning with more salt, lemon juice, or garlic if needed. Pulse a few more times to mix evenly.
- Transfer hummus to a serving bowl, drizzle with olive oil, and sprinkle with paprika or parsley if desired. Serve immediately or chill for 30 minutes.
Notes
Use fresh lemon juice for best flavor. Add water gradually to achieve desired consistency. Scrape down sides of the processor bowl for smooth texture. If hummus is gritty, add more water and blend longer. For thicker hummus, reduce water and add more tahini. Store leftovers in an airtight container in the refrigerator for up to 5 days. Can be frozen but texture may change slightly.
Nutrition
- Serving Size: About 2 tablespoons
- Calories: 70
- Fat: 5
- Fiber: 2
- Protein: 4
Keywords: hummus, quick hummus, food processor hummus, easy snack, healthy dip, vegan, gluten-free


