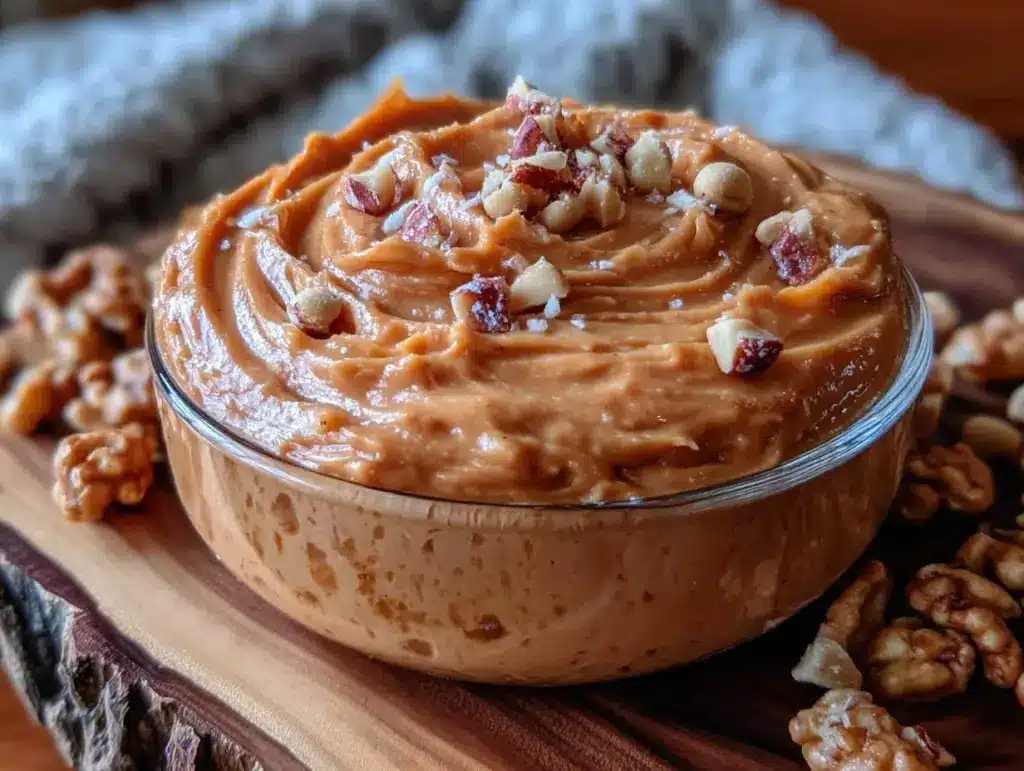
Let me tell you, the scent of freshly ground peanuts swirling around my kitchen is enough to make anyone’s mouth water. The first time I made this creamy homemade food processor peanut butter, I was instantly hooked—the kind of moment where you pause, take a deep breath, and just smile because you know you’re onto something truly special. When I was knee-high to a grasshopper, my grandma used to make peanut butter by hand, and it was always a treat, but honestly, nothing beats the smooth luxury of this food processor version. It’s dangerously easy, and the pure, nostalgic comfort it brings feels like a warm hug on a busy day.
Years ago, I stumbled on this recipe during a rainy weekend experiment, trying to recreate that fresh peanut butter taste I always craved. My family couldn’t stop sneaking spoonfuls off the counter (and I can’t really blame them). It’s perfect for sneaking in a little wholesome fat and protein into snacks, brightening up your Pinterest peanut butter board, or whipping up a creamy spread for your morning toast. After testing this recipe multiple times in the name of research, of course, it’s become a staple for family gatherings, gifting, and those moments when you just want something simple and satisfying.
Why You’ll Love This Recipe
Honestly, this creamy homemade food processor peanut butter recipe isn’t just any peanut butter. It’s the one that makes you close your eyes after the first bite. Here’s why it’s quickly become my go-to:
- Quick & Easy: Comes together in under 10 minutes, perfect for busy mornings or last-minute cravings.
- Simple Ingredients: No fancy grocery trips needed; you likely already have peanuts and a few pantry staples on hand.
- Perfect for Snacks & Baking: Great for sandwiches, smoothies, sauces, or just straight off the spoon.
- Crowd-Pleaser: Always gets rave reviews from kids and adults alike — it’s creamy, rich, and just right.
- Unbelievably Delicious: The texture and flavor combo is creamy, slightly sweet, and nutty — pure comfort food.
What makes this recipe stand out is the magic of the food processor, which transforms ordinary roasted peanuts into ultra-smooth, spreadable perfection without any additives or preservatives. Plus, the option to tweak salt and sweetness lets you make it truly your own. This isn’t just peanut butter; it’s peanut butter reimagined for your kitchen, with all the soul-soothing satisfaction but none of the unnecessary extras.
What Ingredients You Will Need
This recipe uses simple, wholesome ingredients to deliver bold flavor and satisfying texture without the fuss. Most of the ingredients are pantry staples, and substitutions are easy if you want to customize.
- Roasted Peanuts: 2 cups (about 300g), unsalted preferred for better control of saltiness. I like using Planters for consistent flavor.
- Peanut Oil or Neutral Oil: 1-2 tablespoons (15-30 ml), optional, to help with creaminess. You can skip this if you prefer thicker peanut butter.
- Salt: ½ teaspoon (adjust to taste). Sea salt or kosher salt works great here.
- Honey or Maple Syrup: 1 teaspoon (optional, for a touch of sweetness). You can leave this out for a more savory spread.
- Optional Add-ins: A pinch of cinnamon, vanilla extract (½ teaspoon), or a dash of chili powder for a little kick.
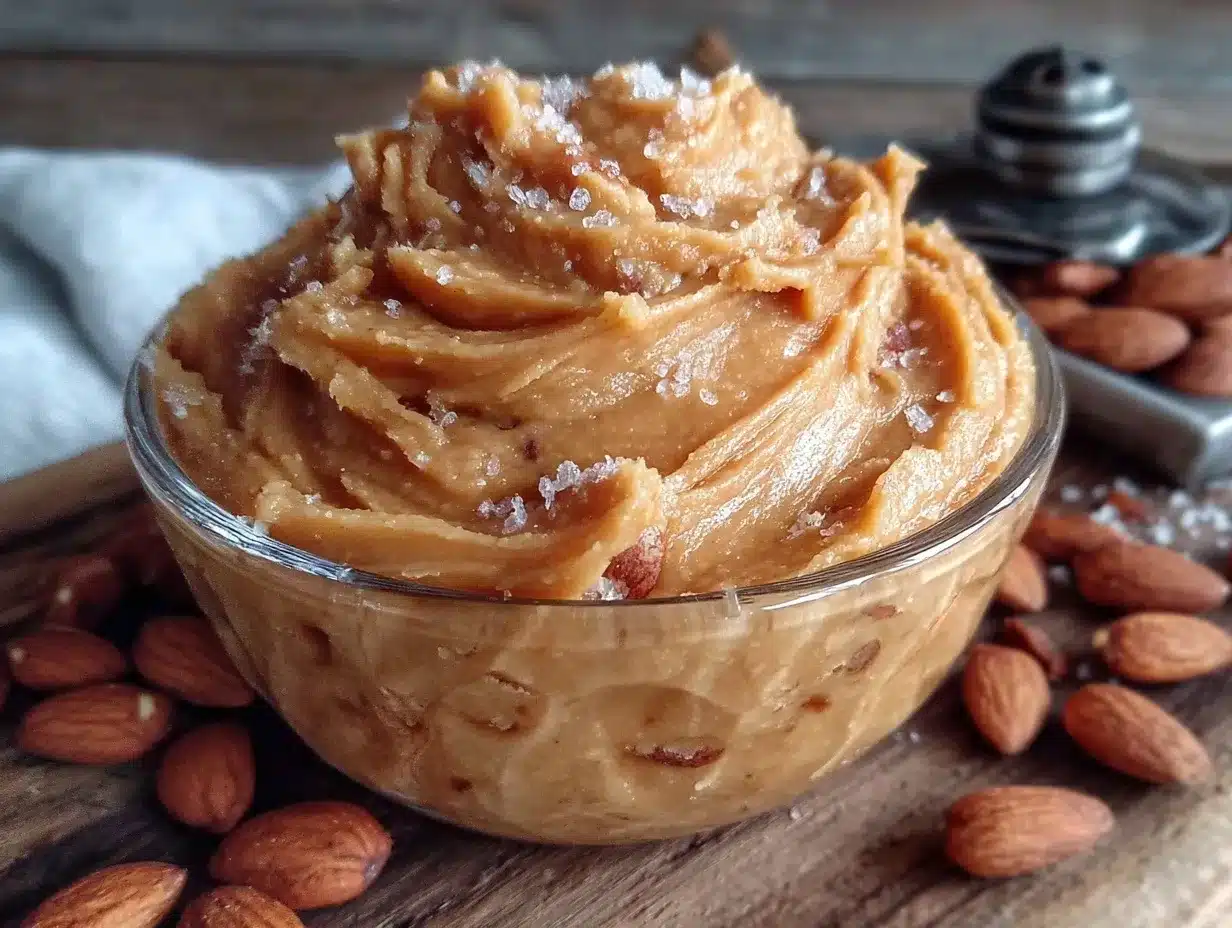
If you want to make this recipe allergy-friendly, swap peanuts for roasted almonds or cashews (same quantity). For a keto option, skip the honey or syrup altogether. Using freshly roasted peanuts will give you the best aroma and flavor, but pre-roasted nuts from the store work just fine too.
Equipment Needed
- Food Processor: A high-powered food processor is key here. I’ve tried this with a smaller one, but it takes longer and can overheat. My favorite is the Cuisinart DFP-14BCNY, which handles nuts like a champ.
- Spatula: For scraping down the sides during processing.
- Measuring Spoons and Cups: To get accurate ingredient amounts.
- Air-tight Jar or Container: For storing the peanut butter.
If you don’t have a food processor, a powerful blender can work, but you’ll need to stop and scrape more often. Just be patient—it’s worth it! Also, keeping your blades sharp helps maintain smooth texture and reduces processing time. Budget-friendly food processors do the job, but watch out for overheating when processing thick nut butters.
Preparation Method
- Prepare Your Peanuts: Measure 2 cups (300g) of roasted peanuts. If they’re raw, roast them in a 350°F (175°C) oven for 10-12 minutes until golden and fragrant. Let them cool slightly before processing.
- Start the Food Processor: Add peanuts to the bowl and pulse a few times until coarsely chopped, about 30 seconds. This prevents the motor from straining and helps even processing.
- Process Into a Paste: Turn the processor on continuously. After about 2 minutes, the nuts will turn crumbly, then start clumping together. Stop and scrape down the sides with a spatula to bring everything into the blades.
- Continue Blending: Resume processing for another 3-4 minutes. The mixture will become creamy and smooth. If it’s too thick or dry, add 1 tablespoon (15 ml) of peanut or neutral oil and blend again. Repeat until you reach your desired creaminess.
- Add Flavor: Mix in ½ teaspoon salt and 1 teaspoon honey or maple syrup (optional). Blend for 30 seconds more to combine. Taste and adjust salt or sweetness as needed.
- Final Touch: If you want to add a pinch of cinnamon or a dash of vanilla, stir it in now for a subtle twist.
- Store Properly: Transfer your creamy homemade peanut butter to an airtight jar. It will keep in the fridge for up to 3 weeks (and honestly, it rarely lasts that long!).
Pro tip: If your food processor feels like it’s struggling, give it a break and scrape down the sides more often. This helps prevent overheating and keeps your peanut butter silky smooth. You’ll know it’s done when it glides off the spatula and tastes fresh and nutty, with no gritty bits left.
Cooking Tips & Techniques
Let me share some tricks to get your creamy homemade food processor peanut butter just right every time. First off, patience is key. The peanuts need time to release their oils and transform from crumbs to creamy butter. Rushing the process can leave you with a gritty texture, which is no fun.
One mistake I made early on was adding too much oil at the start. It’s better to go slow—add a tablespoon at a time and see how the texture develops. You can always add more, but it’s tough to fix overly oily nut butter.
Also, keep your food processor bowl and blades clean and dry before starting. Any leftover moisture can make your peanut butter clumpy. I’ve learned that using fresh-roasted peanuts makes a dramatic difference; store-bought pre-roasted peanuts are fine but sometimes lack that vibrant flavor and oil content.
Don’t forget to scrape down the sides frequently. This little step helps everything blend evenly and prevents chunks from hiding out on the edges. And if you want a little texture, reserve a handful of chopped peanuts to stir in at the end or sprinkle on top.
Lastly, timing matters. If you’re making this ahead, remember that chilling peanut butter can thicken it up. So, take it out of the fridge a bit before serving to soften it up or stir in a little oil if needed.
Variations & Adaptations
You know what? This creamy homemade food processor peanut butter recipe is a fantastic base for mixing things up. Here are a few variations I’ve tried and loved:
- Crunchy Style: Stir in ¼ cup (30g) chopped roasted peanuts after processing for a delightful crunch.
- Chocolate Swirl: Add 2 tablespoons (30g) cocoa powder and 1 tablespoon (15 ml) maple syrup for a chocolate peanut butter twist.
- Spiced Peanut Butter: Mix in ¼ teaspoon cinnamon and a pinch of cayenne pepper for a spicy-sweet combo that wakes up your taste buds.
For dietary tweaks, you can swap peanuts with roasted cashews or almonds for a creamy nut butter alternative. If you need a sugar-free version, just skip the honey or syrup and add a pinch of salt instead. Using a different oil, like coconut or avocado oil, can subtly alter flavor and creaminess too.
If you want to make this in a blender, pulse in short bursts and scrape often, but I warn you—it’ll take longer and might not be quite as smooth. For a raw nut butter, use raw peanuts and soak them overnight before processing, but expect a different flavor and texture.
Serving & Storage Suggestions
This creamy homemade food processor peanut butter is best served at room temperature, so it spreads easily on toast, crackers, or fruit slices. I love pairing it with apple slices or drizzling it over oatmeal for a cozy breakfast. It’s also fantastic stirred into smoothies or used as a base for sauces and dressings.
Store your peanut butter in an airtight container in the refrigerator to keep it fresh for up to three weeks. If it separates, just stir it back together before using. For longer storage, it freezes beautifully in a sealed jar for up to three months—thaw overnight in the fridge before enjoying.
Flavors often deepen and mellow after a day or two in the fridge, so sometimes it’s even better the next day. Just give it a good stir and enjoy that rich, nutty goodness.
Nutritional Information & Benefits
This homemade peanut butter is packed with protein, healthy fats, and fiber, making it a nutritious snack or ingredient. Per 2-tablespoon (32g) serving, you can expect roughly 190 calories, 16g fat (mostly heart-healthy monounsaturated fats), 7g protein, and 2g fiber.
Unlike store-bought versions, this recipe contains no added sugars, preservatives, or hydrogenated oils. Peanuts provide niacin, magnesium, and vitamin E, which support brain health and antioxidant protection. Keep in mind this recipe contains peanuts, a common allergen, so it’s not suitable for those with peanut allergies.
From a wellness standpoint, making your own peanut butter means you control what goes in, avoiding unnecessary additives. It’s a wholesome way to enjoy the creamy, nutty flavor you love without compromise.
Conclusion
If you’re looking for a creamy homemade food processor peanut butter recipe that’s easy, delicious, and made with love, this one’s for you. It’s simple enough for beginners yet satisfying enough to become a staple in your kitchen. You can customize it to suit your taste—saltier, sweeter, crunchy, or smooth—and honestly, it’s a joy to make and share.
I love this recipe because it brings a little bit of joy and nostalgia to everyday snacks, and it’s a reminder that sometimes the best things come from the simplest ingredients and a bit of patience. Give it a try, tweak it to your liking, and let me know how it turns out! Don’t forget to leave a comment or share your favorite peanut butter twists.
Happy spreading!
FAQs About Creamy Homemade Food Processor Peanut Butter
How long does homemade peanut butter last?
Stored in an airtight container in the fridge, it keeps fresh for up to 3 weeks. You can also freeze it for up to 3 months.
Can I use raw peanuts instead of roasted?
Yes, but raw peanuts should be soaked overnight and then dried. The flavor will be milder and texture different.
Is it necessary to add oil?
No, but adding 1-2 tablespoons of oil helps achieve a creamier texture, especially if your peanuts are dry.
How can I make crunchy peanut butter?
Simply stir in some chopped roasted peanuts after processing for added texture.
Can I make this peanut butter without a food processor?
A powerful blender can work, but it requires more scraping and patience. A food processor is best for smooth results.
Pin This Recipe!

Creamy Homemade Food Processor Peanut Butter Recipe Easy and Perfect

This creamy homemade peanut butter is made easily in a food processor with simple ingredients, delivering a smooth, rich, and nutty spread perfect for snacks, baking, and more.
- Prep Time: 5 minutes
- Cook Time: 10-15 minutes (if roasting peanuts)
- Total Time: 15-20 minutes
- Yield: About 1 ½ cups (approximately 12 servings) 1x
- Category: Spread / Snack
- Cuisine: American
Ingredients
- 2 cups (about 300g or 10.5 oz) roasted peanuts, unsalted preferred
- 1–2 tablespoons (15–30 ml or 0.5–1 fl oz) peanut oil or neutral oil (optional)
- ½ teaspoon salt (sea salt or kosher salt, adjust to taste)
- 1 teaspoon honey or maple syrup (optional)
- Optional add-ins: pinch of cinnamon, ½ teaspoon vanilla extract, dash of chili powder
Instructions
- Measure 2 cups (300g or 10.5 oz) of roasted peanuts. If raw, roast at 350°F (175°C) for 10-12 minutes until golden and fragrant. Let cool slightly.
- Add peanuts to the food processor bowl and pulse a few times for about 30 seconds until coarsely chopped.
- Turn the processor on continuously. After about 2 minutes, nuts will become crumbly and start clumping. Stop and scrape down the sides with a spatula.
- Resume processing for another 3-4 minutes until creamy and smooth. If too thick or dry, add 1 tablespoon (15 ml) of oil and blend again. Repeat until desired creaminess.
- Mix in ½ teaspoon salt and 1 teaspoon honey or maple syrup (optional). Blend for 30 seconds more. Taste and adjust salt or sweetness as needed.
- Stir in optional add-ins like cinnamon or vanilla extract if desired.
- Transfer peanut butter to an airtight jar. Store in the refrigerator for up to 3 weeks.
Notes
If your food processor struggles, pause and scrape down the sides frequently to prevent overheating and ensure smooth texture. Add oil gradually to avoid overly oily peanut butter. Freshly roasted peanuts yield the best flavor. Store peanut butter in the fridge and stir if separation occurs. For crunchy peanut butter, stir in ¼ cup chopped roasted peanuts after processing.
Nutrition
- Serving Size: 2 tablespoons (32g)
- Calories: 190
- Fat: 16
- Fiber: 2
- Protein: 7
Keywords: homemade peanut butter, creamy peanut butter, food processor peanut butter, easy peanut butter recipe, natural peanut butter, no preservatives peanut butter


