
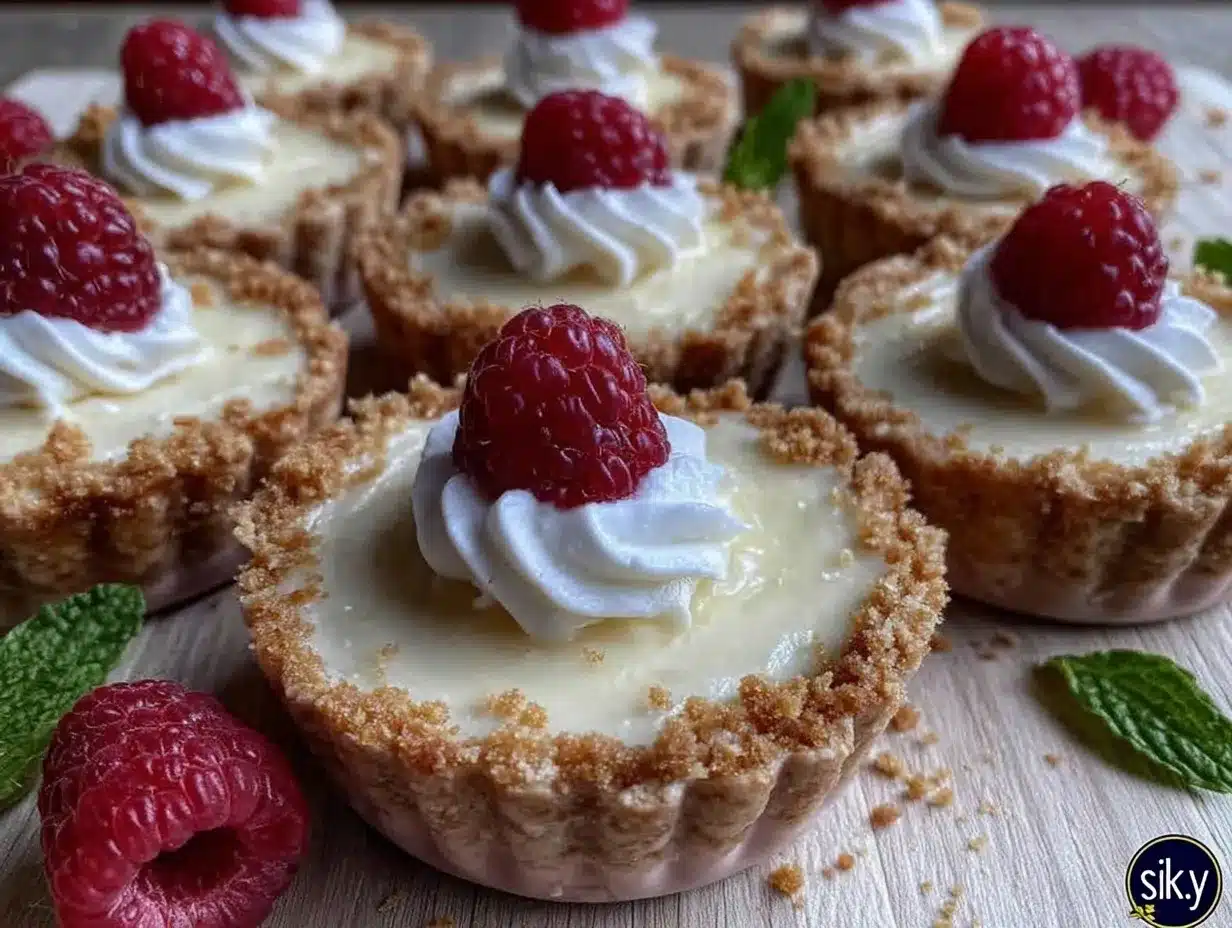
Let me tell you, the scent of sweet cream cheese swirling with a hint of vanilla and the bright tang of fresh raspberries wafting from my kitchen is enough to make anyone’s mouth water. The first time I made these creamy silicone mold mini cheesecakes with fresh raspberry topping, I was instantly hooked. It was one of those rare moments where you pause, take a deep breath, and just smile because you know you’re onto something truly special. Years ago, when I was knee-high to a grasshopper, my grandma used to bake big cheesecakes that felt like a warm hug in dessert form. But honestly, who has the patience or the oven space for that now?
This mini cheesecake recipe is dangerously easy and gives you that pure, nostalgic comfort without the fuss. Plus, using silicone molds means these little beauties come out perfectly shaped every single time, making them perfect for potlucks, sweet treats for your kids, or just brightening up your Pinterest cookie board. My family couldn’t stop sneaking them off the cooling rack (and I can’t really blame them). After testing this recipe multiple times—in the name of research, of course—it’s become a staple for family gatherings and gifting. Honestly, you’re going to want to bookmark this one.
Why You’ll Love This Recipe
From my many kitchen experiments and family taste tests, this creamy silicone mold mini cheesecakes recipe ticks all the boxes. Here’s why it stands out:
- Quick & Easy: Comes together in under 45 minutes, perfect for busy weeknights or last-minute dessert cravings.
- Simple Ingredients: No fancy grocery trips needed; you likely already have everything in your kitchen.
- Perfect for Any Occasion: Great for brunch, potlucks, cozy dinners, or holiday mornings.
- Crowd-Pleaser: Always gets rave reviews from kids and adults alike.
- Unbelievably Delicious: The texture is silky smooth, with a perfectly balanced tang from cream cheese and a bright burst from fresh raspberries.
What makes this recipe different? Well, the magic lies partly in the silicone molds that create these charming, uniform mini cheesecakes without any stickiness or crumbling. Also, blending the filling until ultra-smooth ensures a creamy texture that melts in your mouth. And the fresh raspberry topping? It’s the perfect fresh, tart contrast that makes this dessert pop. This isn’t just another cheesecake recipe—it’s the best mini cheesecake you’ll make, hands down. It’s comfort food reimagined—lighter, faster, but with the same soul-soothing satisfaction. Plus, it’s a showstopper that impresses guests without any stress.
What Ingredients You Will Need
This recipe uses simple, wholesome ingredients to deliver bold flavor and satisfying texture without the fuss. Most of these are pantry staples, and the fresh raspberries add that seasonal brightness you just can’t beat.
- For the Mini Cheesecake Filling:
- 8 oz (226 g) cream cheese, softened (I prefer Philadelphia for best texture)
- 1/3 cup (67 g) granulated sugar
- 1 large egg, room temperature
- 1 tsp pure vanilla extract
- 2 tbsp sour cream (adds richness and tang)
- 1 tbsp all-purpose flour (helps with structure)
- For the Crust:
- 1 cup (100 g) graham cracker crumbs (or digestive biscuits, finely crushed)
- 3 tbsp (42 g) unsalted butter, melted
- 1 tbsp granulated sugar
- For the Fresh Raspberry Topping:
- 1 cup (125 g) fresh raspberries, washed and patted dry
- 1 tbsp honey or maple syrup (optional, for extra sweetness)
- Zest of half a lemon (adds bright flavor)
For substitutions, you can use almond flour for a gluten-free crust or swap sour cream with Greek yogurt if needed. Frozen raspberries work in a pinch, but fresh really makes the topping sing. If you want to keep it dairy-free, try coconut cream instead of cream cheese, but note the flavor will shift.
Equipment Needed
- Silicone mini cheesecake molds or silicone muffin molds (6 to 8 cavities, about 2-3 inches in diameter)
- Electric mixer or stand mixer (to get that ultra-smooth filling)
- Mixing bowls (medium and small)
- Measuring cups and spoons (precision counts here!)
- Spatula for scraping bowls
- Small saucepan or microwave-safe bowl (to melt butter)
- Cooling rack (to let those cheesecakes chill perfectly)
If you don’t have silicone molds, non-stick mini muffin pans work too—just line them with paper liners for easy release. I’ve tried both, and silicone definitely makes unmolding a breeze. Also, a hand mixer is fine if you don’t have a stand mixer, but make sure the cream cheese is very soft to avoid lumps. Pro tip: keep a damp cloth nearby to wipe drips off your measuring spoons—it saves cleanup time!
Preparation Method
- Preheat your oven to 325°F (160°C). Grease your silicone molds lightly or use a non-stick spray (this helps just in case, though silicone usually doesn’t stick). Set aside.
- Prepare the crust: In a small bowl, combine 1 cup (100 g) graham cracker crumbs, 3 tbsp (42 g) melted unsalted butter, and 1 tbsp sugar. Mix until the crumbs are evenly coated and look like wet sand.
- Press crust into molds: Spoon about 1 tbsp of crust mixture into each mold cavity. Use the back of a spoon or your fingers to press it firmly and evenly along the bottom. This should take about 5 minutes.
- Make the filling: In a medium bowl, beat 8 oz (226 g) softened cream cheese until smooth and creamy using an electric mixer (about 2-3 minutes). Add 1/3 cup (67 g) sugar and mix until combined.
- Add egg and vanilla: Crack in 1 large egg and pour in 1 tsp vanilla extract. Beat until fully incorporated.
- Mix in sour cream and flour: Add 2 tbsp sour cream and 1 tbsp flour to the mix. Beat on low speed just until smooth. Be careful not to overmix—stop when everything is combined and silky.
- Fill the molds: Spoon the cheesecake batter evenly over the crust in each mold, filling about 3/4 full. Tap the molds gently on the counter to release any air bubbles.
- Bake: Place the silicone molds on a baking sheet for stability. Bake in the preheated oven for 20-25 minutes. The edges should look set, but the centers will still have a slight jiggle. Don’t overbake or you’ll lose that creamy texture!
- Cool and chill: Remove from oven and let cool to room temperature on a wire rack. Once cooled, transfer the molds to the fridge and chill for at least 3 hours or overnight. This step is key for firm, sliceable mini cheesecakes.
- Prepare raspberry topping: Just before serving, combine 1 cup (125 g) fresh raspberries with 1 tbsp honey or maple syrup (if using) and the zest of half a lemon. Gently toss to coat.
- Unmold and serve: Carefully pop the mini cheesecakes out of the silicone molds. Top each with a spoonful of the fresh raspberry mixture. Enjoy immediately!
Tip: If you notice any cracks on the surface after baking, don’t stress—it just means the cheesecake is perfectly baked. Chilling will help smooth the texture. Also, if your cream cheese isn’t soft enough, the batter can get lumpy, so plan to soften it well in advance.
Cooking Tips & Techniques
Here’s some hard-earned wisdom from my kitchen experiments with mini cheesecakes. First off, always soften your cream cheese completely. I’ve made the mistake of rushing this step, and let me tell you, lumps are not cute in cheesecake batter. You can even microwave it for 10-15 seconds if you’re in a hurry.
When mixing, avoid overbeating once you add the egg. Too much air can cause cracks during baking, and no one likes a cracked cheesecake (though it still tastes amazing!). Speaking of cracks, baking at a low temperature and using a water bath can help, but with mini cheesecakes, just keeping the oven at 325°F (160°C) and watching closely works great.
Multitasking tip: While your cheesecakes bake, prepare the raspberry topping and clean up your workstation. It saves time and keeps things flowing. Also, tapping the molds before baking is a simple trick to get rid of air bubbles that can mess with texture.
When chilling, patience is your friend. Cheesecake needs time to set firmly, so don’t skip the fridge step—even if you’re tempted to dig in early. Trust me, the texture improves dramatically with those hours in cold.
Variations & Adaptations
You can easily switch up this recipe to suit different tastes or dietary needs. Here are a few ideas I’ve tried or thought about:
- Chocolate Mini Cheesecakes: Add 2 tbsp unsweetened cocoa powder to the filling and sprinkle mini chocolate chips on top before baking for a chocolaty twist.
- Gluten-Free Crust: Swap graham crackers for almond flour or gluten-free cookie crumbs. Be sure to adjust butter quantity slightly if using drier flours.
- Berry Mix Topping: Instead of just raspberries, try a mix of blueberries, blackberries, and strawberries for a vibrant, colorful topping.
- Dairy-Free Version: Use vegan cream cheese and coconut yogurt in place of sour cream. Note: texture and flavor will be slightly different but still delicious.
- Citrus Zest Infusion: Add orange or lime zest to the crust or filling for a refreshing zing.
Each variation brings its own charm, and you know what? Playing around with flavors and textures keeps things exciting in the kitchen. One time, I swapped fresh raspberries for homemade strawberry compote, and it was a real crowd-pleaser.
Serving & Storage Suggestions
Serve these mini cheesecakes chilled or at room temperature, topped with fresh raspberry mixture just before eating. For a fancy touch, add a sprig of mint or a dusting of powdered sugar. They pair beautifully with a cup of hot coffee or a glass of sparkling rosé for those special occasions.
Store any leftovers in an airtight container in the fridge for up to 4 days. If you want to keep them longer, these mini cheesecakes freeze wonderfully—just pop them in a freezer-safe container and thaw overnight in the fridge before serving. Reheat gently at room temperature; microwaving isn’t recommended as it can affect texture.
Flavors actually deepen and meld after a day in the fridge, so if you can wait, these taste even better the next day. That slight chill and creamy richness is pure bliss.
Nutritional Information & Benefits
Each mini cheesecake (makes about 6) contains roughly 250-300 calories depending on crust thickness and topping amount. They’re moderate in fat and sugar but rich in protein from cream cheese and eggs, making them a satisfying treat.
Raspberries pack antioxidants and fiber, giving a nutritious boost to this dessert. Using real ingredients without artificial additives means you know exactly what you’re eating—always a plus in my book. For those watching carbs, swapping the crust for almond flour can reduce the carb count. Also, this recipe is gluten-friendly if you pick gluten-free graham crackers.
While it’s definitely a treat, these mini cheesecakes feel less heavy than traditional large slices and provide a perfect portion control option. I see them as a balance between indulgence and mindful eating.
Conclusion
If you’re looking for a creamy, dreamy dessert that’s easy to make and impressive to serve, these creamy silicone mold mini cheesecakes with fresh raspberry topping are your new best friend. They combine simple ingredients with a little bit of kitchen magic to create something truly extraordinary. Honestly, I love how customizable they are—you can tweak flavors and textures to suit your mood or occasion.
Give this recipe a try, tweak it to your liking, and don’t forget to share your favorite variations with me! Whether you’re baking for family, friends, or just treating yourself, these mini cheesecakes bring pure joy in every bite. Happy baking, and may your kitchen always smell as wonderful as mine does right now!
Frequently Asked Questions
Can I make these mini cheesecakes ahead of time?
Absolutely! They actually taste better after chilling overnight. Just keep them covered in the fridge and add the raspberry topping when ready to serve.
What if I don’t have silicone molds?
You can use a non-stick mini muffin pan lined with paper liners. Just be gentle when removing the cheesecakes so they don’t break.
Can I use frozen raspberries for the topping?
Fresh is best for texture and flavor, but frozen raspberries can work if thawed and drained well to avoid excess liquid.
How do I prevent cracks on the cheesecake surface?
Don’t overbeat the batter and bake at a moderate temperature (325°F/160°C). Avoid overbaking and chill thoroughly before unmolding.
Is it possible to make this recipe dairy-free?
Yes! Use vegan cream cheese and coconut yogurt in place of dairy ingredients. The texture will be slightly different but still delicious.
Pin This Recipe!
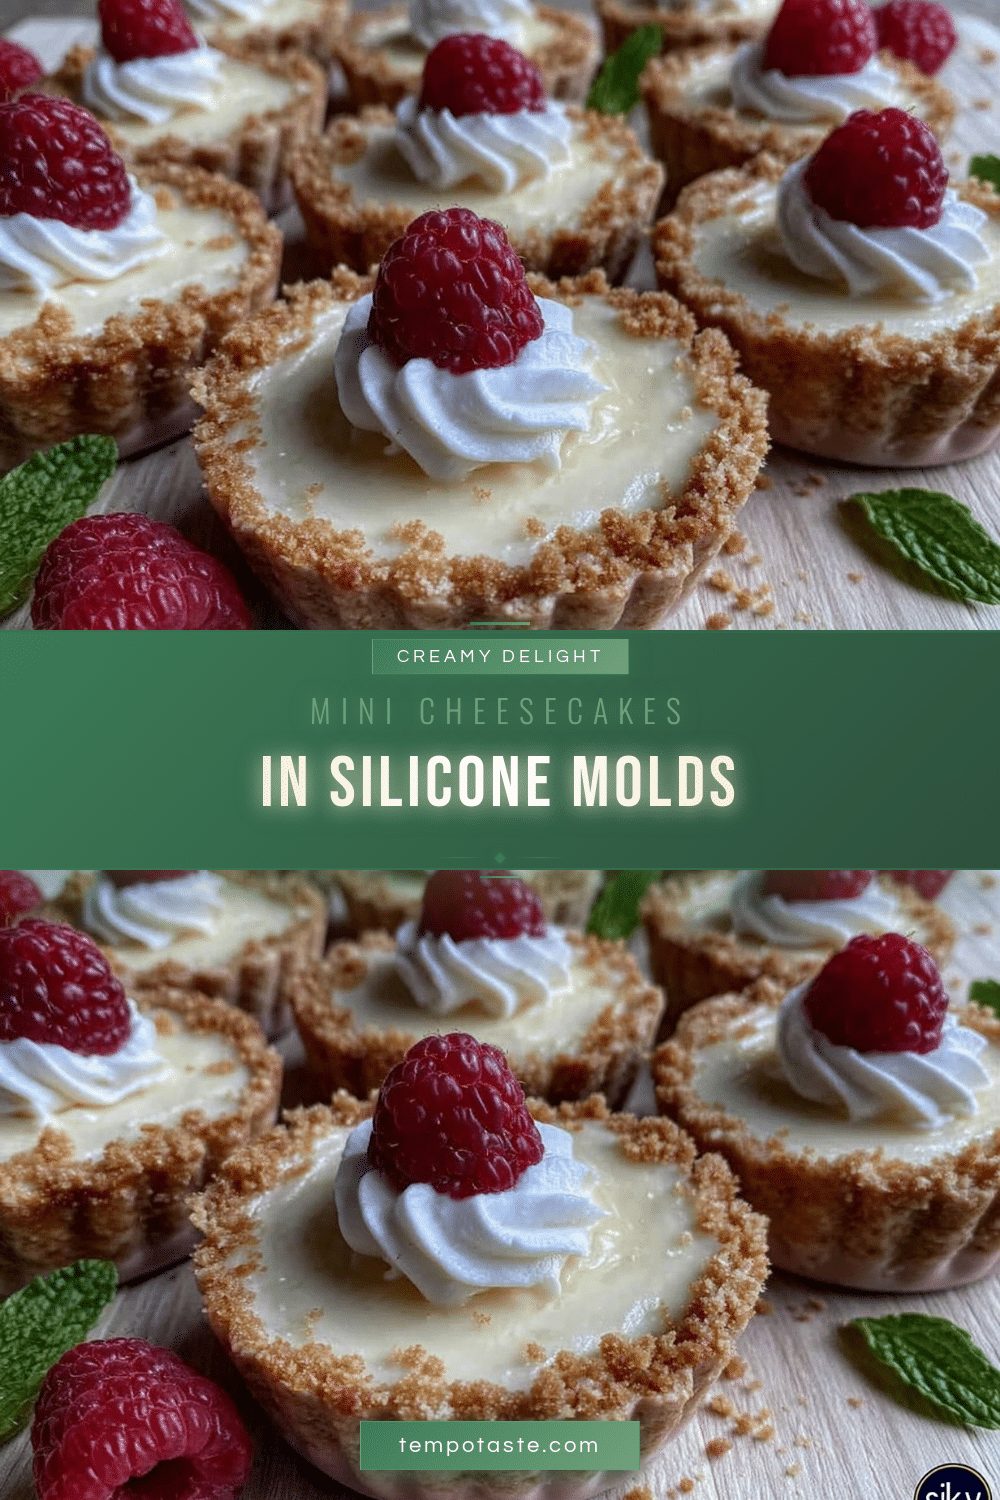
Creamy Mini Cheesecakes Recipe with Fresh Raspberry Topping

These creamy mini cheesecakes with fresh raspberry topping are quick, easy, and perfect for any occasion. Made in silicone molds, they deliver a silky smooth texture with a bright, fresh raspberry contrast.
- Prep Time: 15 minutes
- Cook Time: 25 minutes
- Total Time: 3 hours 40 minutes
- Yield: 6 mini cheesecakes 1x
- Category: Dessert
- Cuisine: American
Ingredients
- 8 oz cream cheese, softened
- 1/3 cup granulated sugar
- 1 large egg, room temperature
- 1 tsp pure vanilla extract
- 2 tbsp sour cream
- 1 tbsp all-purpose flour
- 1 cup graham cracker crumbs
- 3 tbsp unsalted butter, melted
- 1 tbsp granulated sugar
- 1 cup fresh raspberries, washed and patted dry
- 1 tbsp honey or maple syrup (optional)
- Zest of half a lemon
Instructions
- Preheat your oven to 325°F (160°C). Grease your silicone molds lightly or use a non-stick spray and set aside.
- In a small bowl, combine graham cracker crumbs, melted butter, and sugar. Mix until crumbs are evenly coated and look like wet sand.
- Press about 1 tbsp of crust mixture into each mold cavity firmly and evenly along the bottom. This should take about 5 minutes.
- In a medium bowl, beat softened cream cheese until smooth and creamy using an electric mixer (about 2-3 minutes). Add sugar and mix until combined.
- Add egg and vanilla extract to the cream cheese mixture and beat until fully incorporated.
- Mix in sour cream and flour on low speed just until smooth. Avoid overmixing.
- Spoon the cheesecake batter evenly over the crust in each mold, filling about 3/4 full. Tap molds gently on the counter to release air bubbles.
- Place molds on a baking sheet and bake for 20-25 minutes until edges are set but centers still jiggle slightly.
- Remove from oven and cool to room temperature on a wire rack. Then chill in the fridge for at least 3 hours or overnight.
- Just before serving, combine fresh raspberries with honey or maple syrup (if using) and lemon zest. Toss gently to coat.
- Carefully unmold the mini cheesecakes and top each with a spoonful of the raspberry mixture. Serve immediately.
Notes
Soften cream cheese completely before mixing to avoid lumps. Avoid overmixing after adding the egg to prevent cracks. Chilling overnight improves texture and flavor. Silicone molds make unmolding easier but non-stick mini muffin pans with liners can be used as a substitute.
Nutrition
- Serving Size: 1 mini cheesecake
- Calories: 275
- Sugar: 15
- Sodium: 150
- Fat: 18
- Saturated Fat: 10
- Carbohydrates: 22
- Fiber: 2
- Protein: 6
Keywords: mini cheesecakes, raspberry topping, creamy cheesecake, easy dessert, silicone molds, homemade dessert


