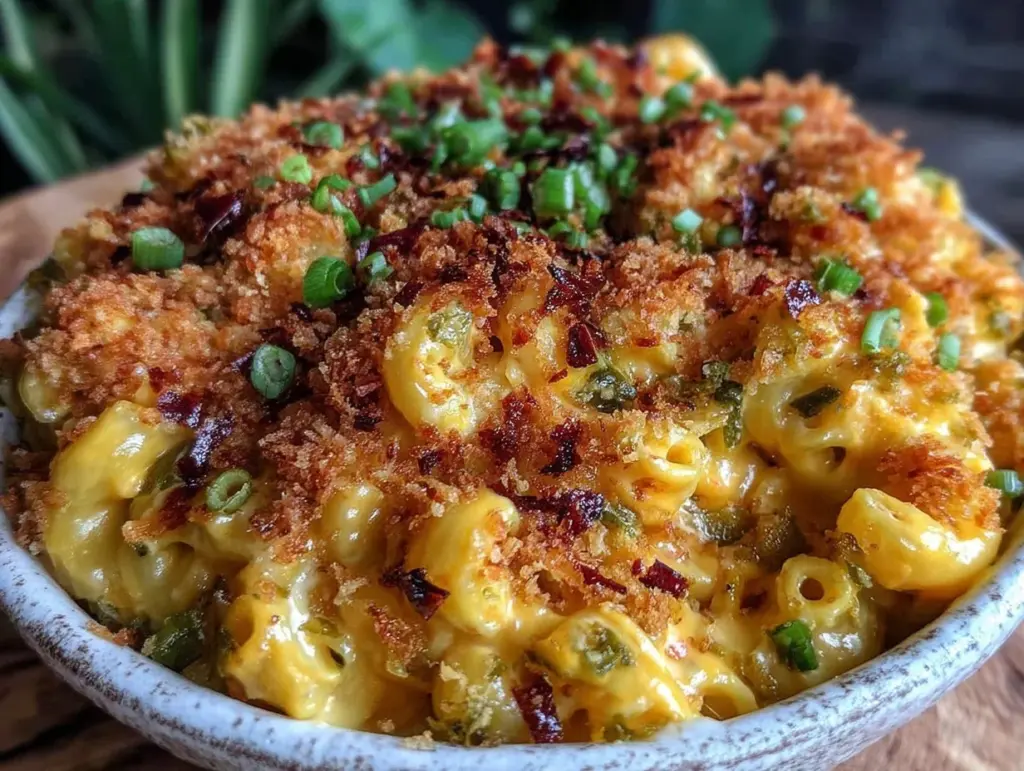
I burned the cheese topping on my first three tries before figuring out why it wasn’t turning out right. Honestly, I didn’t even think Hatch green chile belonged in mac and cheese at first. I was stubbornly sticking to the classic creamy version — you know, the one that’s smooth, cheesy, and totally predictable. But then I stumbled on a batch that didn’t just sing with heat but had this addictive crunch from the panko topping that was borderline magical.
That first crispy bite was a revelation, though it came with the smell of slightly scorched breadcrumbs wafting through the kitchen. The smoky tang of the Hatch chiles mixed with the creamy cheese was a combo I hadn’t given enough credit to before. It’s funny because I used to prefer my mac and cheese plain, but this recipe stuck with me — probably because it’s the kind of comfort food that surprises you with every forkful.
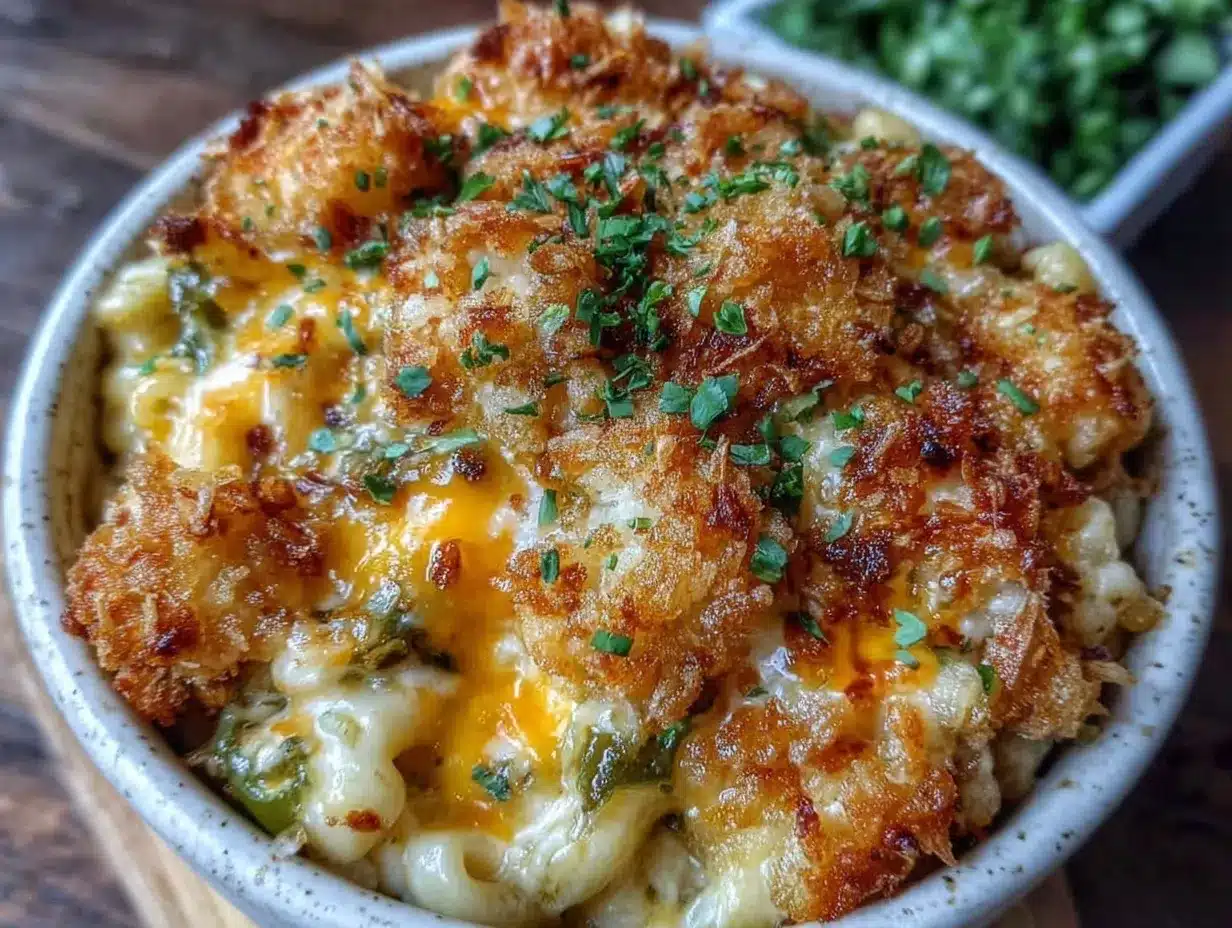
What really nailed it for me was the texture contrast: the gooey, cheesy interior paired with that golden, crispy panko crust. It’s not just mac and cheese; it’s a little fiesta in a baking dish. I guess it worked because it’s got a bit of everything — creamy, spicy, crunchy — and it reminds me a little of the quick skillet lasagna I made last month, where layers and textures also played a huge role. I’m pretty sure this Hatch green chile mac and cheese with panko topping is going to be one of those recipes you keep making, even if you burned it a few times at first.
It’s a dish that doesn’t pretend to be fancy but demands your attention — and honestly, that’s why it’s stuck around on my dinner rotation. There’s something quietly satisfying about it that feels like a little reward after a long day.
Why You’ll Love This Crispy Hatch Green Chile Mac and Cheese Recipe
This recipe isn’t just your everyday mac and cheese—it’s got personality and a kick that makes it stand out from the crowd. Here are a few reasons I keep reaching for this dish whenever I want something comforting but with a bit of a twist:
- Quick & Easy: From start to finish, this recipe comes together in under 40 minutes — ideal for those busy weeknights when you want something hearty without the hassle.
- Simple Ingredients: No fancy or hard-to-find items here. Most of the ingredients are pantry staples, and the Hatch green chiles add that special touch without complicating things.
- Perfect for Cozy Gatherings: Whether it’s a casual dinner or a small get-together, this mac and cheese is a crowd-pleaser that feels homey and inviting.
- Crowd-Pleaser: Kids love the creamy cheese, and adults appreciate the subtle heat and crunch of the panko topping.
- Unbelievably Delicious: The combo of melty cheese, smoky Hatch chiles, and crispy breadcrumbs is next-level comfort food, honestly.
What really makes this recipe different is the way the Hatch green chile is handled — roasted and chopped fresh, giving you bursts of smoky, spicy flavor in every bite. The panko topping isn’t just sprinkled on; it’s tossed with melted butter and a pinch of smoked paprika for an extra layer of crunch and flavor that you won’t find in your typical mac and cheese.
It’s the kind of recipe that makes you close your eyes after that first bite and say, “Yep, this is exactly what I needed.” It’s comfort food with a bit of character, perfect for impressing guests or just treating yourself to something a little more exciting than the usual cheesy pasta.
What Ingredients You Will Need
This recipe uses simple, wholesome ingredients to deliver bold flavor and satisfying texture without the fuss. Most of these are everyday staples, with the Hatch green chile bringing a unique, seasonal flair you might want to keep on hand during chile season.
- For the Mac and Cheese Base:
- Elbow macaroni – 12 oz (340 g), cooked al dente
- Unsalted butter – 4 tbsp (57 g), divided
- All-purpose flour – 1/4 cup (30 g), for roux
- Whole milk – 3 cups (720 ml), warmed
- Sharp cheddar cheese – 2 cups (200 g), shredded (I like Cabot for its sharpness)
- Monterey Jack cheese – 1 cup (100 g), shredded
- Hatch green chiles – 1 cup, roasted and chopped (fresh or canned, but fresh is best when in season)
- Yellow mustard – 1 tsp (adds a subtle tang)
- Garlic powder – 1/2 tsp
- Onion powder – 1/2 tsp
- Salt and freshly ground black pepper – to taste
- For the Panko Topping:
- Panko breadcrumbs – 1 cup (100 g), for the crunch
- Unsalted butter – 3 tbsp (43 g), melted
- Smoked paprika – 1/2 tsp (smoky flavor boost)
- Parmesan cheese – 1/4 cup (25 g), finely grated (optional but recommended)
If you want to switch things up, you can use gluten-free pasta and almond flour instead of all-purpose flour to make a gluten-free version. Also, swapping whole milk for a dairy-free alternative like oat milk works well if you need a lactose-free option. For a sharper bite, feel free to add a bit more sharp cheddar or even a pinch of cayenne pepper if you like it spicier.
Equipment Needed
- Large pot for boiling pasta – a sturdy one with a strainer insert helps speed up draining.
- Medium saucepan – for making the cheese sauce and roux.
- Oven-safe baking dish (around 9×13 inches) – to bake and crisp the mac and cheese.
- Roasting pan or baking sheet – for roasting the Hatch green chiles if using fresh.
- Mixing bowls – one for tossing the panko topping with butter and spices.
- Whisk and wooden spoon – for smooth sauce preparation and stirring.
If you don’t have an oven-safe dish, you can assemble the mac and cheese in a regular baking dish and then transfer it to a rimmed baking sheet lined with foil to catch any drips. For roasting the chiles, a broiler or grill pan works just fine. Personally, I find a silicone spatula perfect for scraping the cheese sauce off the sides without wasting a drop. And trust me, a kitchen thermometer isn’t necessary here, but it’s a nice-to-have if you want to keep the sauce from overheating.
Preparation Method
- Roast and Prep the Hatch Green Chiles (if using fresh): Preheat your oven’s broiler or grill to high. Place the chiles on a baking sheet and broil, turning occasionally, until the skins are blackened and blistered (about 7-10 minutes). Transfer to a bowl and cover with plastic wrap to steam for 10 minutes. Peel off the skins, remove seeds if you want less heat, and chop coarsely. (This step is key for that smoky flavor.)
- Cook the Macaroni: Bring a large pot of salted water to a boil. Add 12 oz (340 g) elbow macaroni and cook according to package instructions until just al dente (usually about 7-8 minutes). Drain and set aside.
- Make the Roux for the Cheese Sauce: In a medium saucepan, melt 4 tbsp (57 g) unsalted butter over medium heat. Whisk in 1/4 cup (30 g) all-purpose flour and cook, whisking constantly, for about 2 minutes until it turns a light golden color and smells slightly nutty. This step cooks out the raw flour taste.
- Add Milk and Make the Cheese Sauce: Slowly pour in 3 cups (720 ml) warmed whole milk while whisking vigorously to avoid lumps. Continue to cook, stirring often, until the sauce thickens and coats the back of a spoon (around 6-8 minutes). Remove from heat.
- Stir in the Cheese and Seasonings: Add 2 cups (200 g) sharp cheddar and 1 cup (100 g) Monterey Jack cheese gradually, stirring until melted and smooth. Mix in the roasted Hatch green chiles, 1 tsp yellow mustard, 1/2 tsp garlic powder, 1/2 tsp onion powder, and salt and pepper to taste. Taste and adjust seasoning if needed — the chiles add heat, so balance accordingly.
- Combine Pasta and Cheese Sauce: Add the cooked macaroni to the cheese sauce and gently fold together until evenly coated.
- Prepare the Panko Topping: In a small bowl, toss 1 cup (100 g) panko breadcrumbs with 3 tbsp (43 g) melted butter, 1/2 tsp smoked paprika, and 1/4 cup (25 g) grated Parmesan cheese. This mixture will crisp up beautifully in the oven.
- Assemble and Bake: Pour the mac and cheese into a greased 9×13 inch baking dish. Evenly sprinkle the panko topping over the surface. Bake in a preheated oven at 375°F (190°C) for 20-25 minutes, or until the topping is golden brown and crispy. Watch carefully toward the end to avoid burning.
- Rest and Serve: Let the mac and cheese rest for 5 minutes after baking to set up. This helps with portioning and lets the flavors meld.
If you find the sauce too thick at any point, whisk in a splash more milk to loosen it. And if the topping browns too fast, tent the dish loosely with foil during the last 10 minutes. For a shortcut, you can use canned Hatch chiles — just drain and chop them before adding to the cheese sauce.
Cooking Tips & Techniques
Getting that perfect crispy topping and creamy interior isn’t always straightforward. Here’s what I’ve learned through trial, error, and a few burnt batches:
- Don’t overcook the pasta: It’s easy to end up with mushy mac and cheese if the noodles are too soft before baking. Aim for al dente since the pasta will cook a bit more in the oven.
- Warm your milk: Adding cold milk to the roux can cause lumps. I heat mine gently in a microwave or on the stove before whisking it in.
- Whisk constantly when making the roux and adding milk: This keeps the sauce smooth and lump-free.
- Butter your panko well: Tossing the breadcrumbs in melted butter is crucial for that rich, crunchy topping. You can add a pinch of smoked paprika or cayenne for extra flavor.
- Watch the baking time: The topping goes from golden to burnt quickly, so set a timer and check at 20 minutes.
- Rest before serving: Letting it sit a few minutes helps the cheese sauce thicken a bit and makes it easier to serve.
For a quick weeknight meal, I sometimes skip roasting fresh chiles and use canned ones, but roasting adds a smoky depth you can’t beat. If you want to prep ahead, assemble the mac and cheese (without the topping), cover it tightly, and refrigerate for up to 24 hours. Then add the topping and bake fresh.
Variations & Adaptations
This recipe is flexible, so feel free to make it your own:
- Spicy Kick: Add chopped jalapeños or a dash of hot sauce to the cheese sauce for extra heat.
- Vegetarian Boost: Stir in sautéed mushrooms, spinach, or roasted corn for added texture and nutrients.
- Different Cheeses: Swap in smoked gouda or pepper jack cheese for a different flavor profile.
- Gluten-Free: Use gluten-free elbow macaroni and replace the flour in the roux with cornstarch or a gluten-free blend.
- Dairy-Free: Try coconut or almond milk and a vegan cheese substitute; toss panko with olive oil instead of butter.
Once, I tried mixing in some crispy bacon bits before baking, and it was a hit — added a smoky-salty surprise that paired beautifully with the chiles. For a lighter version, you can reduce the cheese by half and add a bit more milk to keep it creamy but less rich.
Serving & Storage Suggestions
This Hatch green chile mac and cheese is best served warm with the topping still crisp. It pairs wonderfully with a simple green salad or some roasted veggies to balance the richness. For drinks, a crisp white wine or an ice-cold beer helps cut through the cheese nicely.
Store leftovers in an airtight container in the refrigerator for up to 3 days. To reheat, cover loosely with foil and bake at 350°F (175°C) until warmed through (about 15 minutes). The topping may soften a bit, but you can crisp it back up by broiling for a minute or two—just watch carefully.
Flavors actually deepen after sitting a day, so if you’re meal-prepping, this tastes even better the next day. Just be sure to add fresh panko topping if you want that signature crunch.
Nutritional Information & Benefits
This dish is hearty comfort food, rich in calcium and protein from the cheese and milk. Hatch green chiles bring a good dose of vitamin C and antioxidants, plus a metabolism-boosting capsaicin punch. While it’s not a low-calorie meal, you can balance it with fresh veggies on the side.
For those watching carbs, using a smaller portion or swapping regular pasta for a lower-carb alternative like chickpea pasta helps keep things lighter. The recipe is naturally gluten-free if you use gluten-free pasta and flour substitutes. Be aware it contains dairy and gluten by default, so adjust as needed.
Personally, I appreciate this recipe because it offers a satisfying indulgence without complicated ingredients or techniques—perfect for those nights when you want something wholesome but still comforting and a little exciting.
Conclusion
If you’re looking for a mac and cheese recipe that’s a little different but still hits all the comfort-food notes, this Crispy Hatch Green Chile Mac and Cheese with Panko Topping is worth your time. It’s creamy, spicy, and has that all-important crunchy top that makes every bite satisfying.
Feel free to tweak the heat level or cheese blend to fit your tastes — that’s part of what makes this recipe so reliable and fun to make. Honestly, it’s one of those dishes that feels like a warm hug but with a little extra kick.
Give it a try, and let me know how your version turned out. I’m always curious to hear about your twists or if you found any shortcuts that worked for you. This recipe has definitely earned a permanent spot on my dinner table, especially alongside other favorites like the crispy honey garlic chicken or the creamy loaded baked potato soup when I want a full comfort-food spread.
Here’s to crispy, cheesy, chile-filled nights ahead!
FAQs About Crispy Hatch Green Chile Mac and Cheese
What are Hatch green chiles, and can I use something else?
Hatch green chiles are a type of chile pepper grown primarily in New Mexico, known for their smoky, mildly spicy flavor. If you can’t find them, poblano peppers or roasted Anaheim chiles make decent substitutes.
Can I make this recipe ahead of time?
Yes! Assemble the mac and cheese (without the panko topping), cover, and refrigerate for up to 24 hours. Add the topping and bake just before serving for the best texture.
How do I make the panko topping extra crispy?
Make sure you toss the panko well with melted butter and spread it evenly on top. Baking at 375°F (190°C) until golden (about 20-25 minutes) will give you that perfect crunch. Broiling for a minute or two at the end can help, but watch closely to prevent burning.
Is this recipe gluten-free?
Not as written, since it uses all-purpose flour and regular pasta. But you can swap in gluten-free pasta and use cornstarch or a gluten-free flour blend for the roux to make it gluten-free.
Can I add protein to this dish?
Absolutely! Cooked shredded chicken, crispy bacon bits, or even sautéed sausage can be stirred in before baking for a heartier meal.
Pin This Recipe!
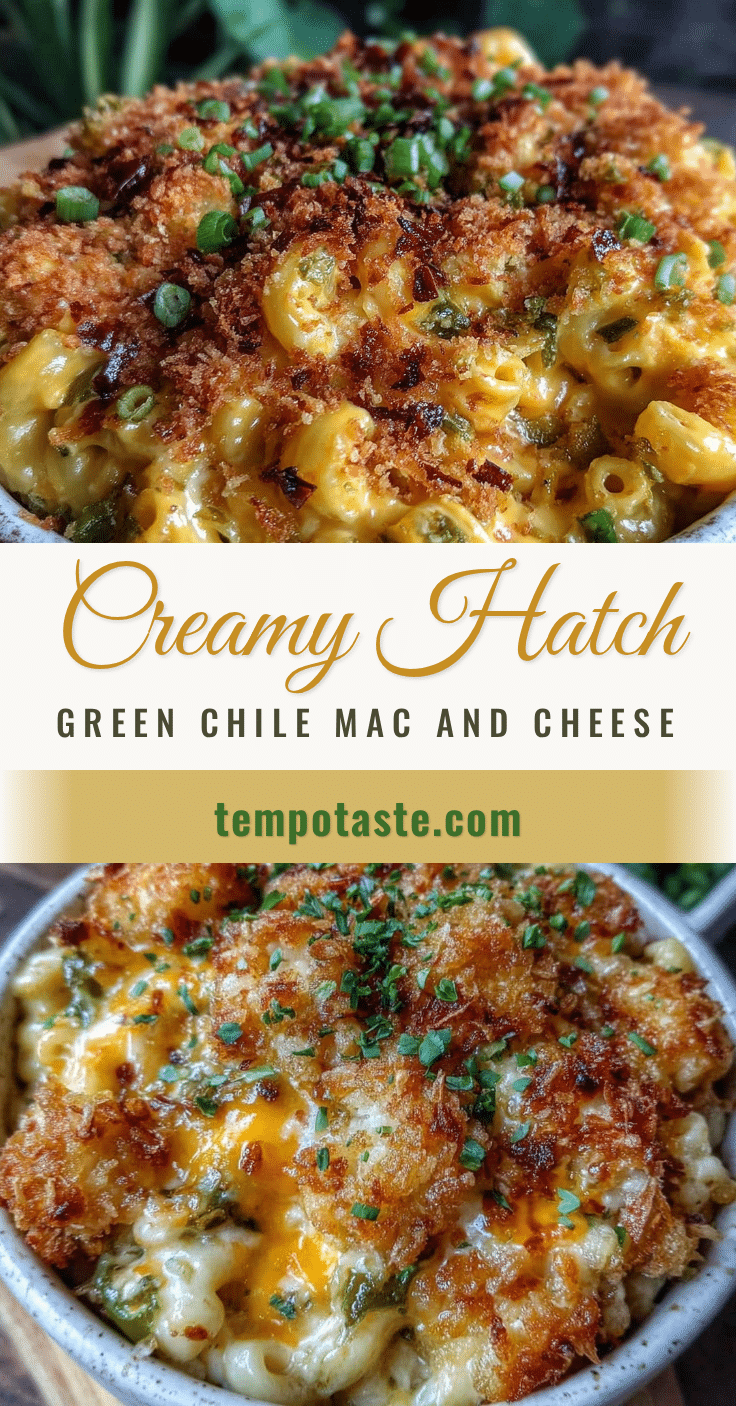
Crispy Hatch Green Chile Mac and Cheese Recipe with Easy Panko Topping

A creamy, spicy mac and cheese featuring smoky roasted Hatch green chiles and a crunchy panko topping tossed with melted butter and smoked paprika. This comforting dish combines gooey cheese with a golden, crispy crust for a flavorful twist on classic mac and cheese.
- Prep Time: 15 minutes
- Cook Time: 25 minutes
- Total Time: 40 minutes
- Yield: 6 servings 1x
- Category: Main Course
- Cuisine: American
Ingredients
- 12 oz elbow macaroni, cooked al dente
- 4 tbsp unsalted butter, divided
- 1/4 cup all-purpose flour
- 3 cups whole milk, warmed
- 2 cups sharp cheddar cheese, shredded
- 1 cup Monterey Jack cheese, shredded
- 1 cup Hatch green chiles, roasted and chopped
- 1 tsp yellow mustard
- 1/2 tsp garlic powder
- 1/2 tsp onion powder
- Salt and freshly ground black pepper, to taste
- 1 cup panko breadcrumbs
- 3 tbsp unsalted butter, melted
- 1/2 tsp smoked paprika
- 1/4 cup Parmesan cheese, finely grated (optional)
Instructions
- Preheat oven broiler or grill to high. Roast Hatch green chiles on a baking sheet, turning occasionally, until skins are blackened and blistered (7-10 minutes). Transfer to a bowl, cover with plastic wrap, and steam for 10 minutes. Peel skins, remove seeds if desired, and chop coarsely.
- Bring a large pot of salted water to a boil. Cook elbow macaroni until just al dente (7-8 minutes). Drain and set aside.
- In a medium saucepan, melt 4 tbsp unsalted butter over medium heat. Whisk in 1/4 cup all-purpose flour and cook for about 2 minutes until light golden and nutty smelling.
- Slowly whisk in 3 cups warmed whole milk, stirring constantly until sauce thickens and coats the back of a spoon (6-8 minutes). Remove from heat.
- Gradually stir in sharp cheddar and Monterey Jack cheeses until melted and smooth. Mix in roasted Hatch green chiles, yellow mustard, garlic powder, onion powder, salt, and pepper. Adjust seasoning to taste.
- Fold cooked macaroni into cheese sauce until evenly coated.
- In a small bowl, toss panko breadcrumbs with melted butter, smoked paprika, and Parmesan cheese.
- Pour mac and cheese into a greased 9×13 inch baking dish. Evenly sprinkle panko topping over the surface.
- Bake at 375°F (190°C) for 20-25 minutes until topping is golden brown and crispy. Watch carefully to avoid burning.
- Let rest for 5 minutes before serving to set and meld flavors.
Notes
Do not overcook pasta; aim for al dente as it will cook more in the oven. Warm milk before adding to roux to avoid lumps. Toss panko well with melted butter and smoked paprika for best crunch. Watch baking time closely to prevent burning the topping. Rest mac and cheese 5 minutes before serving. For gluten-free, use gluten-free pasta and flour substitutes. For dairy-free, use plant-based milk and vegan cheese, and toss panko with olive oil instead of butter.
Nutrition
- Serving Size: 1 cup
- Calories: 450
- Sugar: 6
- Sodium: 550
- Fat: 22
- Saturated Fat: 13
- Carbohydrates: 45
- Fiber: 2
- Protein: 18
Keywords: mac and cheese, Hatch green chile, panko topping, crispy mac and cheese, comfort food, cheesy pasta, spicy mac and cheese