
Let me tell you, the smell of warming flaxseed oil and the faint whisper of smoke rising from my cast iron skillet is enough to make any kitchen feel cozy and alive. The first time I seasoned a cast iron skillet the right way, I was instantly hooked—the kind of moment where you pause, take a deep breath, and just smile because you know you’re onto something truly special. When I was knee-high to a grasshopper, my grandma had an old skillet she swore by, and years ago I finally understood why she treated it like gold.
Honestly, seasoning cast iron seemed like a mysterious ritual before I cracked the code. I stumbled upon this easy perfect seasoning method on a rainy weekend, trying to revive a rusty pan. My family couldn’t stop sneaking bites off the dishes I cooked afterward (and I can’t really blame them). Let’s face it, a well-seasoned skillet is pure, nostalgic comfort that brightens up your cooking game and Pinterest board alike.
This easy perfect seasoning for cast iron skillets is dangerously simple but feels like a warm hug every time you use your pan. After testing this step-by-step guide multiple times—yes, in the name of research, of course—it became a staple for family gatherings, gifting, and those quiet Sunday morning breakfasts. You’re going to want to bookmark this one.
Why You’ll Love This Recipe
Seasoning your cast iron skillet properly isn’t just a chore—it’s an art that transforms your cooking experience. I’ve tried plenty of methods, and this easy perfect seasoning recipe stands out for a few solid reasons:
- Quick & Easy: Comes together in under an hour, perfect for busy cooks who want results without fuss.
- Simple Ingredients: You only need a few pantry staples—no fancy oils or complicated steps.
- Perfect for Every Skillet: Whether your pan is brand new or showing signs of wear, this method restores the non-stick magic.
- Crowd-Pleaser: Family and friends always notice the difference—meals just taste better from a well-seasoned pan.
- Unbelievably Durable: The seasoning layer built here resists rust and sticks, making cleanup easier and cooking more enjoyable.
What sets this recipe apart? It’s the special use of flaxseed oil, which polymerizes beautifully to form a hard, slick coating, plus the step-by-step heat treatment that ensures even seasoning without sticky spots. No guesswork, no mess—just a perfect patina that feels like it’s been with you forever.
This isn’t just seasoning; it’s a love letter to your cast iron. It’s the kind of recipe that makes you close your eyes after the first use and think, “Yep, this skillet’s never going back.” Whether you’re impressing guests or cooking for your crew, this guide takes the stress out of skillet care and puts the joy back in your kitchen.
What Ingredients You Will Need
This recipe uses simple, wholesome ingredients to deliver a bold, durable seasoning layer without any extra fuss. Most of these are pantry staples or easily found at any grocery store.
- Flaxseed Oil: Cold-pressed, organic if possible (this oil polymerizes best for a hard seasoning coat).
- Vegetable Oil or Canola Oil: For an alternative if flaxseed oil isn’t available (though flaxseed oil gives the best results).
- Soap and Water: For initial cleaning of the skillet (use a mild dish soap).
- Paper Towels or a Clean Cloth: For wiping excess oil.
- Optional – Salt: Coarse kosher salt for scrubbing rust spots or stubborn residue before seasoning.
Pro tip: I usually recommend Bob’s Red Mill flaxseed oil—it’s pure and consistent, which makes a difference in the finish. If you’re in a pinch, an organic canola oil will do, but the seasoning won’t be quite as hard or durable.
For new pans, a quick scrub with salt and warm water removes factory oils. For older pans, this step is essential to remove rust or buildup before you start seasoning.
Equipment Needed
- Oven: A conventional or convection oven that can reach 450°F (232°C).
- Cast Iron Skillet: The star of the show.
- Aluminum Foil: To catch drips during the seasoning process.
- Heat-Resistant Gloves or Oven Mitts: Safety first when handling hot cookware.
- Paper Towels or Lint-Free Cloths: For spreading oil evenly.
- Scrubbing Brush or Sponge: For cleaning before seasoning.
If you don’t have aluminum foil, a baking sheet placed underneath the skillet works as a drip catcher. For spreading oil, I personally prefer lint-free cloths because they leave less lint behind compared to paper towels.
Oven maintenance tip: After seasoning, give your oven a quick wipe-down if any oil dripped down to prevent smoke or lingering odors.
Preparation Method
- Clean the Skillet Thoroughly: Use warm water, mild dish soap, and a scrubbing brush or sponge to remove any dirt, rust, or factory coating. For rusty pans, sprinkle coarse kosher salt on the surface and scrub gently. Rinse well and dry completely with a towel. (Drying thoroughly is crucial to avoid rust.) (Time: 10 minutes)
- Preheat Your Oven: Set it to 450°F (232°C). Place a sheet of aluminum foil on the bottom rack to catch any drips during seasoning. (Time: 10 minutes)
- Apply a Thin Layer of Oil: Pour about a teaspoon of flaxseed oil into the skillet. Using a lint-free cloth or paper towel, rub the oil over the entire interior and exterior surfaces, including the handle. Be sure to wipe off excess oil so the pan looks almost dry—too much oil leads to sticky seasoning. (Time: 5 minutes)
- Place the Skillet Upside Down in the Oven: Position the skillet on the middle rack, upside down to prevent pooling of oil. Bake for one hour. (You may notice some smoke; that’s normal.)
- Turn Off the Oven and Let the Skillet Cool Inside: After one hour, switch off the oven but leave the skillet inside to cool slowly—this helps the seasoning set properly. (Time: 1-2 hours)
- Repeat the Oil Application and Baking Process: For best results, repeat steps 3 to 5 two to three more times. Each layer builds a stronger, more durable seasoning coat. (Overall seasoning time: 3-4 hours including cooling)
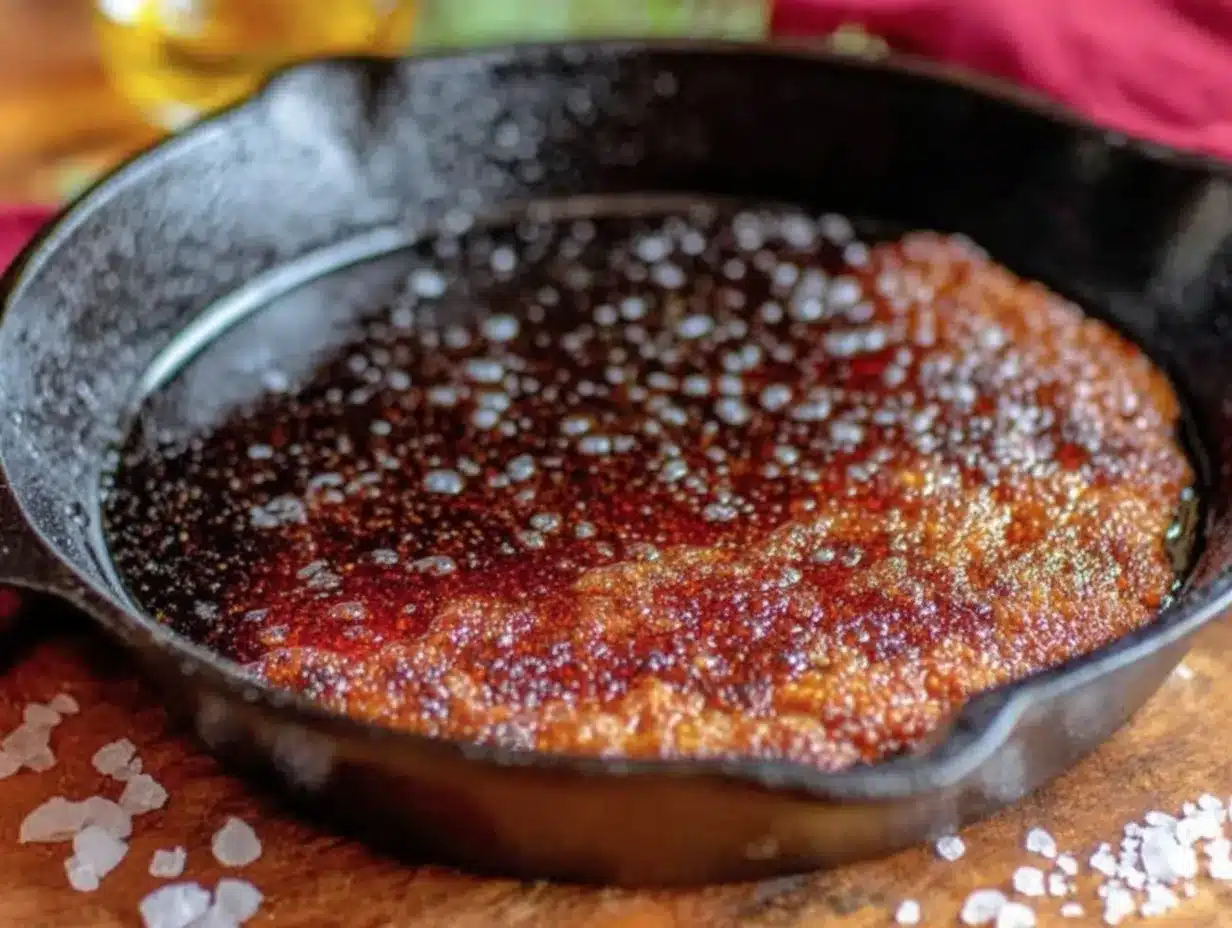
- Final Check and Maintenance: Once cooled, your skillet should have a smooth, semi-glossy black finish. If you notice rough or sticky spots, gently scrub with salt and re-season those areas. Always dry your skillet immediately after washing to keep that perfect seasoning intact.
Pro tip: When wiping oil, less is more. I learned the hard way that thick layers of oil turn gummy and sticky. Also, patience counts—letting the skillet cool slowly inside the oven seals the seasoning better than pulling it out early.
Cooking Tips & Techniques
Seasoning cast iron skillets is part science, part art. Here are a few insider tips I’ve picked up over the years:
- Don’t Skip the Cleaning Step: Even new pans come with protective coatings that must be stripped for seasoning to adhere properly.
- Use Flaxseed Oil When Possible: It polymerizes into a hard, durable layer unlike most other oils. But if you can’t find it, vegetable or canola oil works fine for maintenance seasoning.
- Thin Layers Win: Applying too much oil leads to sticky, uneven seasoning. Wipe off excess oil until the skillet looks dry before baking.
- Heat Matters: Baking at 450°F (232°C) is the sweet spot for polymerization without smoking up your kitchen too much.
- Repeat for Strength: Multiple thin coats build a better seasoning than one thick one. I usually do three to four rounds for a brand-new pan.
- Patience Is Key: Let the skillet cool in the oven after baking to avoid cracks or uneven seasoning.
I once rushed the process and ended up with a sticky mess that I had to strip and start over. Not fun! Also, avoid cooking acidic foods like tomatoes in a newly seasoned skillet—it can break down the coating early on.
Variations & Adaptations
While this easy perfect seasoning method suits most cast iron skillets, you can tweak it depending on your needs and preferences:
- For a Vegan-Friendly Oil: Use refined coconut oil or grapeseed oil if flaxseed oil isn’t your thing (though results vary).
- Seasoning on a Grill: If you don’t have an oven, place the oiled skillet upside down on a grill set to medium-high heat for about an hour, turning off heat afterwards and letting it cool inside the grill.
- Quick Maintenance Seasoning: After each use, wipe the skillet with a light coat of oil while still warm to keep the seasoning strong without a full bake.
- Rusty Pans: For heavy rust, scrub with steel wool before cleaning and seasoning. You might need extra seasoning rounds for full restoration.
Personally, I once seasoned a vintage cast iron pan using grapeseed oil on the grill during a summer BBQ weekend—and it worked surprisingly well! It’s a handy option if your oven is otherwise occupied.
Serving & Storage Suggestions
Once your skillet is perfectly seasoned, serving and storing it right keeps that non-stick magic alive:
- Serving: Use your skillet to cook everything from crispy bacon to fluffy cornbread. It’s best served hot, right off the stove or oven, to enjoy that signature cast iron sear and flavor.
- Cleaning: Avoid soap after seasoning. Instead, rinse with hot water and scrub with a brush or coarse salt if needed.
- Drying: Always dry your skillet thoroughly—either towel dry or warm it on the stove—to prevent rust.
- Storage: Store your skillet in a dry place, preferably with a paper towel or cloth inside to absorb moisture.
- Reheating: Reheat your skillet gradually on low to medium heat before cooking to protect the seasoning.
Flavors actually deepen with regular use, so don’t be shy about cooking a variety of dishes. That skillet gains character with every meal.
Nutritional Information & Benefits
While seasoning your cast iron skillet is more about cookware care than nutrition, using cast iron offers subtle health benefits. Cooking in cast iron can add small amounts of dietary iron to your meals, beneficial for those with iron deficiencies. Plus, well-seasoned pans require less oil, helping reduce overall fat intake.
This seasoning method uses natural oils without additives, making it safe and non-toxic compared to chemical coatings. It’s gluten-free, vegan-friendly (depending on oil choice), and allergen-free, so it fits almost every kitchen lifestyle.
I appreciate this method not only for maintaining my skillet but also for how it supports healthier cooking habits overall. It’s a win-win.
Conclusion
This easy perfect seasoning for cast iron skillets is truly worth your time. It transforms your cookware into a trusty kitchen companion that delivers delicious meals with less hassle. The step-by-step guide makes the process approachable—even if you’re new to cast iron care.
Feel free to customize the oils and seasoning rounds based on your preferences and the skillet’s needs. Personally, I love the ritual of seasoning as much as the results—it’s a way of showing a little love to my kitchen tools.
If you try this recipe, I’d love to hear how it goes! Drop a comment below, share your seasoning stories, or tell me about your favorite skillet dishes. Here’s to cooking with confidence and a perfectly seasoned cast iron skillet that’s ready for anything!
FAQs
How often should I season my cast iron skillet?
For regular home use, seasoning every few months or when food starts sticking works well. Quick maintenance seasoning after each use helps keep the coating strong.
Can I use oils other than flaxseed for seasoning?
Yes, vegetable, canola, grapeseed, or refined coconut oils work, but flaxseed oil creates the hardest, most durable seasoning layer.
Is it safe to use soap on a cast iron skillet?
After initial seasoning, avoid soap to protect the seasoning layer. For deep cleaning, mild soap can be used sparingly, but rinse well and reapply oil afterward.
What if my skillet has sticky or uneven seasoning?
Sticky spots usually mean too much oil was applied. Scrub the pan with coarse salt and warm water, dry thoroughly, and reseason with thinner oil layers.
Can I season cast iron on a grill instead of an oven?
Absolutely! Preheat the grill to medium-high, place the oiled skillet upside down on the grates, and follow the same timing as the oven method. Let it cool inside the grill for best results.
Pin This Recipe!
Easy Perfect Seasoning for Cast Iron Skillets Step by Step Guide

A simple and effective method to season cast iron skillets using flaxseed oil, creating a durable, non-stick coating that enhances cooking and protects your pan.
- Prep Time: 15 minutes
- Cook Time: 4 hours
- Total Time: 4 hours 15 minutes
- Yield: 1 seasoned cast iron skillet
- Category: Cookware Maintenance
- Cuisine: N/A
Ingredients
- Flaxseed oil (cold-pressed, organic if possible)
- Vegetable oil or canola oil (alternative to flaxseed oil)
- Soap and water (mild dish soap for cleaning)
- Paper towels or a clean cloth
- Optional: Coarse kosher salt (for scrubbing rust or residue)
Instructions
- Clean the skillet thoroughly with warm water, mild dish soap, and a scrubbing brush or sponge. For rusty pans, sprinkle coarse kosher salt and scrub gently. Rinse well and dry completely.
- Preheat your oven to 450°F (232°C). Place a sheet of aluminum foil on the bottom rack to catch drips.
- Apply a thin layer of flaxseed oil (about 1 teaspoon) to the entire skillet, inside and out, including the handle. Wipe off excess oil until the pan looks almost dry.
- Place the skillet upside down on the middle oven rack and bake for 1 hour.
- Turn off the oven and let the skillet cool inside for 1-2 hours.
- Repeat the oil application and baking process 2-3 more times for a stronger seasoning layer.
- After final cooling, check for rough or sticky spots. If present, scrub with salt and re-season those areas. Always dry the skillet immediately after washing.
Notes
Use thin layers of oil to avoid sticky seasoning. Let the skillet cool slowly inside the oven after baking to ensure proper seasoning. Avoid cooking acidic foods in a newly seasoned skillet. For rusty pans, scrub with coarse salt before seasoning. Flaxseed oil polymerizes best for a hard, durable coating; vegetable or canola oil can be used for maintenance. Oven drip cleanup is recommended to prevent smoke.
Nutrition
- Serving Size: N/A (Cookware season
Keywords: cast iron seasoning, flaxseed oil, skillet care, non-stick coating, cookware maintenance, cast iron skillet, seasoning guide


