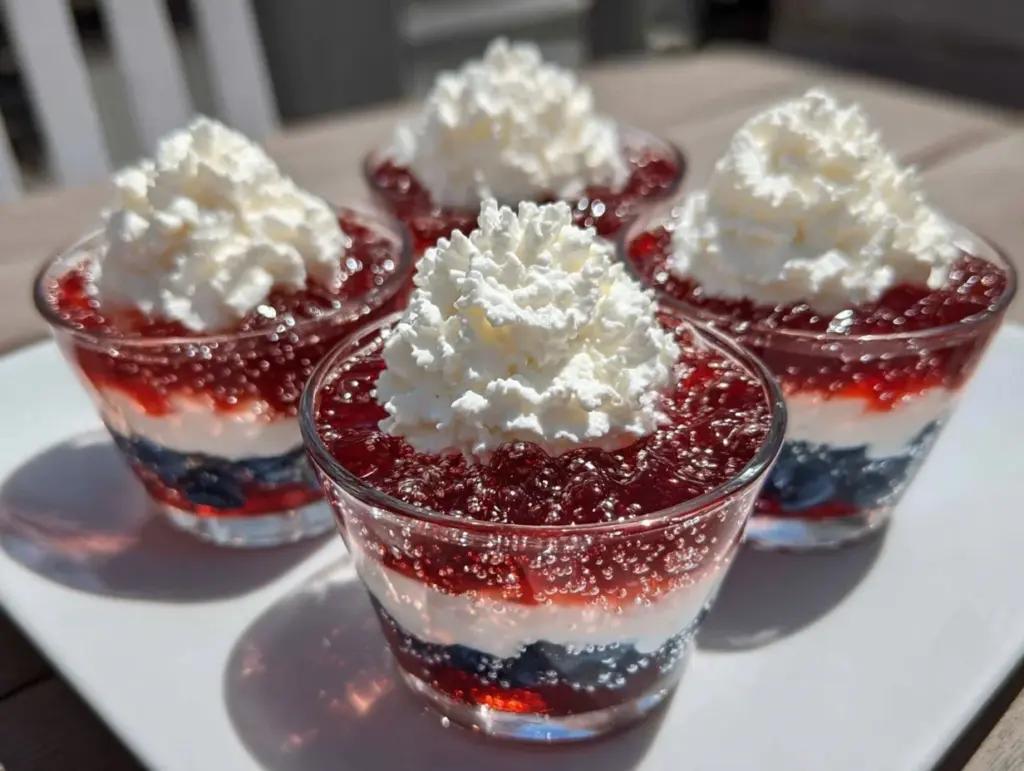
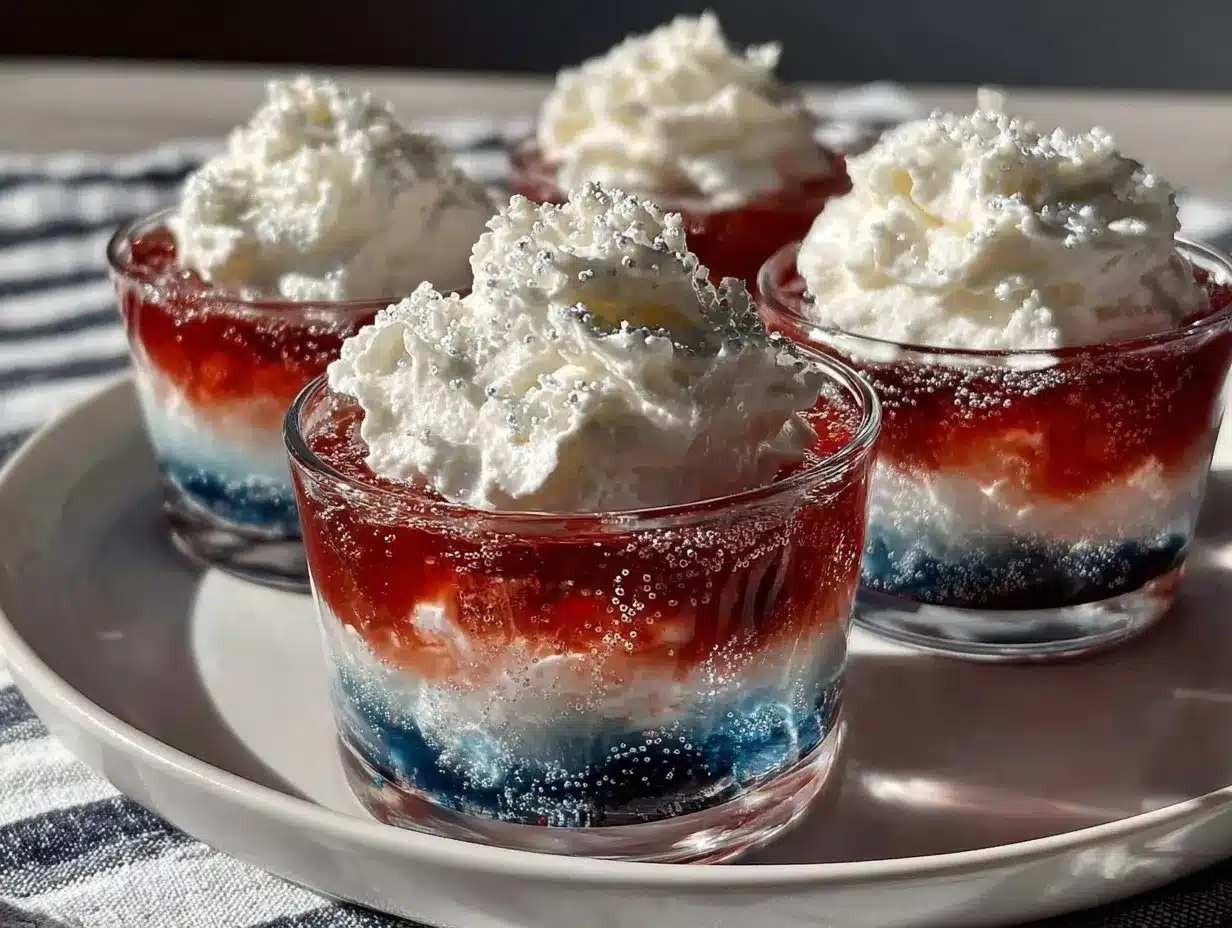
That cool, wobbly jiggle — the kind that catches your eye before you even realize your fingers have reached for one — still takes me straight to a sunny backyard on the Fourth of July. The sun was hot, kids were running wild, and neighbors were chattering over the hum of the grill. My aunt’s famous Festive Red White and Blue Layered Jello Cups with Whipped Cream sat proudly on the picnic table, each cup a little flag of joy in a plastic cup. It wasn’t just the vibrant colors — the red of cherry, the blue of blueberry, the creamy white layers — but how each spoonful seemed to cool down the heat and bring everyone together. I remember feeling the smooth, light whipped cream melt on my tongue, the jello layers bursting with sweet, nostalgic summer flavors. Honest to goodness, it was more than dessert — it was a celebration in a cup.
This recipe stuck with me not because it was complicated or fancy, but because it was so simple and joyful. It’s the kind of dish you make by feel and memory, a little bit at a time, waiting patiently as each layer sets. And then, when you finally dig in, you get that quiet sense of summer afternoons made sweeter. It’s a dessert that carries the spirit of family gatherings, fireworks, and lazy conversations. That’s why I keep coming back to these jello cups — because they remind me how good it feels to slow down and savor simple moments.
Why You’ll Love This Recipe
After testing this recipe through multiple summers and family cookouts, I can say it reliably brings smiles and a festive vibe. Here’s why this Festive Red White and Blue Layered Jello Cups with Whipped Cream recipe is a keeper:
- Quick & Easy: Each cup comes together in about 20 minutes of active prep time, with layers setting in the fridge — perfect when you need a last-minute patriotic dessert.
- Simple Ingredients: You probably already have cherry and blueberry jello packets, some cream, and sugar on hand — no fancy or hard-to-find items.
- Perfect for Summer Parties: These jello cups are a hit for Fourth of July, Memorial Day, or any red-white-and-blue themed event.
- Crowd-Pleaser: Kids love the fun colors and texture, adults appreciate the nostalgic flavors and light finish.
- Unbelievably Delicious: The layers are just the right balance of sweet and creamy, with a soft, jiggly texture that’s oddly comforting.
What sets this version apart is the whipped cream layer that isn’t just a topping — it’s folded into a creamy layer that balances the fruity jello. I like using real whipped cream for that silky texture, but you could also try a stabilized version if you want it to hold longer on the table. The layering technique is simple but feels special, and honestly, it’s the kind of recipe I pull out when I want to impress without stress.
What Ingredients You Will Need
This recipe uses simple, wholesome ingredients to deliver bold flavor and satisfying texture without the fuss. Most are pantry staples or easy to find in any grocery store, making it a breeze to whip up whenever patriotic vibes strike.
- For the Red Layer:
- 1 package cherry-flavored Jello (3 oz / 85 g)
- 1 cup boiling water (240 ml)
- 1/2 cup cold water (120 ml)
- For the White Layer (Creamy Layer):
- 1 cup heavy whipping cream (240 ml), chilled
- 2 tablespoons powdered sugar (15 g)
- 1 teaspoon vanilla extract (5 ml)
- 1 envelope unflavored gelatin (about 2 1/2 teaspoons / 7 g)
- 1/4 cup cold milk (60 ml)
- For the Blue Layer:
- 1 package blueberry or berry-flavored Jello (3 oz / 85 g)
- 1 cup boiling water (240 ml)
- 1/2 cup cold water (120 ml)
- Optional Garnish:
- Fresh blueberries or cherries for topping
I recommend using quality brands like Knox gelatin for the white layer—it helps achieve that smooth, silky texture. If you can find blueberry-flavored Jello (or a similar berry flavor), that’s ideal for the blue layer; otherwise, grape Jello can work as a substitute (though it’s less traditional). For the whipped cream, heavy whipping cream from local dairies tends to whip better and tastes fresher, but any good-quality brand will do.
Equipment Needed
- Mixing bowls (at least 3, medium-sized)
- Measuring cups and spoons
- Whisk or electric mixer (a hand mixer works great for whipping cream quickly)
- Small saucepan (to bloom the gelatin for the white layer)
- Clear plastic or glass cups (8-10 oz / 240-300 ml size works well for layering)
- Spatula or spoon for layering
- Refrigerator with enough space for cups to chill undisturbed
If you don’t have a hand mixer, a sturdy whisk can do the job — it just takes a bit more elbow grease! When making the gelatin for the white layer, blooming it properly in cold milk before gently heating helps avoid lumps. I once tried skipping this step and ended up with a grainy texture — lesson learned. Also, using clear cups really lets the red, white, and blue layers shine through, which is half the fun.
Preparation Method
- Prepare the Red Jello Layer: In a mixing bowl, dissolve the cherry Jello powder in 1 cup (240 ml) boiling water. Stir thoroughly until fully dissolved. Add 1/2 cup (120 ml) cold water and mix. Pour about 1/3 cup (80 ml) of the red jello into each clear cup, filling the bottom layer. Refrigerate for at least 30 minutes or until firm to the touch.
- Prepare the White Creamy Layer: Sprinkle the unflavored gelatin over 1/4 cup (60 ml) cold milk in a small bowl; let it bloom for 5 minutes. Meanwhile, whip 1 cup (240 ml) heavy cream with 2 tablespoons (15 g) powdered sugar and 1 teaspoon (5 ml) vanilla extract until soft peaks form.
- Bloomed Gelatin: Gently warm the bloomed gelatin over low heat or in the microwave for about 10 seconds until dissolved completely—don’t let it boil! Stir the dissolved gelatin into the whipped cream carefully, folding just enough to combine without deflating the cream. This step creates that luscious, stable white layer.
- Add the White Layer: Remove the red jello cups from the fridge. Spoon or pour about 1/3 cup (80 ml) of the creamy white mixture evenly over the red layer. Return the cups to the fridge and chill for another 30 minutes until set.
- Prepare the Blue Jello Layer: Repeat the jello preparation steps: dissolve the blueberry Jello powder in 1 cup (240 ml) boiling water, stir well, add 1/2 cup (120 ml) cold water. Allow it to cool to room temperature but not set.
- Add the Blue Layer: Carefully pour about 1/3 cup (80 ml) of the blue jello over the set white layer. Pour slowly down the side of each cup to keep layers distinct. Chill the assembled cups for at least 2 hours or until fully firm.
- Final Touches: Before serving, top each cup with a dollop of fresh whipped cream and a few fresh blueberries or cherries if you like. This adds a fresh burst and makes the presentation pop.
Pro tip: Make sure each layer is fully set before adding the next to keep those crisp, distinct layers. If you’re impatient like me, a quick chill in the freezer (about 10-15 minutes) can speed things up, but watch closely so nothing freezes solid.
Cooking Tips & Techniques
Working with layered jello cups can feel a bit fiddly, but a few tricks help make it smooth sailing every time. First, always use boiling water to dissolve the gelatin powders completely. Any undissolved granules will give you a grainy texture — trust me, I’ve been there. Cooling the blue jello layer to just above room temperature before pouring helps avoid melting the white layer underneath.
When whipping cream for the white layer, chill your bowl and beaters beforehand if possible. Cold equipment speeds up whipping and gives you better volume. Folding the gelatin into whipped cream gently is key — mix too vigorously and you’ll lose that airy texture.
Another tip is patience. It’s tempting to rush these layers, but waiting for each to fully set makes for cleaner, prettier layers. If you want to multitask, start the red layer, then prep your whipped cream and gelatin while it chills. That way, everything flows nicely without long wait times.
Variations & Adaptations
- Dairy-Free Version: Swap heavy cream with canned coconut cream whipped until fluffy. Use agar-agar powder instead of gelatin for the white layer, following package instructions.
- Flavor Twists: Try swapping cherry jello with raspberry or strawberry for a different red hue. Blueberry jello can be replaced with blackcurrant or grape for varied berry notes.
- Layer Shapes: Use square or rectangular clear containers instead of cups to make festive flag slices — perfect for potlucks or picnics.
- Healthier Option: Use sugar-free jello packets and a lightly sweetened Greek yogurt layer instead of whipped cream for a tangy twist.
- Personal Variation: Once, I added a thin layer of crushed graham crackers between the white and blue layers for a crunchy surprise — it was a hit with the kids!
Serving & Storage Suggestions
These Festive Red White and Blue Layered Jello Cups with Whipped Cream are best served chilled, straight from the refrigerator. The coolness enhances the jiggly texture and the creamy white layer’s smoothness. For presentation, arrange the cups on a patriotic-themed tray or scatter fresh berries around for a rustic look.
They pair wonderfully with light, refreshing drinks like frozen strawberry lemonade slushies or a crisp watermelon mint agua fresca — both great for summer celebrations.
Store leftovers in the fridge, covered tightly with plastic wrap or lids. They keep well for up to 3 days, though the whipped cream topping may soften over time. If the texture changes slightly, a gentle stir or fresh dollop of whipped cream before serving refreshes them nicely.
Nutritional Information & Benefits
Each serving of these layered jello cups is roughly 150-180 calories, depending on portion size. The main ingredients provide hydration and some calcium from the cream. Cherry and blueberry jello add a fruity sweetness without heavy sugar if you opt for low-sugar varieties.
While this dessert isn’t a health food, it’s a lighter alternative to many creamy, rich desserts. The portion-controlled cups help with mindful indulgence, and the fruit flavors offer a small antioxidant boost. For those watching carbs or calories, sugar-free gelatin packets and dairy-free whipped toppings can help tailor this treat to your needs.
Conclusion
This Festive Red White and Blue Layered Jello Cups with Whipped Cream recipe is a simple but joyful way to bring a bit of celebration to your table. The layers of vibrant colors, the creamy middle, and the light sweetness make it a dessert that feels special without needing hours in the kitchen. I love how it reminds me of slow summer afternoons and the laughter of friends and family. Feel free to tweak the flavors or presentation to match your style — it’s a recipe that welcomes your personal touch.
I’d love to hear how you make these your own or what memories they bring up. Sharing those moments keeps the spirit of cooking alive and well. Here’s to many more summers filled with simple, colorful treats!
Frequently Asked Questions
Can I make these jello cups ahead of time?
Yes! You can prepare the entire dessert up to 2 days in advance and store the cups in the fridge. Just add fresh whipped cream or berries right before serving for the best look and taste.
What if I don’t have blueberry-flavored Jello?
Blueberry is traditional, but grape or blackcurrant jello can substitute nicely. If you want a natural option, you can make your own blueberry gelatin using fresh juice and gelatin sheets.
How can I make the white layer more stable for outdoor parties?
Use a stabilized whipped cream recipe by adding a bit of gelatin or a commercial stabilizer to the cream. This helps it hold up longer in warm conditions.
Can I use gelatin-free or vegetarian alternatives?
Yes, agar-agar works as a vegetarian substitute, but the texture will be slightly different. Follow packaging instructions carefully, especially for the white creamy layer.
What’s the best way to get clean, distinct layers?
Patience is key. Chill each layer until fully set before adding the next. Pour the next layer slowly over the back of a spoon or down the cup’s side to avoid mixing.
Pin This Recipe!
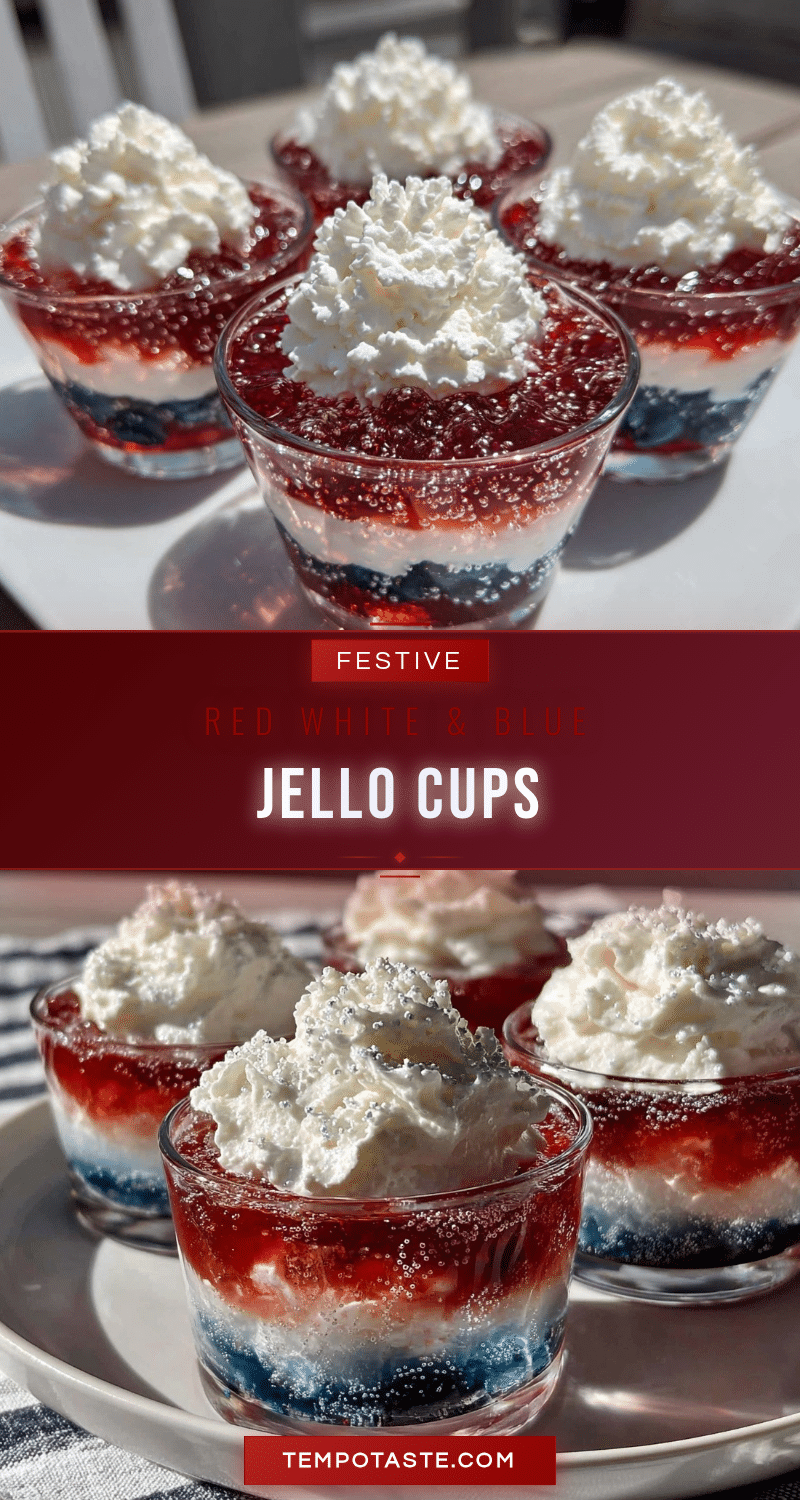
Festive Red White and Blue Layered Jello Cups Recipe Easy Patriotic Dessert

A simple, joyful layered jello dessert featuring cherry, creamy whipped cream, and blueberry layers, perfect for patriotic celebrations like the Fourth of July.
- Prep Time: 20 minutes
- Cook Time: 0 minutes
- Total Time: 3 hours 20 minutes
- Yield: 8-10 servings 1x
- Category: Dessert
- Cuisine: American
Ingredients
- 1 package cherry-flavored Jello (3 oz / 85 g)
- 1 cup boiling water (240 ml)
- 1/2 cup cold water (120 ml)
- 1 cup heavy whipping cream (240 ml), chilled
- 2 tablespoons powdered sugar (15 g)
- 1 teaspoon vanilla extract (5 ml)
- 1 envelope unflavored gelatin (about 2 1/2 teaspoons / 7 g)
- 1/4 cup cold milk (60 ml)
- 1 package blueberry or berry-flavored Jello (3 oz / 85 g)
- 1 cup boiling water (240 ml)
- 1/2 cup cold water (120 ml)
- Optional: Fresh blueberries or cherries for topping
Instructions
- Prepare the Red Jello Layer: Dissolve cherry Jello powder in 1 cup boiling water. Stir until fully dissolved. Add 1/2 cup cold water and mix. Pour about 1/3 cup of red jello into each clear cup. Refrigerate for at least 30 minutes until firm.
- Prepare the White Creamy Layer: Sprinkle unflavored gelatin over 1/4 cup cold milk; let bloom for 5 minutes. Whip heavy cream with powdered sugar and vanilla extract until soft peaks form.
- Gently warm the bloomed gelatin until dissolved (about 10 seconds). Stir dissolved gelatin into whipped cream carefully, folding to combine without deflating.
- Add the White Layer: Spoon or pour about 1/3 cup of the creamy white mixture evenly over the set red layer. Chill for another 30 minutes until set.
- Prepare the Blue Jello Layer: Dissolve blueberry Jello powder in 1 cup boiling water. Stir well, add 1/2 cup cold water. Cool to room temperature but do not set.
- Add the Blue Layer: Pour about 1/3 cup of blue jello slowly over the set white layer, pouring down the side of each cup to keep layers distinct. Chill for at least 2 hours until fully firm.
- Final Touches: Before serving, top each cup with a dollop of fresh whipped cream and fresh blueberries or cherries if desired.
Notes
Use boiling water to dissolve gelatin powders completely to avoid grainy texture. Bloom gelatin properly in cold milk before warming to prevent lumps. Chill each layer fully before adding the next for clean layers. A quick chill in the freezer (10-15 minutes) can speed setting but watch to avoid freezing. For a dairy-free version, substitute heavy cream with canned coconut cream and gelatin with agar-agar. Stabilized whipped cream can be used for outdoor parties to hold longer.
Nutrition
- Serving Size: 1 cup (about 8-10 oz
- Calories: 150180
- Sugar: 14
- Sodium: 100
- Fat: 10
- Saturated Fat: 6
- Carbohydrates: 15
- Protein: 2
Keywords: layered jello cups, patriotic dessert, Fourth of July dessert, cherry jello, blueberry jello, whipped cream dessert, easy summer dessert