Let me tell you, the smell of freshly popped popcorn mixed with the sweet scent of melting chocolate instantly whisks me back to those carefree afternoons when I was knee-high to a grasshopper. There’s something about these nostalgic millennial childhood snacks that just hits different—like a warm hug from the past. The first time I made these treats myself, I was instantly hooked. I remember pausing mid-bite, closing my eyes, and smiling because I knew I was onto something truly special. It’s that kind of feeling you want to bottle up and savor forever.
Years ago, these snacks were the highlight of school lunchboxes, weekend hangouts, and family movie nights. I stumbled upon a box of these classics during a rainy weekend, and honestly, I wish I’d discovered how easy they were to whip up at home years ago. My family couldn’t stop sneaking them off the cooling rack (and I can’t really blame them). Whether you’re looking to brighten up your Pinterest snack board or find that perfect sweet treat for your kids, these easy homemade goodies bring pure, nostalgic comfort—dangerously easy to make and impossible to resist.
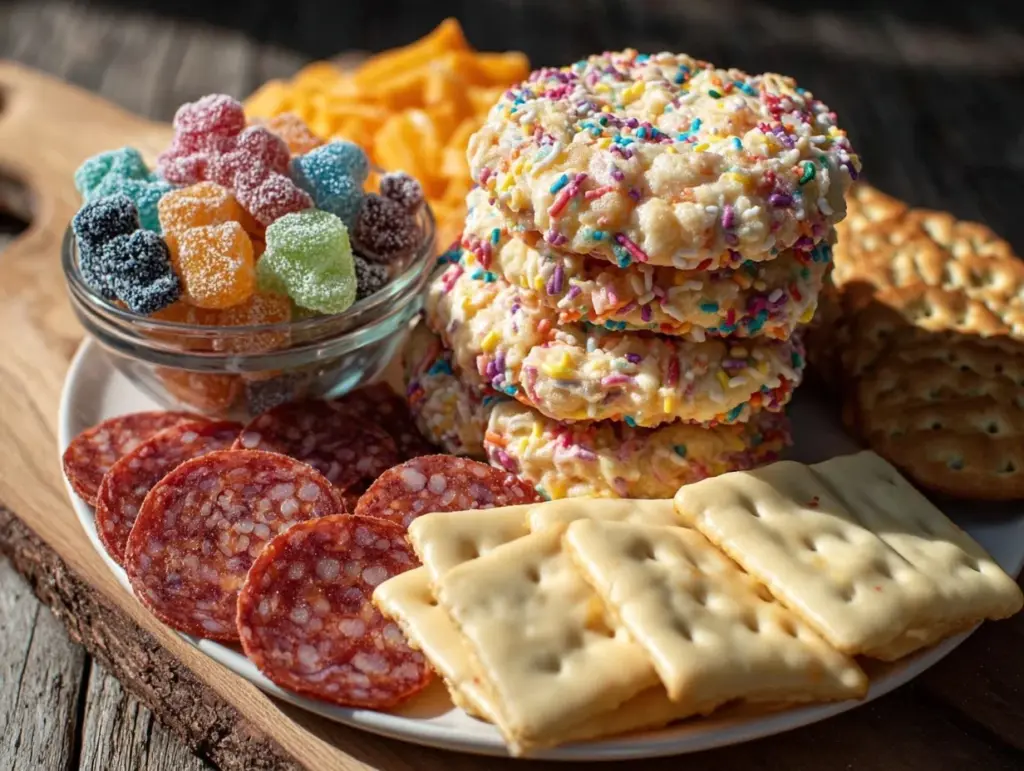
Perfect for potlucks, after-school munchies, or just a little pick-me-up when the day drags, these nostalgic millennial childhood snacks recipe ideas have become a staple in my kitchen. Tested multiple times (in the name of research, of course), they’ve turned into crowd favorites for family gatherings and gifting. So, if you’re ready to bring a little childhood magic back into your life, you’re going to want to bookmark this one.
Why You’ll Love This Nostalgic Millennial Childhood Snacks Recipe
Honestly, I’ve tried a lot of recreations of these classic snacks, and this recipe stands out for a few key reasons. From my kitchen to yours, here’s why you’ll love making these treats:
- Quick & Easy: All 10 snacks come together in under 30 minutes, perfect for busy weeknights or last-minute cravings.
- Simple Ingredients: No fancy grocery trips needed; you likely already have everything in your pantry or fridge.
- Perfect for Any Occasion: Whether it’s brunch, potlucks, cozy dinners, or holiday mornings, these treats fit right in.
- Crowd-Pleaser: Kids and adults alike rave about these snacks — it’s like tasting a bit of your childhood again.
- Unbelievably Delicious: The perfect blend of textures and flavors brings back those soul-soothing moments.
What makes this recipe different? Well, I focused on keeping the recipes authentic but added little twists—like swapping in natural peanut butter for a healthier touch or using coconut sugar for a subtle caramel depth. These aren’t just another batch of snacks; these are your best versions of those beloved classics. The balance of sweet, salty, and crunchy is spot-on. You know that moment when you close your eyes after the first bite? That’s exactly what you’re in for. These treats offer comfort food with a modern spin—healthier, faster, but with all the heart.
What Ingredients You Will Need
This collection uses simple, wholesome ingredients to deliver bold flavor and satisfying textures without the fuss. Most of these are pantry staples or easy to swap depending on your preferences.
- For the Batter or Base:
- All-purpose flour (or almond flour for gluten-free options)
- Granulated sugar (or coconut sugar for a natural sweetener)
- Brown sugar (adds richness and moisture)
- Baking powder and baking soda (for perfect rise)
- Salt (just a pinch to balance sweetness)
- Unsalted butter, softened (I recommend Land O Lakes for best texture)
- Vegetable oil (for crispness in some recipes)
- For Flavor & Texture:
- Large eggs, room temperature (for binding and fluffiness)
- Vanilla extract (pure, if you can get it!)
- Peanut butter (creamy or crunchy, your call)
- Chocolate chips (semi-sweet or milk chocolate)
- Mini marshmallows (for that gooey nostalgia)
- Honey or maple syrup (natural sweetness)
- Rolled oats (adds chewiness and whole grain goodness)
- Powdered sugar (for dusting or glaze)
- Optional Toppings & Add-ins:
- Sprinkles or colored sugar (for fun, festive vibes)
- Chopped nuts (walnuts, pecans, or peanuts for crunch)
- Dried fruit (cranberries or raisins for a tart bite)
- Sea salt flakes (to balance the sweetness)
Feel free to swap Greek yogurt for sour cream in recipes that call for it, or use dairy-free coconut yogurt if needed. For seasonal flair, fresh berries can replace dried fruit, especially in summer. I personally love using Bob’s Red Mill oats for a hearty texture and Justin’s peanut butter for that perfect creamy spread. Just remember: fresh ingredients make all the difference in these simple snacks.
Equipment Needed
- Baking sheets (preferably rimmed to keep things tidy)
- Mixing bowls in various sizes
- Measuring cups and spoons (accurate measurements are key!)
- Electric mixer or sturdy wooden spoon (for creaming butter and sugar)
- Cooling racks (trust me, don’t skip this for crisp edges)
- Spatula (silicone works best to scrape every last bit)
- Microwave-safe bowls (for melting chocolate or marshmallows)
- Optional: cookie scoop (for uniform cookies and less mess)
If you don’t have a stand mixer, a hand mixer works just fine. For those on a budget, store-brand baking sheets and basic measuring cups get the job done perfectly well. Just keep your tools clean and well-maintained—old, sticky mixers or warped baking sheets can throw off your batch. I learned this the hard way when my first few cookies came out unevenly baked!
Preparation Method
- Preheat your oven to 350°F (175°C). Line your baking sheets with parchment paper or silicone mats to prevent sticking. This step saves you cleaning headaches later.
- Cream the butter and sugars: In a large bowl, beat 1 cup (227g) softened unsalted butter with ¾ cup (150g) granulated sugar and ¾ cup (165g) brown sugar until light and fluffy, about 3-4 minutes. This aerates the mixture, helping cookies rise perfectly.
- Add eggs and vanilla: Beat in 2 large eggs, one at a time, then stir in 2 teaspoons of pure vanilla extract. Make sure everything is well combined but don’t overmix (you want tender treats, not tough ones).
- Mix dry ingredients: In a separate bowl, whisk together 3 cups (375g) all-purpose flour, 1 teaspoon baking soda, ½ teaspoon baking powder, and 1 teaspoon salt. This helps even distribution of leavening agents.
- Combine wet and dry: Gradually add the dry ingredients into the wet mixture, stirring gently until just combined. Overmixing can cause dense texture—keep it light!
- Add mix-ins: Fold in 1½ cups (270g) chocolate chips, 1 cup (90g) rolled oats, and 1 cup (150g) mini marshmallows. This combo brings chewy, gooey, and crunchy textures all in one bite.
- Portion the dough: Use a cookie scoop or spoon to drop dough balls about 2 tablespoons each, spaced 2 inches apart on the baking sheets.
- Bake: Place in the oven for 10-12 minutes or until edges are golden but centers still look slightly soft. This keeps the cookies chewy and delicious.
- Cool: Let cookies cool on the baking sheet for 5 minutes before transferring to a wire rack. This step helps them set without falling apart.
- Repeat: Continue with remaining dough, adjusting time slightly for smaller or larger cookies.
Pro tip: If your dough feels too sticky, chill it in the fridge for 30 minutes—it makes shaping easier and prevents spreading. Also, watch the first batch closely; ovens vary and you don’t want to burn your precious nostalgia!
Cooking Tips & Techniques
Here’s what I’ve learned after countless batches trying to get these classic snacks just right:
- Don’t overmix your dough: It’s tempting to stir until everything’s perfectly smooth, but a gentle hand keeps cookies tender.
- Use room-temperature ingredients: Butter and eggs mix better and create a consistent batter, which means even baking.
- Chill your dough: This isn’t just for fancy cookies. For these nostalgic snacks, chilling prevents runaway spreading and makes cookies thicker and chewier.
- Watch your oven closely: Baking times can vary by a few minutes based on your equipment. I learned to peek at 8 minutes and adjust from there.
- Layer flavors: Adding a pinch of sea salt on top before baking creates a lovely contrast to the sweetness—trust me on this one.
- Multitasking tip: While your first batch bakes, prepare your next dough portion. Keeps the process smooth and kitchen chaos minimal.
I once tried doubling the recipe in a huge bowl and ended up with uneven mixing—lesson learned, split your batches for best results. Also, swapping out peanut butter for almond butter once gave a lovely nutty twist, but watch for crumbly dough!
Variations & Adaptations
You can easily tailor these nostalgic millennial childhood snacks to your tastes or dietary needs:
- Gluten-Free Version: Swap all-purpose flour for a 1:1 gluten-free baking flour blend. I recommend Bob’s Red Mill Gluten-Free Flour for consistent results.
- Dairy-Free Option: Use coconut oil or non-dairy butter alternatives in place of butter and almond or oat milk instead of dairy milk.
- Flavor Twists: Add a teaspoon of cinnamon or pumpkin spice for a cozy vibe. Or mix in chopped dried cherries for a tart surprise.
- Cooking Method: Try baking these as mini muffin bites for portion control or even pan-frying spoonfuls for a quick skillet treat.
- Personal Variation: I once tossed in crushed pretzels for an addictive sweet-salty combo that vanished in minutes at a family picnic.
Feel free to swap in sunflower seed butter if you have nut allergies, or add a handful of shredded coconut for tropical flair. The key is to keep the balance of sweet and texture that makes these snacks so memorable.
Serving & Storage Suggestions
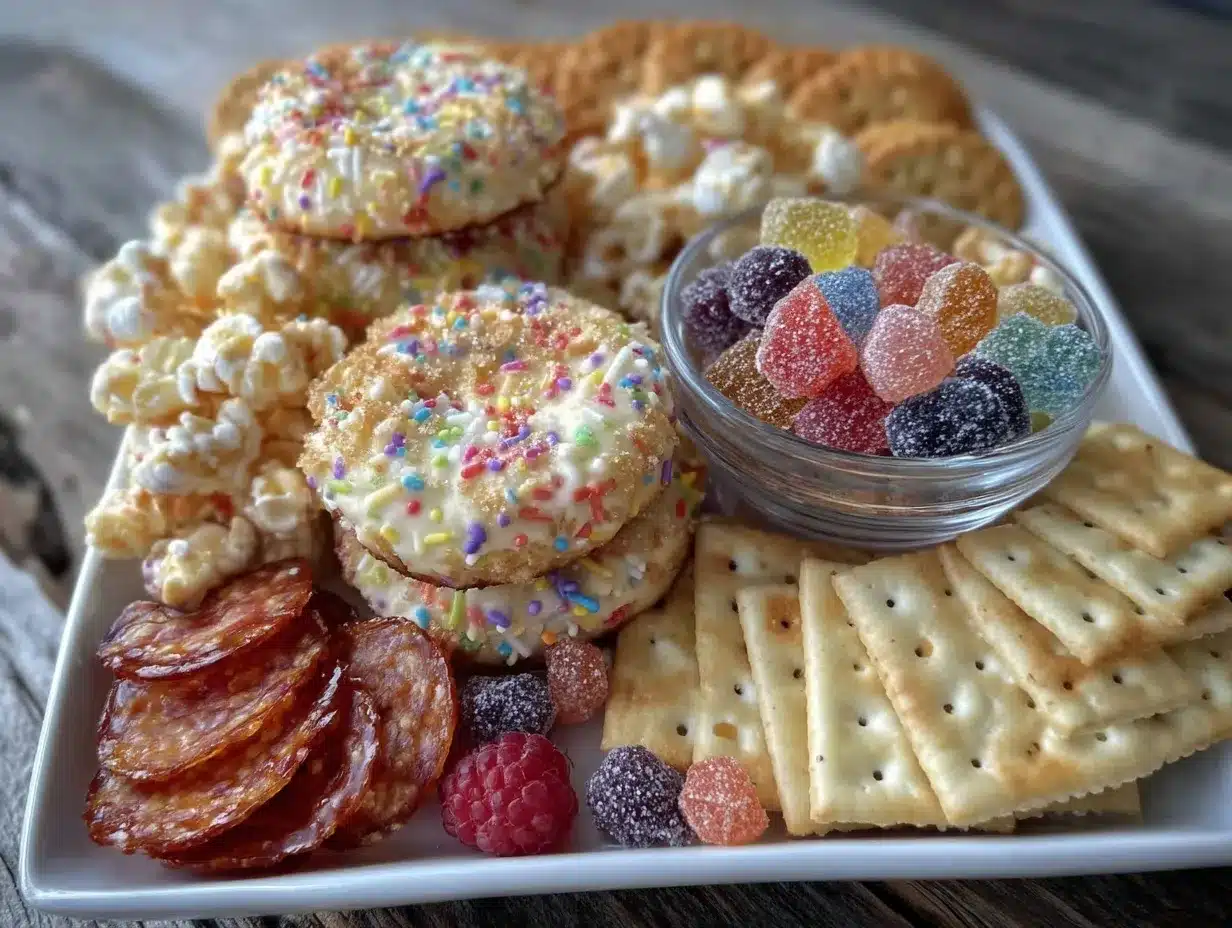
These snacks are best served slightly warm or at room temperature to get the full nostalgic effect. I like to plate them on colorful trays for parties or wrap them individually for school lunches.
Pair them with cold milk, a hot cup of coffee, or even a glass of sparkling lemonade for a refreshing contrast. They also make great accompaniments to afternoon tea or casual weekend brunches.
For storage, keep them in an airtight container at room temperature for up to 3 days. They stay soft and chewy that way. If you want to keep them longer, freeze in a sealed bag for up to 3 months.
To reheat, pop them in the microwave for 10-15 seconds or warm gently in a 300°F (150°C) oven for 5 minutes. Reheating actually enhances the gooey marshmallow and melty chocolate goodness.
Fun fact: flavors deepen after a day, so if you can resist, let them rest overnight for that perfect nostalgic punch!
Nutritional Information & Benefits
While these treats are all about comfort and nostalgia, I’ve kept them balanced with wholesome ingredients where possible. Each serving (about 2 cookies) provides roughly:
| Calories | 150-180 kcal |
|---|---|
| Fat | 7-9g (mostly from butter and nuts) |
| Carbohydrates | 20-22g (includes natural sugars and oats) |
| Protein | 3-4g (thanks to peanut butter and eggs) |
| Fiber | 1-2g (from oats and nuts) |
Key ingredients like oats provide fiber and sustained energy, while peanut butter adds plant-based protein and healthy fats. If you swap in coconut sugar or honey, you get a touch of natural sweetness with fewer processed sugars.
These recipes are adaptable for gluten-free and dairy-free diets, just watch out for common allergens like nuts and eggs. For those mindful of sugar intake, cutting down on chocolate chips or swapping for dark chocolate helps reduce sweetness.
From a wellness perspective, these snacks offer a balanced treat that feels indulgent but isn’t over the top. They remind me that comfort food can also be thoughtful food.
Conclusion
So there you have it—your ticket to reliving some of the best moments of your childhood with these nostalgic millennial childhood snacks recipe ideas. They’re easy to make, fun to share, and full of those familiar flavors that feel like a warm hug on a tough day. Honestly, I love how these treats bring people together, whether it’s a casual afternoon or a special celebration.
Feel free to tweak the recipes to suit your preferences—add your favorite mix-ins, switch up the flours, or try new cooking methods. I would love to hear how you make these classics your own, so don’t be shy—drop a comment or share your photos! Let’s keep the nostalgia alive, one delicious bite at a time.
Remember, sometimes the simplest snacks bring the biggest smiles. Happy baking!
FAQs About Nostalgic Millennial Childhood Snacks
1. Can I make these snacks ahead of time?
Absolutely! Most of these treats keep well for a few days at room temperature and can be frozen for longer storage. Just thaw and warm slightly before serving.
2. Are there vegan options for these recipes?
Yes! Replace eggs with flax or chia egg substitutes, use dairy-free butter, and swap any honey or milk with plant-based alternatives for vegan-friendly versions.
3. What’s the best way to keep these snacks soft?
Store them in an airtight container with a slice of bread to maintain moisture. Avoid the fridge, which can dry them out.
4. Can I use natural peanut butter instead of creamy?
You can, but natural peanut butter may make the dough a bit oilier and softer. Chill the dough before baking to help with spreading.
5. How do I prevent cookies from spreading too much?
Chill your dough before baking and avoid over-mixing. Also, make sure your baking soda and powder are fresh and measured correctly.
Pin This Recipe!
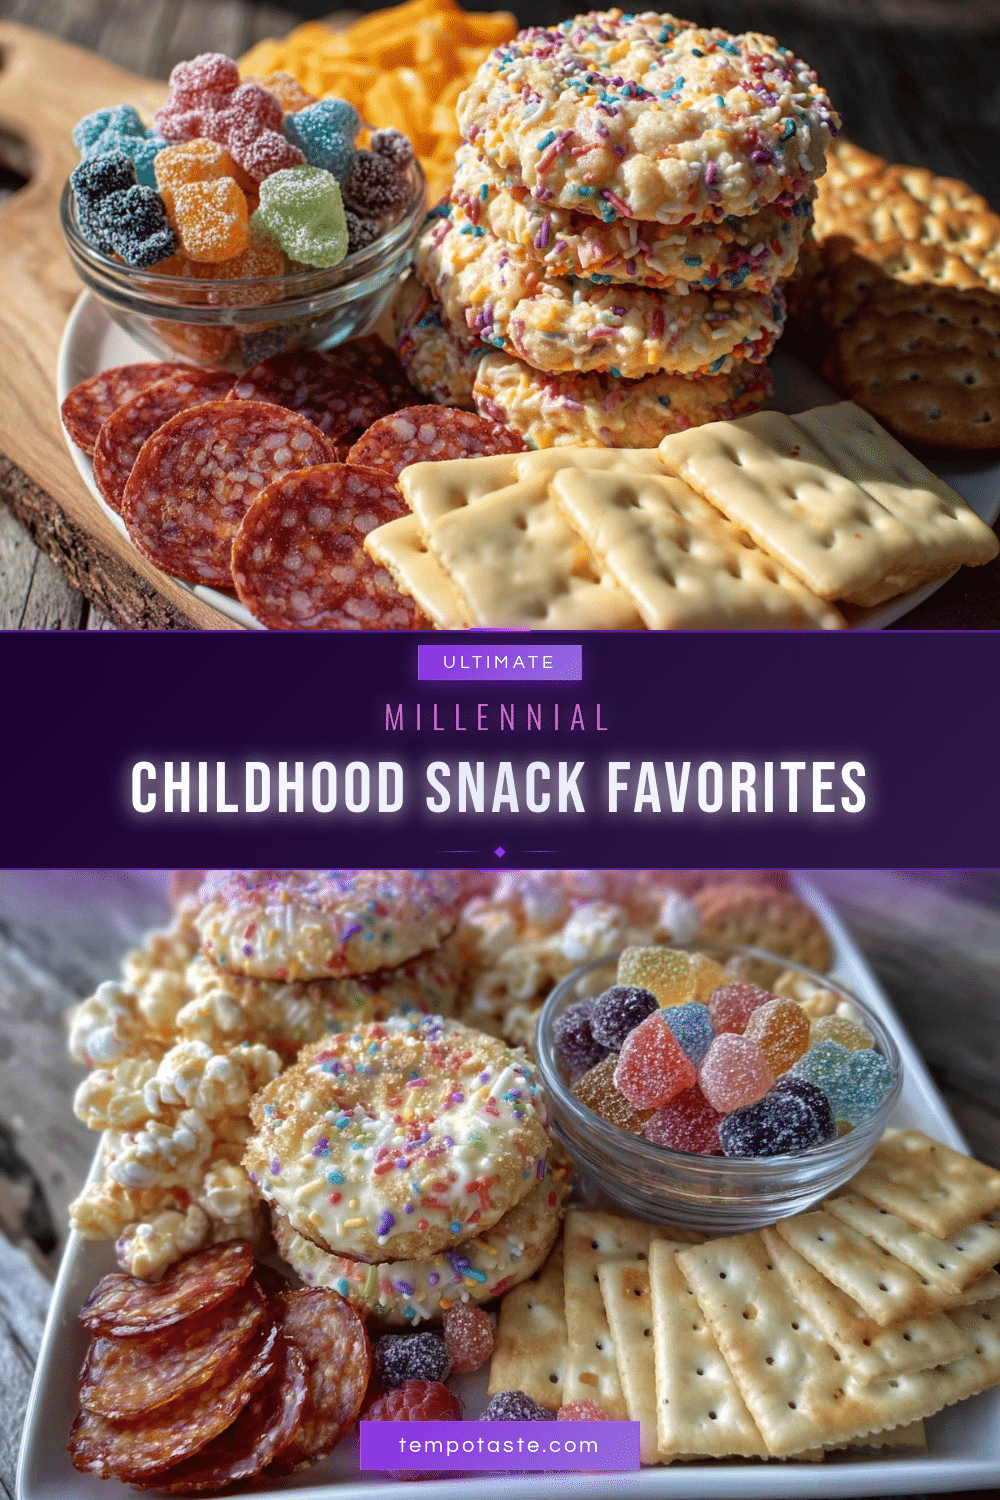
Nostalgic Millennial Childhood Snacks Recipe: 10 Easy Homemade Treats to Try Today

A collection of 10 quick and easy nostalgic millennial childhood snacks that bring back the flavors and comfort of classic treats with a modern, healthier twist.
- Prep Time: 15 minutes
- Cook Time: 12 minutes
- Total Time: 27 minutes
- Yield: About 24 cookies (2 cookies per serving, 12 servings)
- Category: Snack
- Cuisine: American
Ingredients
- All-purpose flour (or almond flour for gluten-free options)
- Granulated sugar (or coconut sugar for a natural sweetener)
- Brown sugar
- Baking powder
- Baking soda
- Salt
- Unsalted butter, softened
- Vegetable oil
- Large eggs, room temperature
- Vanilla extract
- Peanut butter (creamy or crunchy)
- Chocolate chips (semi-sweet or milk chocolate)
- Mini marshmallows
- Honey or maple syrup
- Rolled oats
- Powdered sugar
- Optional toppings: sprinkles or colored sugar, chopped nuts (walnuts, pecans, or peanuts), dried fruit (cranberries or raisins), sea salt flakes
Instructions
- Preheat your oven to 350°F (175°C). Line baking sheets with parchment paper or silicone mats.
- Cream 1 cup (227g) softened unsalted butter with ¾ cup (150g) granulated sugar and ¾ cup (165g) brown sugar until light and fluffy, about 3-4 minutes.
- Beat in 2 large eggs, one at a time, then stir in 2 teaspoons pure vanilla extract.
- In a separate bowl, whisk together 3 cups (375g) all-purpose flour, 1 teaspoon baking soda, ½ teaspoon baking powder, and 1 teaspoon salt.
- Gradually add dry ingredients to wet mixture, stirring gently until just combined.
- Fold in 1½ cups (270g) chocolate chips, 1 cup (90g) rolled oats, and 1 cup (150g) mini marshmallows.
- Use a cookie scoop or spoon to drop dough balls about 2 tablespoons each, spaced 2 inches apart on baking sheets.
- Bake for 10-12 minutes or until edges are golden but centers still look slightly soft.
- Let cookies cool on the baking sheet for 5 minutes before transferring to a wire rack.
- Repeat with remaining dough, adjusting baking time for cookie size as needed.
Notes
Chill dough for 30 minutes if too sticky to shape. Watch baking time closely as ovens vary. Use room-temperature ingredients for best results. Add a pinch of sea salt on top before baking for flavor contrast. Store in airtight container with a slice of bread to keep soft. Freeze for up to 3 months. Reheat gently to enhance gooey texture.
Nutrition
- Serving Size: 2 cookies
- Calories: 150180
- Fat: 79
- Carbohydrates: 2022
- Fiber: 12
- Protein: 34
Keywords: nostalgic snacks, millennial childhood treats, easy homemade snacks, quick cookies, peanut butter cookies, chocolate chip cookies, gluten-free snacks, dairy-free snacks


