“You know, if you want something that screams celebration without all the fuss, just bring those red, white, and blue bars.” — and that was it. My neighbor tossed that line over the fence one summer afternoon while we were both prepping for the neighborhood block party. I was juggling a million dessert ideas, none of which were quite patriotic enough or simple enough to pull off last minute. But those words stuck, and honestly, they changed how I think about festive desserts forever.
The Perfect Red White and Blue Layered Cheesecake Bars came from that very casual chat — a recipe born out of a need for something colorful, crowd-pleasing, and easy to make. The layers of creamy cheesecake and vibrant berries aren’t just for show; they tell a story of late summer picnics, laughter, and that sweet anticipation you get when a dessert looks as good as it tastes.
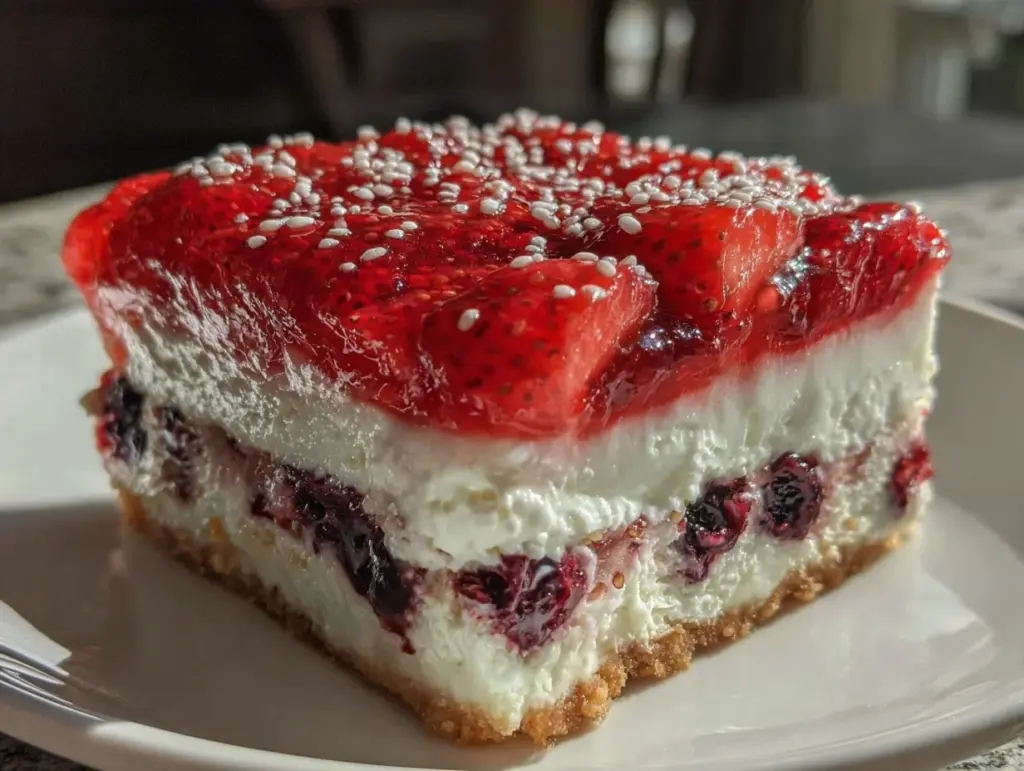
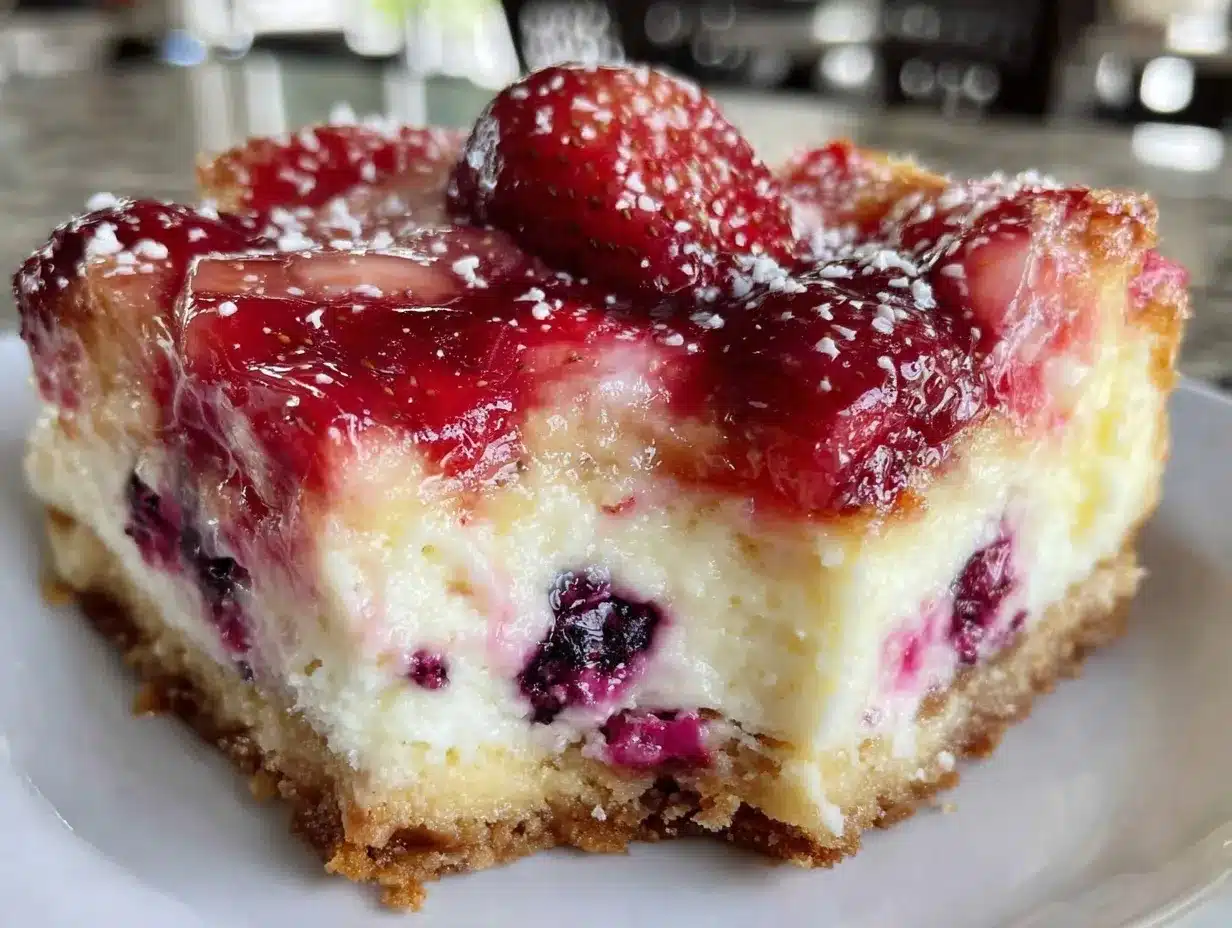
What I love most is how these bars bring together fresh ingredients with a classic cheesecake base, topped with a fresh, tangy blueberry layer and a striking red strawberry layer. The texture is just right—silky, firm enough to hold, and bursting with flavor. No fancy tools, no mysterious ingredients, just simple, honest baking that feels like a mini celebration in every bite. It’s the kind of recipe you keep coming back to, whether for a Fourth of July picnic or just because you want a slice of summer on your plate.
So here’s the thing: this recipe stuck with me not just because it’s delicious, but because it’s a reminder that sometimes the best desserts come from the simplest moments and the most straightforward ideas. And I’m pretty sure once you try it, you’ll feel that little spark of joy every time you slice into those layers.
Why You’ll Love This Recipe
Making the Perfect Red White and Blue Layered Cheesecake Bars is honestly one of those feel-good kitchen victories. I’ve made plenty of cheesecake bars, but this one nails that balance between festive flair and straightforward baking.
- Quick & Easy: You can whip this up in about 45 minutes of prep time, perfect for those last-minute celebrations or a sweet weekend treat.
- Simple Ingredients: No need to hunt high and low. Most ingredients are pantry staples or fresh fruit you can find at any grocery store.
- Perfect for Any Celebration: Whether it’s a summer BBQ, Memorial Day, or a casual get-together, these bars fit right in with their patriotic look and crowd-pleasing taste.
- Crowd-Pleaser: The creamy cheesecake combined with the fresh strawberry and blueberry layers gets rave reviews from kids and adults alike — trust me, you’ll want to make extra.
- Unbelievably Delicious: That smooth, creamy texture with the burst of fresh berry flavors is pure comfort food with a twist.
- What Makes It Different: Unlike other layered cheesecake bars, this recipe uses a lightly sweetened graham cracker crust that’s perfectly crisp, a well-balanced cheesecake layer that’s not too dense, and fresh berry purees for natural color and flavor instead of artificial dyes. I like blending the cottage cheese into the cheesecake filling for an ultra-smooth texture without heaviness — it’s a little trick I picked up after testing a dozen versions.
- The Emotional Why: This recipe isn’t just dessert; it’s the kind of treat that makes you pause, smile, and savor the moment. It’s festive, approachable, and full of that summer spirit you want to bottle up forever.
What Ingredients You Will Need
This recipe uses simple, wholesome ingredients to deliver bold flavor and satisfying texture without the fuss. Most are easy to find year-round, but feel free to swap fresh berries for frozen if you’re making this off-season.
- For the Crust:
- 1 ½ cups graham cracker crumbs (about 10 full sheets, finely crushed)
- 6 tablespoons unsalted butter, melted (I prefer Land O’Lakes for richness)
- 2 tablespoons granulated sugar
- For the Cheesecake Layer:
- 16 ounces cream cheese, softened (Philadelphia brand works beautifully)
- ½ cup cottage cheese, blended smooth (small-curd cottage cheese gives a creamy texture)
- ¾ cup granulated sugar
- 2 large eggs, room temperature
- 1 teaspoon vanilla extract
- 2 tablespoons all-purpose flour (helps with stability)
- ¼ cup sour cream (adds a slight tang and creaminess)
- For the Blueberry Layer:
- 1 ½ cups fresh or frozen blueberries (if frozen, thaw and drain excess liquid)
- 2 tablespoons granulated sugar
- 1 teaspoon lemon juice (brightens the flavor)
- 1 teaspoon cornstarch mixed with 1 tablespoon water (to thicken)
- For the Strawberry Layer:
- 1 ½ cups fresh or frozen strawberries, hulled (thawed if frozen)
- 3 tablespoons granulated sugar
- 1 teaspoon lemon juice
- 1 teaspoon cornstarch mixed with 1 tablespoon water
Ingredient Tips: For the crust, finely crush your graham crackers for that perfect crumb binding. If you need a gluten-free option, almond flour works well, but the crust texture will be a bit different. I usually recommend fresh berries for the best flavor, but frozen can save the day if you plan ahead. For a dairy-free swap, try coconut cream in place of cream cheese and sour cream, and use a dairy-free butter alternative.
Equipment Needed
You don’t need fancy kitchen gadgets for these cheesecake bars, which is part of their charm.
- 9×9 inch (23×23 cm) square baking pan – a glass or metal pan works fine. Glass tends to brown the crust more evenly.
- Mixing bowls – one large bowl for the cheesecake filling, and smaller ones for berry layers.
- Electric mixer or hand mixer – for smooth cream cheese blending. I’ve tried whisking by hand, but it takes forever and you risk lumps.
- Food processor or blender (optional) – great for pureeing the cottage cheese and berries evenly.
- Measuring cups and spoons – precise measurements matter here for texture.
- Spatula and wooden spoon – for folding and scraping.
- Fine mesh strainer (optional) – to remove seeds from the strawberry puree if you want silky smooth layers.
If you don’t have a food processor, no worries — a blender or even a sturdy fork can mash the berries, though the texture might be chunkier. And if you’re on a budget, you can find decent mixers under $30 that do the job well without breaking the bank.
Preparation Method
- Preheat and Prep: Preheat your oven to 325°F (163°C). Line your 9×9 inch pan with parchment paper, allowing some overhang for easy removal later. This step saves you from a messy pan cleanup and keeps bars intact.
- Make the Crust: In a medium bowl, combine graham cracker crumbs, melted butter, and sugar. Stir until the mixture looks like wet sand. Press evenly into the bottom of the prepared pan using the back of a spoon or your fingers. Bake for 10 minutes until set and lightly golden. Let cool while you prepare the cheesecake layer.
- Prepare the Cheesecake Filling: In a large bowl, beat the softened cream cheese and blended cottage cheese with an electric mixer until smooth and creamy (about 2-3 minutes). Add the sugar and mix until combined. Beat in eggs one at a time, then add vanilla extract, flour, and sour cream. Mix just until smooth — overmixing can add air and cause cracks later. Pour the cheesecake batter over the cooled crust and spread evenly.
- Bake the Cheesecake Base: Bake for 35-40 minutes or until the edges are set but the center still slightly jiggles when you gently shake the pan. Remove from oven and cool for 15 minutes.
- Prepare the Blueberry Topping: While the cheesecake cools, combine blueberries, sugar, and lemon juice in a small saucepan over medium heat. Cook for 5 minutes, stirring occasionally until the berries soften. Stir in the cornstarch slurry and cook for another minute until thickened. Let cool slightly.
- Prepare the Strawberry Topping: In another saucepan, repeat the same process with strawberries, sugar, lemon juice, and cornstarch slurry. Cook and thicken, then cool slightly.
- Layer the Berry Toppings: Once the cheesecake layer is cool but not completely set, carefully spoon the blueberry layer over one half of the cheesecake. Then spoon the strawberry layer over the other half, creating a clear red and blue division. Use a spatula to gently smooth the layers without mixing colors. Chill the bars in the refrigerator for at least 4 hours, preferably overnight, to set fully.
- Cut and Serve: Use the parchment overhang to lift the bars from the pan. Slice into squares with a sharp knife (wipe the knife clean between cuts for neat layers). Serve chilled and enjoy the burst of patriotic flavors!
Pro Tip: If you notice cracks forming in the cheesecake layer before adding the fruit topping, that’s normal. The fruit layer hides imperfections nicely and adds moisture to keep the bars soft but firm.
Cooking Tips & Techniques
One thing I learned the hard way is that cheesecake batter hates being overworked. Mixing too fast or too long traps air, which leads to cracks during baking. Slow and steady wins the race here.
When baking the cheesecake layer, watch for that slight jiggle in the center — it’s your cue that it’s perfectly baked and won’t dry out once chilled. Letting it cool gradually in the oven with the door slightly open can also help avoid cracks.
For the berry layers, pureeing the fruit and cooking it down concentrates flavor and reduces excess moisture, which keeps the bars from getting soggy. Adding cornstarch as a thickener is a game-changer for that nice, spreadable consistency.
Multitasking during prep is key. While the crust bakes, blend the cheesecake filling, then prepare the berry toppings while the cheesecake cools. This keeps your kitchen flow smooth and saves time.
Also, for consistent slicing, chill the bars thoroughly. Warm cheesecake bars tend to crumble, and neat layers are harder to cut.
Variations & Adaptations
This recipe is a great canvas for customization depending on your occasion or dietary needs.
- Dietary: Swap the crust for a gluten-free almond flour crust or a nut and seed crust for a paleo-friendly version. Use dairy-free cream cheese and coconut yogurt to make it vegan.
- Seasonal: In place of strawberries and blueberries, try raspberries and blackberries for a deep red and dark blue look. In summer, fresh fruits work best, but frozen berries can be used year-round.
- Flavor Twists: Add a hint of lemon zest to the cheesecake batter for a citrusy zing, or swirl in some white chocolate chips for extra richness. For an adult twist, a splash of liqueur like Grand Marnier in the berry layers adds a subtle depth.
- Cooking Methods: If you prefer no-bake, try chilling the cheesecake layer with gelatin instead of baking, then layer with berry purees. The texture will be softer but still delicious.
- Personal Variation: Once, I made a mini version layered in mason jars for a picnic, which was a hit and super portable. You can easily scale down this recipe for individual servings.
Serving & Storage Suggestions
These cheesecake bars taste best chilled — serve them straight from the fridge for that refreshing, creamy texture. A light dusting of powdered sugar or a few fresh berries on top makes for a pretty presentation.
Pair these bars with a cold lemonade or a sparkling berry mocktail for a festive touch. They also work well alongside savory dishes like a sheet pan dinner with crispy chicken and veggies or a fresh blueberry lemon scone if you want to extend the red, white, and blue theme across your menu.
Store leftovers tightly covered in the fridge for up to 4 days. These bars freeze well too — wrap individual pieces in plastic wrap and foil, then freeze for up to 2 months. Thaw overnight in the fridge before serving. Flavors mellow and deepen after a day or two, so if you can wait, it’s worth it!
Nutritional Information & Benefits
Each serving of these cheesecake bars contains approximately 280 calories, with 18 grams of fat, 22 grams of carbohydrates, and 5 grams of protein. The fresh berries provide antioxidants and vitamin C, while the cream cheese and cottage cheese add calcium and protein, making this dessert a bit more balanced than your average sweet treat.
For those watching gluten intake, swapping the crust for almond flour can make this gluten-free. The recipe is not low-carb but can be adapted with sugar substitutes like erythritol or monk fruit sweetener. Be mindful of dairy allergies and substitute accordingly with plant-based options.
I appreciate this recipe because it offers a sweet indulgence that still feels somewhat wholesome, thanks to the real fruit layers and a lighter cheesecake filling. It’s a way to enjoy dessert without feeling like you’ve gone overboard.
Conclusion
Perfect Red White and Blue Layered Cheesecake Bars are the kind of recipe that makes you feel like you’ve accomplished something special in the kitchen without the stress. Their fresh flavors, vibrant colors, and creamy texture come together to make a dessert that’s both festive and approachable.
Whether you’re celebrating the Fourth of July, Memorial Day, or just craving a sweet slice of summer, these bars are a winner. I love how easy you can tweak the layers to suit your mood or occasion, and the fact that they keep well means you can prepare ahead and relax more during your gathering.
Give them a try, and I’d love to hear how your version turns out — maybe with a little twist of your own! Sharing recipes like this is what makes cooking so fun and personal.
And if you’re in the mood for more festive recipes, you might enjoy the firecracker brownie pops or the creamy loaded potato salad to round out your celebration menu.
FAQs
Can I make these cheesecake bars ahead of time?
Absolutely! These bars can be made a day or two before your event and stored in the refrigerator. The flavors actually improve after resting overnight.
What if I don’t have fresh berries?
Frozen berries work just fine—just thaw them completely and drain excess liquid before cooking the berry layers to avoid sogginess.
Can I use a store-bought cheesecake mix for the filling?
You could, but I recommend making the filling from scratch for the best texture and flavor. Plus, blending cottage cheese into the filling adds creaminess you won’t get from mixes.
How do I prevent cracks in the cheesecake layer?
Don’t overmix the batter, bake at a moderate temperature, and avoid rapid cooling. You can also place a pan of water in the oven to add moisture and reduce cracking.
Is it possible to make these bars vegan?
Yes! Use dairy-free cream cheese and yogurt alternatives, a plant-based butter substitute for the crust, and make sure your sweeteners are vegan-friendly. The texture will be slightly different but still delicious.
Pin This Recipe!
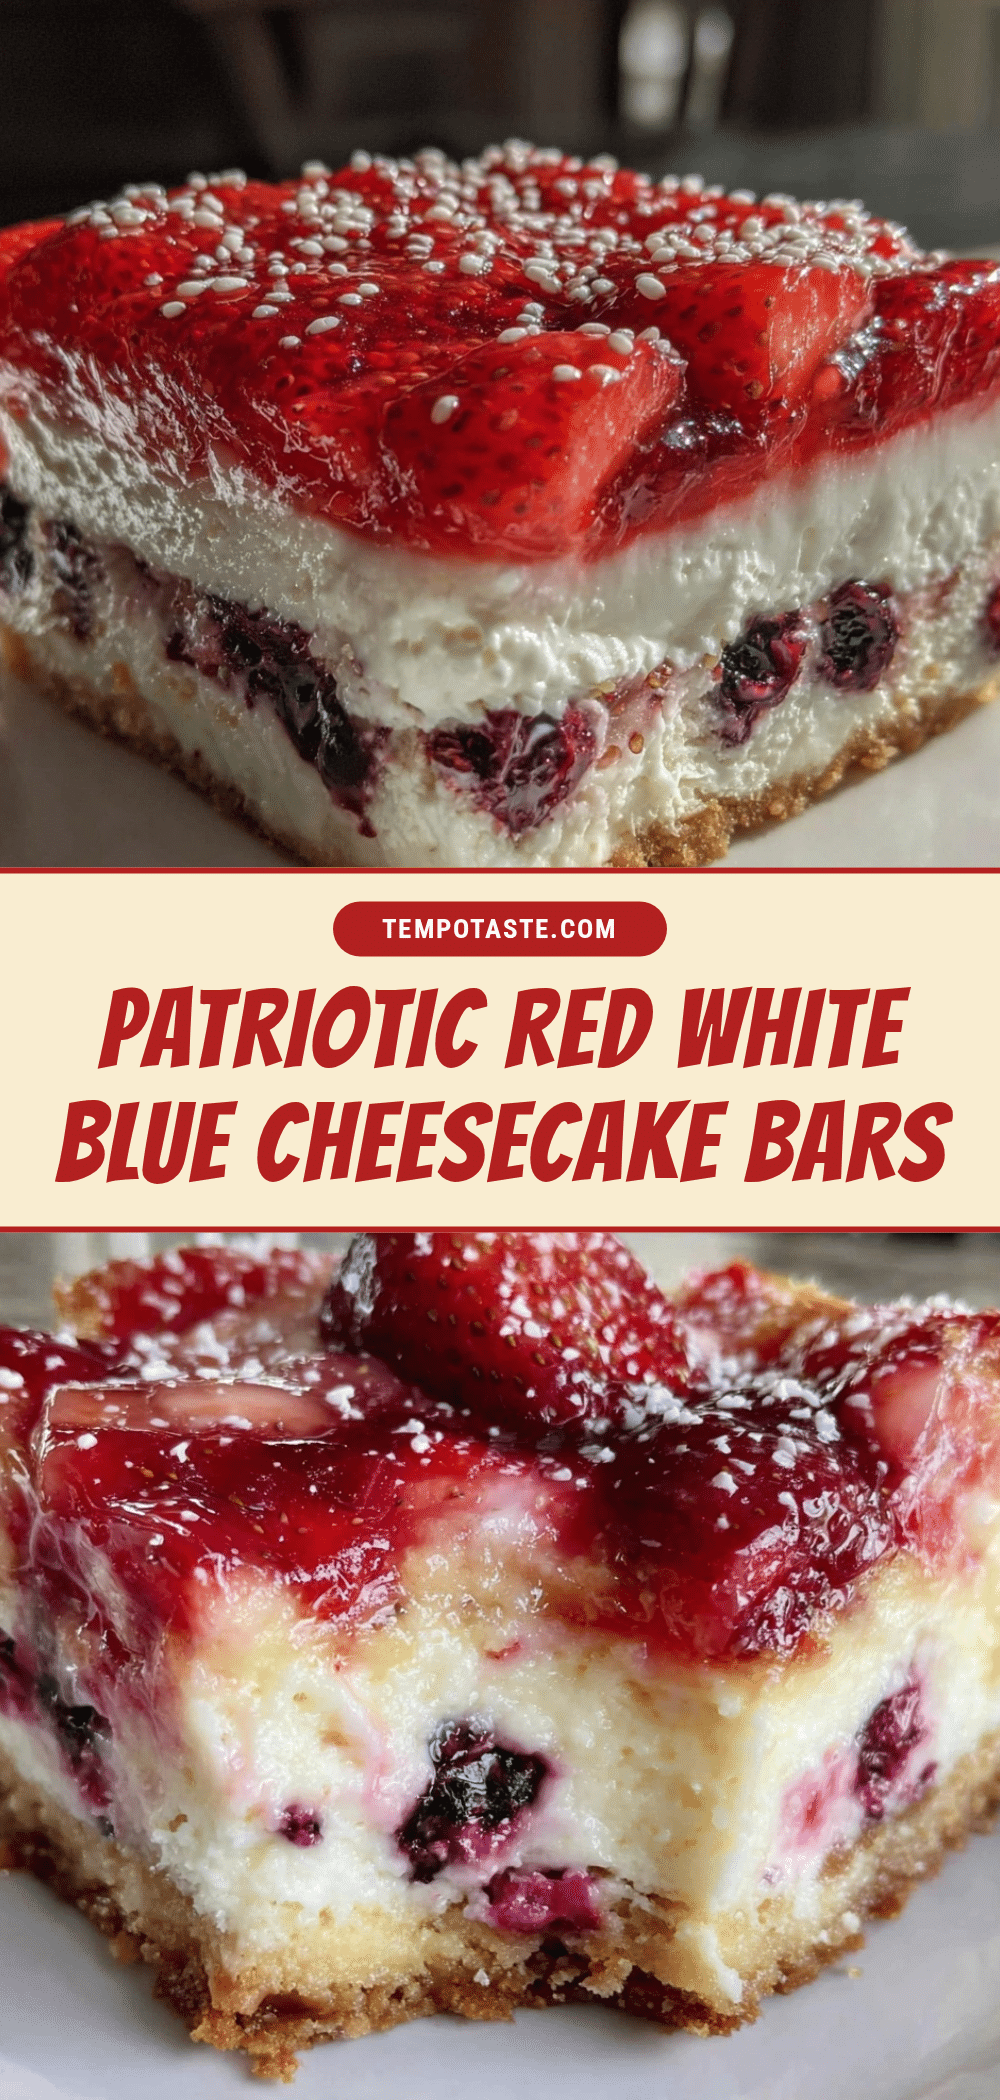
Perfect Red White and Blue Layered Cheesecake Bars

These festive cheesecake bars feature a lightly sweetened graham cracker crust, a creamy cheesecake layer blended with cottage cheese, and vibrant fresh strawberry and blueberry layers. Perfect for patriotic celebrations or any summer gathering.
- Prep Time: 45 minutes
- Cook Time: 50 minutes
- Total Time: 5 hours 35 minutes
- Yield: 16 servings 1x
- Category: Dessert
- Cuisine: American
Ingredients
- 1 ½ cups graham cracker crumbs (about 10 full sheets, finely crushed)
- 6 tablespoons unsalted butter, melted
- 2 tablespoons granulated sugar
- 16 ounces cream cheese, softened
- ½ cup cottage cheese, blended smooth
- ¾ cup granulated sugar
- 2 large eggs, room temperature
- 1 teaspoon vanilla extract
- 2 tablespoons all-purpose flour
- ¼ cup sour cream
- 1 ½ cups fresh or frozen blueberries (thawed and drained if frozen)
- 2 tablespoons granulated sugar
- 1 teaspoon lemon juice
- 1 teaspoon cornstarch mixed with 1 tablespoon water
- 1 ½ cups fresh or frozen strawberries, hulled (thawed if frozen)
- 3 tablespoons granulated sugar
- 1 teaspoon lemon juice
- 1 teaspoon cornstarch mixed with 1 tablespoon water
Instructions
- Preheat oven to 325°F (163°C). Line a 9×9 inch pan with parchment paper, leaving overhang for easy removal.
- In a medium bowl, combine graham cracker crumbs, melted butter, and 2 tablespoons sugar. Stir until mixture resembles wet sand. Press evenly into bottom of prepared pan. Bake 10 minutes until set and lightly golden. Let cool.
- In a large bowl, beat softened cream cheese and blended cottage cheese with an electric mixer until smooth (2-3 minutes). Add ¾ cup sugar and mix until combined. Beat in eggs one at a time, then add vanilla extract, flour, and sour cream. Mix just until smooth. Pour over cooled crust and spread evenly.
- Bake cheesecake layer for 35-40 minutes until edges are set but center slightly jiggles. Cool for 15 minutes.
- Prepare blueberry topping: In a small saucepan, combine blueberries, 2 tablespoons sugar, and lemon juice. Cook over medium heat for 5 minutes until berries soften. Stir in cornstarch slurry and cook 1 more minute until thickened. Cool slightly.
- Prepare strawberry topping: Repeat same process with strawberries, 3 tablespoons sugar, lemon juice, and cornstarch slurry. Cook and thicken, then cool slightly.
- Once cheesecake is cool but not fully set, spoon blueberry layer over one half and strawberry layer over the other half. Smooth gently with spatula without mixing colors.
- Chill bars in refrigerator at least 4 hours or overnight to set fully.
- Use parchment overhang to lift bars from pan. Slice into squares with a sharp knife, wiping knife clean between cuts. Serve chilled.
Notes
Do not overmix cheesecake batter to avoid cracks. Watch for slight jiggle in center when baking. Let cheesecake cool gradually to prevent cracking. Puree and cook berry layers to reduce moisture and prevent sogginess. Chill bars thoroughly before slicing for neat layers. Frozen berries can be used if thawed and drained. For gluten-free crust, substitute almond flour. For dairy-free, use coconut cream and dairy-free butter alternatives.
Nutrition
- Serving Size: 1 bar (1/16th of rec
- Calories: 280
- Fat: 18
- Carbohydrates: 22
- Protein: 5
Keywords: cheesecake bars, patriotic dessert, red white and blue dessert, Fourth of July dessert, layered cheesecake, berry cheesecake bars, easy cheesecake bars


