My partner popped open the jar and took a big crunch, then paused with that look—the one that mixes surprise and delight. “You made these?” he asked, eyes wide. It was just a quick refrigerator dill pickles jar I whipped up on a whim, no fancy canning or fuss. I’d never seen him so impressed by something so simple before. The fresh snap of the cucumbers, the zing of the dill, and that perfect garlicky bite hit the spot exactly. Honestly, seeing that reaction reminded me why I keep this easy no-canning recipe in my back pocket — it’s reliable, tasty, and doesn’t make me sweat over hot water baths or bulky equipment.
That moment wasn’t the start of a long family pickle tradition or a summer day spent in the kitchen, but it felt just as meaningful. It’s like I stumbled on a way to turn humble cucumbers into something bright and crunchy without the mess or time commitment that traditional pickling demands. I’ve tried a few pickle recipes before, but this one sticks because it’s fast and foolproof, perfect for when you want that tangy, garlicky crunch without waiting weeks or risking a canning disaster.
And the smell — that fresh dill mingling with garlic and vinegar — it fills the kitchen in a way that makes you want to reach for a sandwich or snack nearby. It’s a satisfying, homey scent that says, “Hey, something good is happening here.” It’s also the kind of recipe that feels like a little gift you can whip up for unexpected guests or a simple side to brighten up weeknight meals.
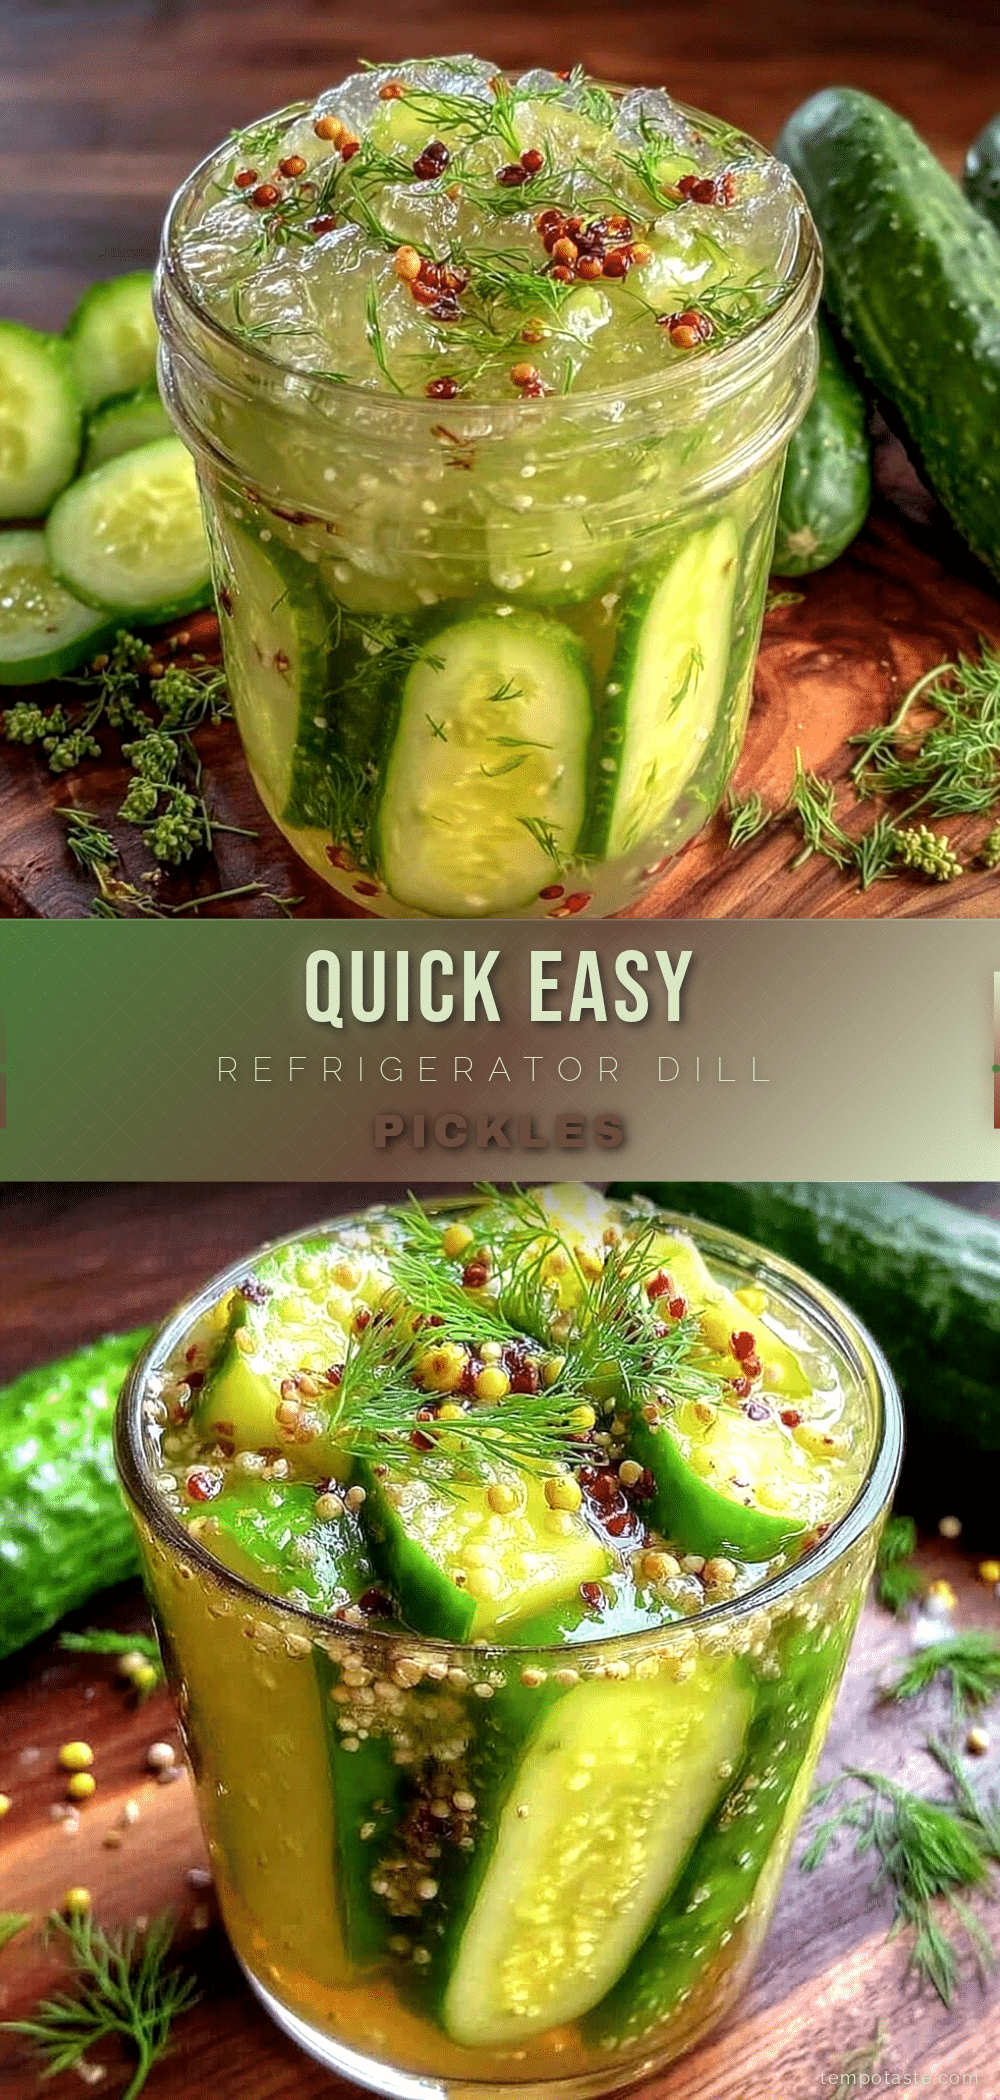
So, here’s the thing: this quick refrigerator dill pickles recipe isn’t about complicated steps or specialty gear. It’s about getting crunchy, tangy pickles on your table fast, with ingredients you probably have around already. And after that crunch my partner gave me? I knew this was one recipe to keep coming back to, no matter how busy life gets.
Why You’ll Love This Quick Refrigerator Dill Pickles Recipe
This recipe has been tested in my kitchen through countless batches and tweaks, always coming out crisp and flavorful. It’s a no-nonsense, no-canning approach that’s perfect if you want fresh pickles fast. Here’s why this recipe stands out and why you’ll want to try it today:
- Quick & Easy: Ready to eat in just 24 hours, making it perfect for last-minute pickle cravings or quick meal prep.
- Simple Ingredients: No need to hunt down weird spices or specialty vinegars; basic pantry staples and fresh dill do the trick.
- Perfect for Everyday Meals: Whether it’s a burger night, picnic, or a crisp snack, these pickles fit right in.
- Crowd-Pleaser: The balance of garlic, dill, and vinegar always gets compliments from kids and adults alike — even the ones who usually skip the pickles.
- Unbelievably Delicious: The texture remains crunchy, not soggy, with a bright, tangy flavor that’s just right.
Unlike some quick pickle recipes that end up mushy or overly salty, this one nails that classic dill pickle bite thanks to a little trick: soaking the cucumbers in ice water before pickling to keep them crisp. Plus, the garlic and dill ratio is spot-on, giving you that fresh herbaceous zing without overpowering the cucumbers.
This recipe isn’t just a shortcut; it’s a fresh take on homemade pickles that respects tradition but skips the hard parts. It’s like the homemade pickle you didn’t know you could make on a busy weeknight. Honestly, it’s the kind of recipe that makes you realize pickling doesn’t have to be intimidating — it can be a casual, everyday kitchen win.
What Ingredients You Will Need
This recipe uses simple, wholesome ingredients that come together to deliver bold flavor and satisfying crunch without any fuss. Most are pantry staples or easy to find fresh, so you won’t have to make a special trip to the store.
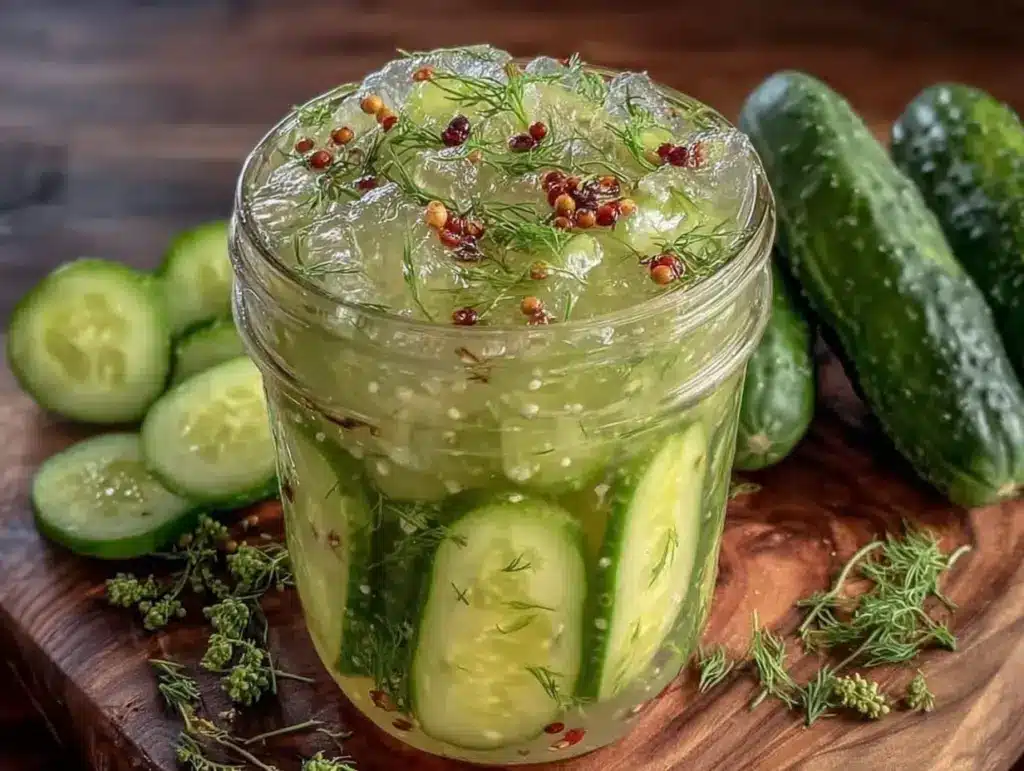
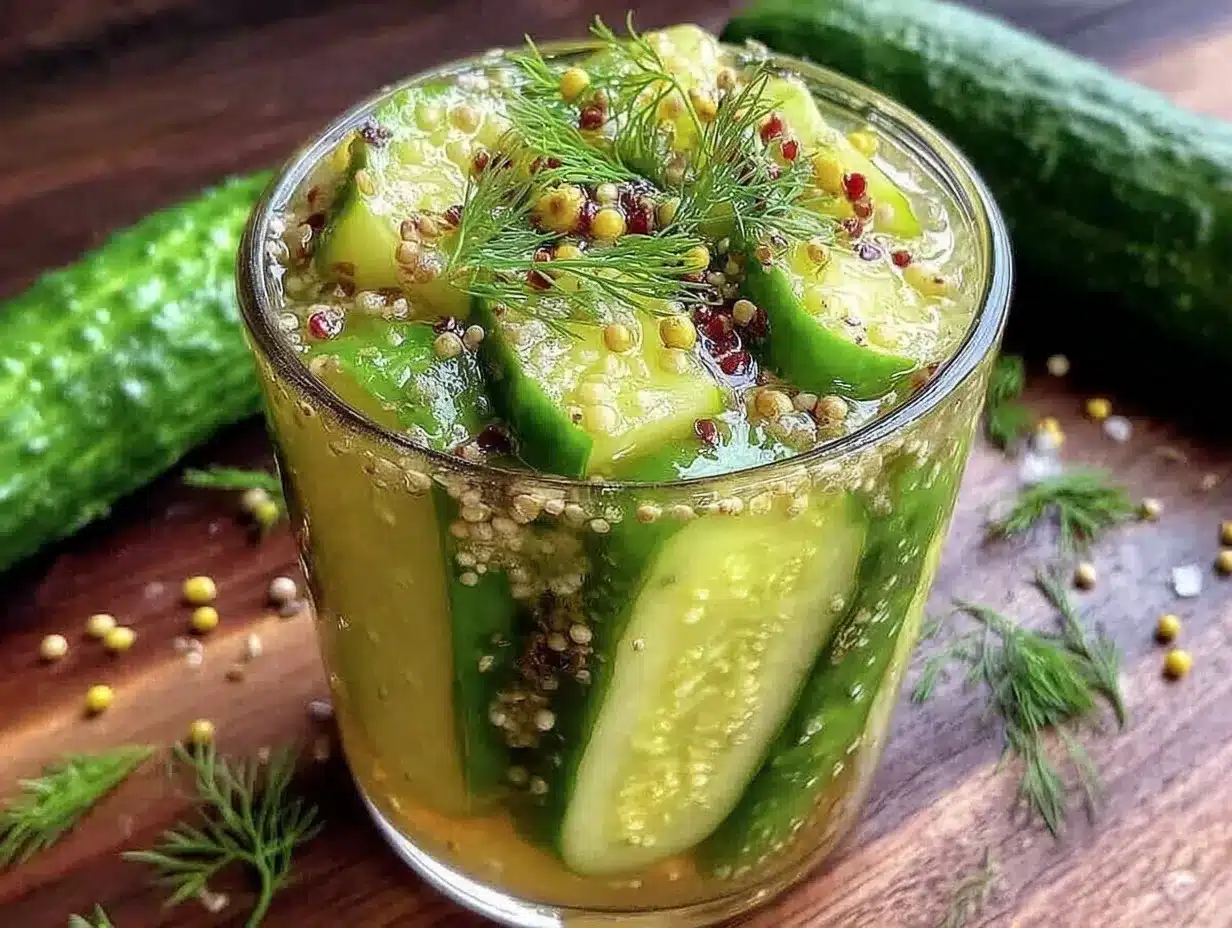
- Fresh Cucumbers: About 4-5 small to medium pickling cucumbers (roughly 1.5 pounds / 700 grams), sliced into spears or coins. I recommend firm, fresh cucumbers — the firmer, the better for crunch.
- Fresh Dill: 3-4 sprigs of fresh dill, plus a teaspoon of dill seeds (optional) if you want an extra herbal kick.
- Garlic: 3-4 cloves, smashed or thinly sliced for that punch of flavor.
- White Vinegar: 1 cup (240 ml). Standard white vinegar works best for the classic tang and clear color.
- Water: 1 cup (240 ml), to balance the vinegar’s acidity.
- Salt: 1 tablespoon of pickling salt or kosher salt, no iodine (iodized salt can cloud the brine).
- Sugar: 1 teaspoon, to round out the flavors and soften the sharpness.
- Black Peppercorns: 1 teaspoon whole, for a subtle bite.
- Red Pepper Flakes: Optional, 1/4 teaspoon, if you like a little heat in your pickles.
If fresh dill isn’t in season, frozen dill works in a pinch, though fresh gives that unmistakable bright flavor. For a gluten-free version, all ingredients here are naturally gluten-free, so no worries. And if you want to experiment, swapping in apple cider vinegar instead of white vinegar adds a fruity note, but I find white vinegar keeps the flavor clean and crisp.
Equipment Needed
- Glass Jar or Container: A quart-sized (1 liter) glass jar or airtight container works best for storing the pickles in the fridge.
- Measuring Cups and Spoons: For precise brine mixing.
- Mixing Bowl: Large enough to soak the cucumbers before pickling.
- Knife and Cutting Board: To slice cucumbers and garlic.
- Optional: Tongs or Fork: For handling cucumbers without bruising.
You don’t need any specialized canning equipment here, which is a big relief if you’re new to pickling. I usually use sturdy glass jars I’ve saved from store-bought pickles or jam — they seal well and don’t absorb smells. If you don’t have a jar, a clean plastic container with a tight lid will do in a pinch, but glass is best for keeping flavors fresh.
Tip: Avoid metal lids or containers that aren’t designed for pickling, as the vinegar can react with them and affect the taste.
Preparation Method
- Prepare the Cucumbers: Rinse 4-5 small to medium cucumbers thoroughly under cold water. Slice into spears about 3 inches long or into 1/4-inch thick coins, whichever you prefer. The spears are my go-to for sandwiches and snacking.
- Soak for Extra Crispness: Place the sliced cucumbers in a large bowl and cover with ice water. Let them soak for 1-2 hours in the fridge. This step is a game changer — it helps draw out excess moisture, keeping your pickles crunchy.
- Make the Brine: In a small saucepan, combine 1 cup (240 ml) white vinegar, 1 cup (240 ml) water, 1 tablespoon pickling salt, and 1 teaspoon sugar. Warm over medium heat, stirring occasionally until the salt and sugar fully dissolve. Remove from heat and let the brine cool to room temperature.
- Prepare the Jar: In your clean glass jar or container, add 3-4 sprigs of fresh dill, 3-4 smashed garlic cloves, 1 teaspoon whole black peppercorns, and optional 1/4 teaspoon red pepper flakes.
- Drain and Pack: Drain the cucumbers from the ice water and gently pat dry with a clean towel. Pack the cucumber slices tightly into the jar, layering them evenly around the dill and garlic.
- Pour the Brine: Once the brine is completely cool, pour it over the cucumbers until they’re fully submerged. You might need to press down gently to get rid of air pockets.
- Seal and Refrigerate: Close the jar tightly and place it in the refrigerator. Let the pickles marinate for at least 24 hours before tasting. For best flavor, wait 2-3 days — but honestly, they’re usually gone by then!
Watch out: Don’t use warm brine directly on the cucumbers or store pickles at room temperature — that can make them mushy or unsafe. This no-canning method relies on refrigeration to keep everything fresh and crisp.
Once you get the hang of layering the garlic and dill with cucumbers, you’ll find it’s a pretty quick process — especially if you soak the cucumbers while prepping other dishes, like a quick egg white veggie scramble or a crisp summer salad.
Cooking Tips & Techniques
Making quick refrigerator dill pickles is straightforward, but a few insider tips make all the difference:
- Pick the Right Cucumbers: Look for firm, small to medium-sized pickling cucumbers rather than large slicing ones. They have fewer seeds and hold their crunch better.
- Ice Water Soak: This step isn’t optional if you want crisp pickles. Skip it, and you might get soggy, watery results.
- Cool Brine Only: Always pour cooled brine over the cucumbers. Hot or warm brine will soften the cucumbers too much.
- Don’t Overfill the Jar: Leave some headspace to allow the flavors to circulate and for easy shaking if you want to mix the brine around later.
- Use Pickling Salt: Table salt or iodized salt can cloud the brine and affect taste. It’s worth picking up a small container of pickling salt if you plan to make pickles regularly.
- Patience is Key: While you can taste your pickles after 24 hours, they’re at their best after a couple of days when the flavors marry fully.
- Store Properly: Keep pickles refrigerated and consume within 2-3 weeks for peak freshness.
I once skipped the ice water soak in a rush and ended up with limp pickles — lesson learned! Also, shaking the jar gently every day helps distribute flavors evenly. This technique is a lot like stirring the dressing in a fresh Caprese pasta salad to keep everything bright and balanced.
Variations & Adaptations
This quick refrigerator dill pickles recipe is a great base for customizing to your taste or dietary needs:
- Spicy Pickles: Add extra red pepper flakes or a sliced jalapeño for a fiery kick.
- Garlic Lovers: Double the garlic cloves if you want a stronger, more pungent flavor.
- Herb Variations: Swap dill for fresh tarragon or add fresh thyme for a different herbaceous note.
- Low-Sodium: Reduce the salt slightly and compensate with a splash of lemon juice for brightness.
- Sweet & Tangy: Increase sugar to 1 tablespoon for a sweeter pickle, reminiscent of bread-and-butter pickles.
For a seasonal twist, you can add sliced fresh peaches or nectarines to the jar for a fruity pickle variation, inspired by the fresh grilled peaches I love making in summer. It adds a lovely sweet contrast to the tangy brine.
Lastly, if you want to make refrigerator pickles without fresh dill, dried dill weed works but add it a few days earlier to give it time to rehydrate and release flavor.
Serving & Storage Suggestions
These quick refrigerator dill pickles are best served cold, straight from the fridge. Their crisp texture and tangy flavor make them ideal as a snack, a sandwich topper, or a zesty side to burgers and grilled dishes. They pair wonderfully with creamy dishes, like a rich potato salad or alongside grilled corn like in the flavorful grilled elote recipe I often make.
Store your pickles in the refrigerator in a sealed jar or container. They keep well for up to 3 weeks, but I usually find them disappearing much faster! Over time, the pickles become softer and the flavors intensify — some folks love them that way, but if you prefer crunch, eat sooner rather than later.
Reheat? Nah, these are best cold or at room temperature. If you want to remix the flavors, just give the jar a gentle shake every couple of days to redistribute the brine.
Nutritional Information & Benefits
These quick refrigerator dill pickles are low in calories (about 10-15 calories per spear), fat-free, and gluten-free, making them a light snack or condiment option. Cucumbers provide hydration, fiber, and small amounts of vitamins K and C, while garlic offers immune-boosting properties. The vinegar acts as a natural preservative and can aid digestion.
Because this recipe uses no added preservatives or artificial ingredients, it’s a wholesome choice compared to store-bought pickles that often contain added sugars or stabilizers. Just watch the sodium if you’re on a low-salt diet, although rinsing the pickles lightly before eating can reduce saltiness.
Conclusion
Quick refrigerator dill pickles are proof that homemade doesn’t have to be complicated or time-consuming. This easy no-canning recipe delivers crunchy, flavorful pickles with minimal effort and ingredients you likely have on hand. The fresh dill and garlic, combined with a simple brine, create that classic pickle punch that’s satisfying every time.
I love how this recipe fits into busy days, letting me add a fresh, tangy crunch to meals without fuss. Whether you’re new to pickling or looking for a fast way to enjoy homemade pickles, this recipe won’t let you down.
Give it a try and tweak it to your taste—you might find it becomes your go-to pickle recipe, just like it did for me after that memorable crunch moment. And if you try other quick sides like the loaded potato salad with bacon and ranch I make for BBQs, these pickles will be the perfect companion on your table.
Frequently Asked Questions
How long do quick refrigerator dill pickles last?
They stay fresh and crunchy for about 2-3 weeks refrigerated. After that, they may soften but are still safe to eat if kept cold.
Can I use regular vinegar instead of white vinegar?
White vinegar is best for clear, crisp pickles. You can use apple cider vinegar for a milder, fruity flavor, but avoid flavored vinegars which can alter the taste.
Do I have to soak cucumbers in ice water?
It’s highly recommended for crunch. The ice water soak helps firm up the cucumbers by drawing out excess moisture.
Can I make these pickles without fresh dill?
You can substitute dried dill, but add it a few days before to let the flavor develop. Fresh dill provides the best aroma and taste.
Is this recipe safe without canning?
Yes! Since these are refrigerator pickles, they’re stored cold and eaten within a few weeks, so no canning or pressure processing is needed.
Pin This Recipe!
Quick Refrigerator Dill Pickles Recipe Easy No-Canning Method to Try Today

A fast and easy no-canning method to make crunchy, tangy dill pickles using simple ingredients and refrigerator storage. Ready to eat in 24 hours with a fresh, garlicky bite.
- Prep Time: 10 minutes
- Cook Time: 10 minutes
- Total Time: 1 day 20 minutes
- Yield: 4 servings 1x
- Category: Condiment
- Cuisine: American
Ingredients
- 4–5 small to medium pickling cucumbers (about 1.5 pounds / 700 grams), sliced into spears or coins
- 3–4 sprigs fresh dill
- 1 teaspoon dill seeds (optional)
- 3–4 cloves garlic, smashed or thinly sliced
- 1 cup (240 ml) white vinegar
- 1 cup (240 ml) water
- 1 tablespoon pickling salt or kosher salt (no iodine)
- 1 teaspoon sugar
- 1 teaspoon whole black peppercorns
- 1/4 teaspoon red pepper flakes (optional)
Instructions
- Rinse cucumbers thoroughly under cold water and slice into 3-inch spears or 1/4-inch thick coins.
- Place sliced cucumbers in a large bowl and cover with ice water. Soak in the refrigerator for 1-2 hours to keep them crisp.
- In a small saucepan, combine white vinegar, water, pickling salt, and sugar. Warm over medium heat, stirring until salt and sugar dissolve. Remove from heat and cool to room temperature.
- In a clean quart-sized glass jar or container, add fresh dill sprigs, smashed garlic cloves, black peppercorns, and optional red pepper flakes.
- Drain cucumbers from ice water and pat dry with a clean towel. Pack cucumbers tightly into the jar around the dill and garlic.
- Pour the cooled brine over the cucumbers until fully submerged, pressing down gently to remove air pockets.
- Seal the jar tightly and refrigerate. Let pickles marinate for at least 24 hours before tasting; best flavor after 2-3 days.
Notes
Soaking cucumbers in ice water before pickling is essential for crispness. Always use cooled brine to avoid soggy pickles. Use pickling salt or kosher salt without iodine to keep brine clear. Store pickles refrigerated and consume within 2-3 weeks for best texture and flavor.
Nutrition
- Serving Size: About 1/4 of the rec
- Calories: 15
- Sugar: 1
- Sodium: 600
- Carbohydrates: 3
- Fiber: 1
Keywords: quick pickles, refrigerator pickles, dill pickles, no canning, easy pickles, crunchy pickles, garlic pickles


