Introduction
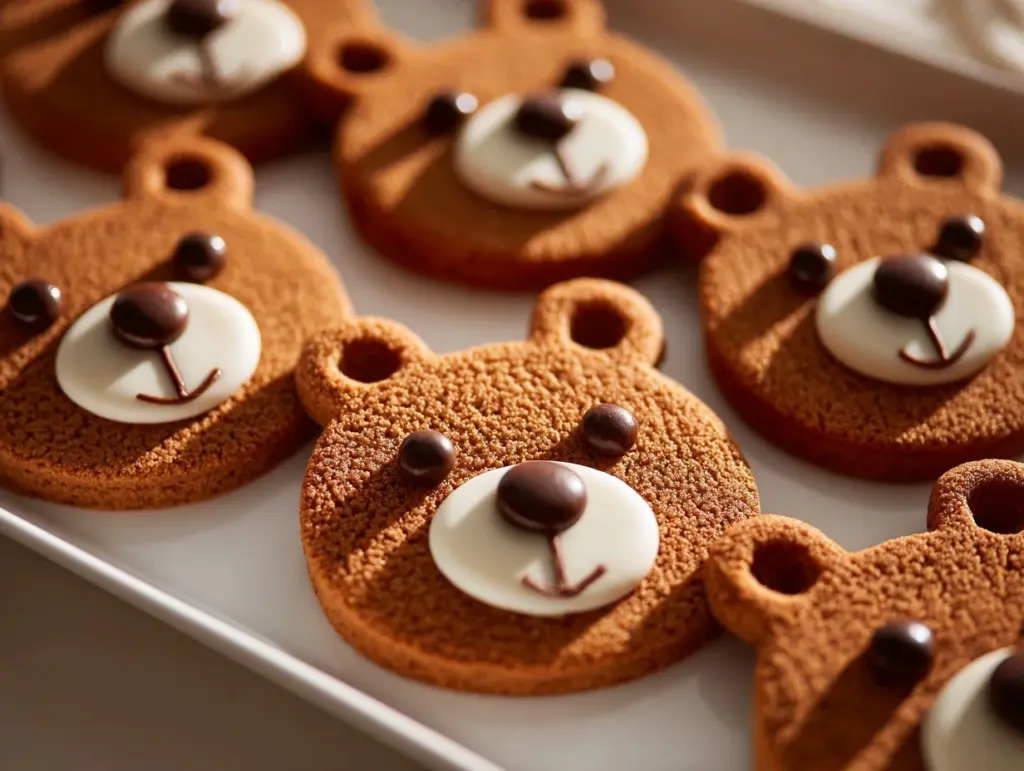
The moment you see these adorable bear cookies, you’ll be smitten. Honestly, it’s hard not to fall for their cute little faces and perfectly round ears. These cookies aren’t just sweet to look at—they’re packed with buttery, melt-in-your-mouth goodness that makes them irresistible. Whether you’re a seasoned baker or just dipping your toes into the world of baking, this recipe is as fun to make as it is to eat.
My first attempt at bear cookies came during a rainy afternoon with my kids. We were craving something fun to bake together, and honestly, we couldn’t stop giggling as we shaped the little bears. Now, they’ve become a family tradition for birthdays and holiday treats. The best part? This recipe is simple enough for kids to join in, but it’s still impressive enough to charm adults at any gathering.
With just a handful of ingredients, you’ll whip up these charming cookies in no time. They’re perfect for themed parties, gifting, or even just a cozy baking day. Trust me, once you make these adorable bear cookies, they’ll quickly become a household favorite.
Why You’ll Love This Recipe
- Simple and Fun: This recipe uses everyday ingredients and is easy to follow, making it perfect for beginners.
- Perfect for All Ages: Kids love shaping the little bears, and adults can’t resist their buttery flavor.
- Visually Stunning: These cookies are almost too cute to eat—almost! They’ll be the highlight of any dessert table.
- Customizable: Add chocolate details, swap flavors, or create different animal shapes to suit your style.
- Delicious: Beyond their charm, these cookies have a rich, buttery taste with a hint of sweetness that will keep you coming back for more.
- Great for Gifts: Packed in a pretty box or jar, these bear cookies make thoughtful, homemade presents.
What sets this recipe apart is how approachable it is. You don’t need fancy tools or techniques, just a love for baking and a bit of creativity. Plus, the joy these cookies bring to anyone who sees them is priceless.
What Ingredients You Will Need
This recipe uses a mix of pantry staples and a few fun extras to bring these adorable bear cookies to life. Here’s what you’ll need:
- Unsalted Butter: Softened to room temperature for a smooth and creamy batter.
- Granulated Sugar: Adds just the right amount of sweetness.
- Vanilla Extract: A classic flavor enhancer that pairs beautifully with the buttery base.
- All-Purpose Flour: The foundation of the cookie dough—perfect for shaping.
- Cornstarch: Helps create a soft, melt-in-your-mouth texture.
- Salt: Balances the sweetness and deepens the flavors.
- Chocolate Chips: For decorating the bear faces—think eyes and noses!
- Milk: Optional, to adjust the dough consistency if needed.
These ingredients come together to form a buttery, slightly crumbly dough that’s easy to shape into adorable bear faces. If you’re missing anything, I’ve got some substitution ideas below to keep things simple.
Equipment Needed
- Mixing Bowls: For combining your wet and dry ingredients.
- Electric Mixer: Optional, but it makes creaming the butter and sugar much easier.
- Measuring Cups and Spoons: Precision is key for perfectly textured cookies.
- Baking Sheets: Line them with parchment paper to prevent sticking.
- Cookie Cutter or Your Hands: To shape the adorable bears (you can use a round cutter and add details manually).
- Small Spatula: Helpful for transferring cookies to the baking sheet.
If you don’t have a cookie cutter, don’t worry! You can shape the cookies with your hands—it’s part of the fun. Just make sure your tools are clean and ready to go before you start baking.
Preparation Method
- Preheat your oven to 350°F (175°C) and line your baking sheets with parchment paper.
- In a large mixing bowl, cream the softened butter and granulated sugar with an electric mixer until light and fluffy (about 2-3 minutes).
- Add the vanilla extract and mix until combined.
- In a separate bowl, whisk together the all-purpose flour, cornstarch, and salt.
- Gradually add the dry ingredients to the wet mixture, mixing until a smooth dough forms. If the dough is too crumbly, add a splash of milk until it comes together.
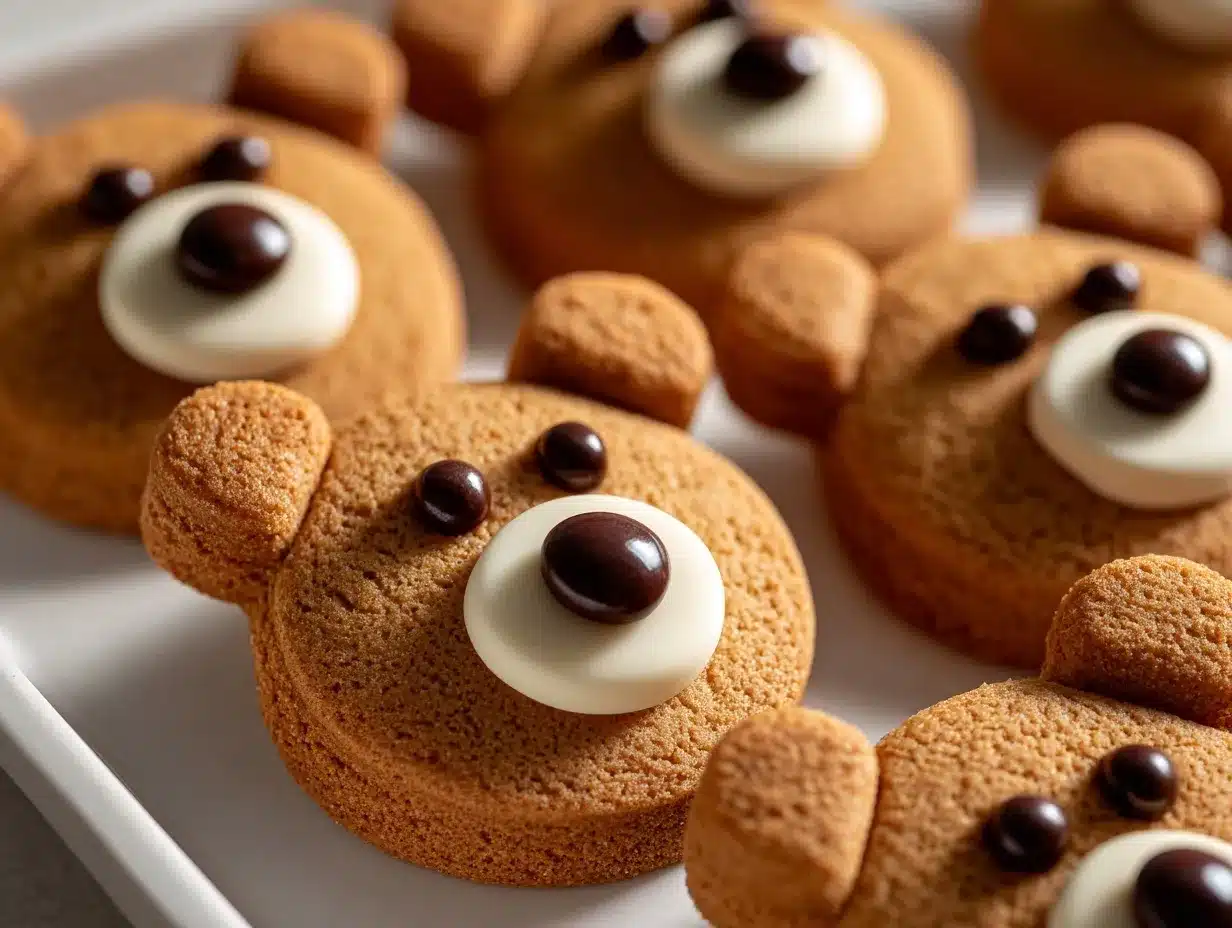
- Divide the dough into small balls for the bear heads, slightly smaller balls for the ears, and tiny pieces for the snouts.
- Assemble the bears by pressing the ear pieces onto the head balls and adding a snout in the center. Use chocolate chips or small candies for eyes and noses.
- Place the assembled cookies on the prepared baking sheets, leaving space between each bear.
- Bake for 12-15 minutes or until the edges are lightly golden. Avoid overbaking to keep the cookies soft.
- Let the cookies cool completely on the baking sheet before serving or decorating further.
Tip: If the ears or snouts start to detach while assembling, lightly press them back into place. These cookies are forgiving, so don’t stress if they look a little quirky—that’s part of their charm!
Cooking Tips & Techniques
- Chill the Dough: If the dough feels too soft or sticky, refrigerate it for 20-30 minutes before shaping.
- Shape with Care: Press gently when attaching the ears and snouts to avoid cracking the dough.
- Watch the Oven: Keep an eye on the cookies as they bake; the edges should be lightly golden, but the centers should remain soft.
- Get Creative: Use melted chocolate or icing to add extra decorations, like bow ties or rosy cheeks.
- Use Quality Butter: High-quality butter makes a huge difference in flavor and texture.
These tips will help you nail the perfect bear cookies every time. Remember, baking is as much about enjoying the process as it is about the final product!
Variations & Adaptations
- Chocolate Bear Cookies: Add 1/4 cup cocoa powder to the dough for a chocolate twist.
- Gluten-Free Option: Substitute all-purpose flour with a gluten-free flour blend for a celiac-friendly treat.
- Seasonal Twist: Incorporate food coloring into the dough to make holiday-themed bears (red for Christmas, pastel for Easter, etc.).
- Nut-Free: Use allergy-safe chocolate chips to keep the recipe nut-free.
- Other Animals: Change up the shape to make cats, dogs, or even bunnies—just adjust the ears and facial details!
Feel free to experiment with different flavors, colors, and decorations to make this recipe uniquely yours. I’ve tried the chocolate variation, and it’s a huge hit in my house!
Serving & Storage Suggestions
Serve these bear cookies at room temperature with a glass of milk or a cup of tea. For parties, arrange them on a decorative platter or package them in cute gift boxes for an extra special touch.
Store the cookies in an airtight container at room temperature for up to 5 days. If you’re planning to keep them longer, freeze them for up to a month. To enjoy after freezing, let them thaw at room temperature or heat them gently in the oven for a few minutes to refresh their texture.
Pro Tip: The flavors of these cookies deepen after a day, making them even more delicious. If you’re gifting them, bake a day ahead for maximum flavor.
Nutritional Information & Benefits
Each cookie contains approximately:
- Calories: 120
- Fat: 6g
- Carbohydrates: 15g
- Protein: 1g
- Sugar: 8g
These bear cookies are a delightful treat without being overly indulgent. The butter provides a satisfying richness, while the small size keeps portion control in check. Plus, they’re perfect for occasional sweet cravings without going overboard!
Conclusion
If you’re looking for a baking project that’s as adorable as it is delicious, this adorable bear cookies recipe is exactly what you need. Whether you’re baking with kids, preparing for a party, or just indulging in some cute-themed fun, these cookies are guaranteed to bring a smile to your face.
Take this recipe and make it your own—add fun decorations, try out new flavors, or create a whole zoo of cookie animals! And don’t forget to share your creations. I’d love to see how your bear cookies turn out!
Happy baking, and remember—perfection is overrated. The quirkiest bears are often the most lovable!
FAQs
Can I use salted butter instead of unsalted?
Yes, you can use salted butter, but reduce the added salt to avoid oversalting the cookies.
How do I keep the cookies soft?
Avoid overbaking and store them in an airtight container once they’ve cooled completely.
Can I make these cookies ahead of time?
Absolutely! You can make the dough a day ahead and refrigerate it. Just let it soften slightly before shaping.
Can I freeze the cookies?
Yes, these cookies freeze well. Store them in an airtight container or freezer bag for up to a month.
How can I make the faces look neater?
Use tweezers or a small toothpick to position chocolate chips or candies precisely for the facial features.
Pin This Recipe!
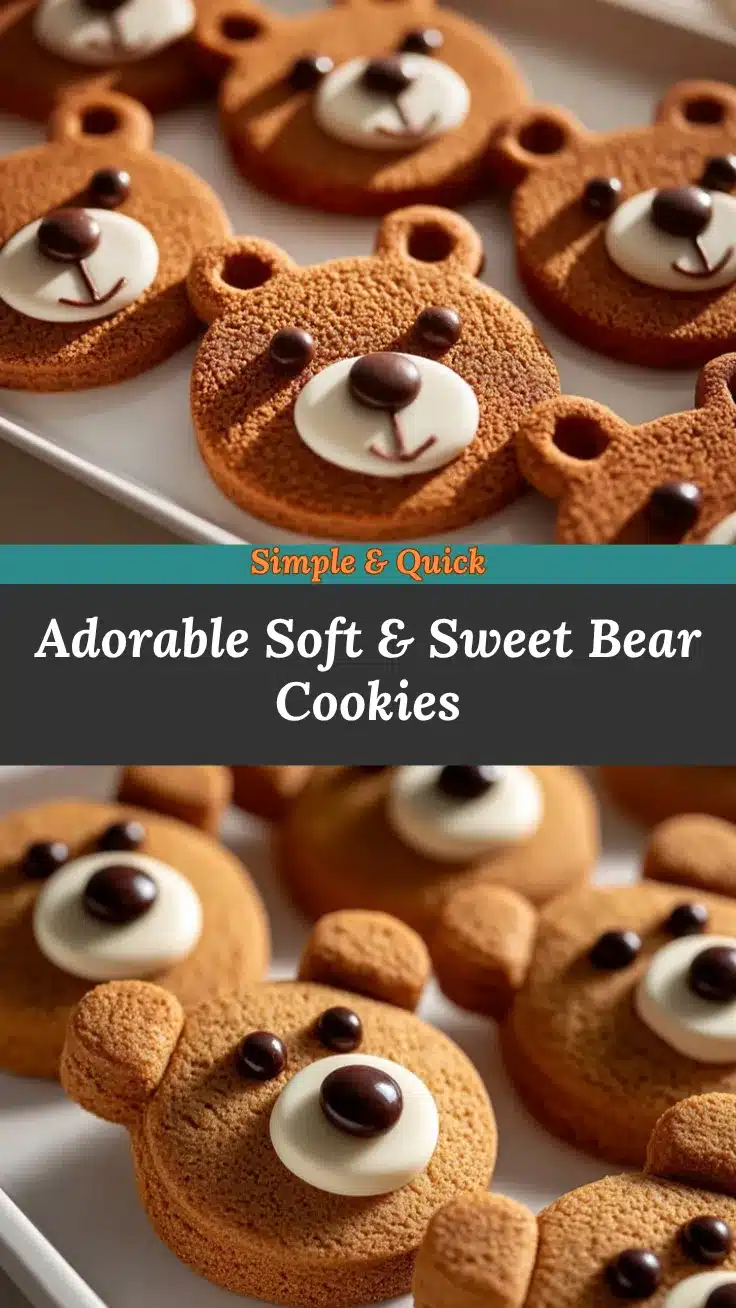
Adorable Bear Cookies

These adorable bear cookies are packed with buttery, melt-in-your-mouth goodness and are as fun to make as they are to eat. Perfect for themed parties, gifting, or a cozy baking day.
- Prep Time: 20 minutes
- Cook Time: 15 minutes
- Total Time: 35 minutes
- Yield: 24 cookies 1x
- Category: Dessert
- Cuisine: American
Ingredients
- 1 cup unsalted butter, softened
- 1/2 cup granulated sugar
- 1 teaspoon vanilla extract
- 2 cups all-purpose flour
- 2 tablespoons cornstarch
- 1/4 teaspoon salt
- Chocolate chips (for decorating)
- Milk (optional, to adjust dough consistency)
Instructions
- Preheat your oven to 350°F (175°C) and line your baking sheets with parchment paper.
- In a large mixing bowl, cream the softened butter and granulated sugar with an electric mixer until light and fluffy (about 2-3 minutes).
- Add the vanilla extract and mix until combined.
- In a separate bowl, whisk together the all-purpose flour, cornstarch, and salt.
- Gradually add the dry ingredients to the wet mixture, mixing until a smooth dough forms. If the dough is too crumbly, add a splash of milk until it comes together.
- Divide the dough into small balls for the bear heads, slightly smaller balls for the ears, and tiny pieces for the snouts.
- Assemble the bears by pressing the ear pieces onto the head balls and adding a snout in the center. Use chocolate chips or small candies for eyes and noses.
- Place the assembled cookies on the prepared baking sheets, leaving space between each bear.
- Bake for 12-15 minutes or until the edges are lightly golden. Avoid overbaking to keep the cookies soft.
- Let the cookies cool completely on the baking sheet before serving or decorating further.
Notes
Chill the dough if it feels too soft or sticky. Press gently when attaching the ears and snouts to avoid cracking the dough. Use melted chocolate or icing for extra decorations.
Nutrition
- Serving Size: 1 cookie
- Calories: 120
- Sugar: 8
- Fat: 6
- Carbohydrates: 15
- Protein: 1
Keywords: bear cookies, cute cookies, easy baking, kids baking, themed cookies, buttery cookies