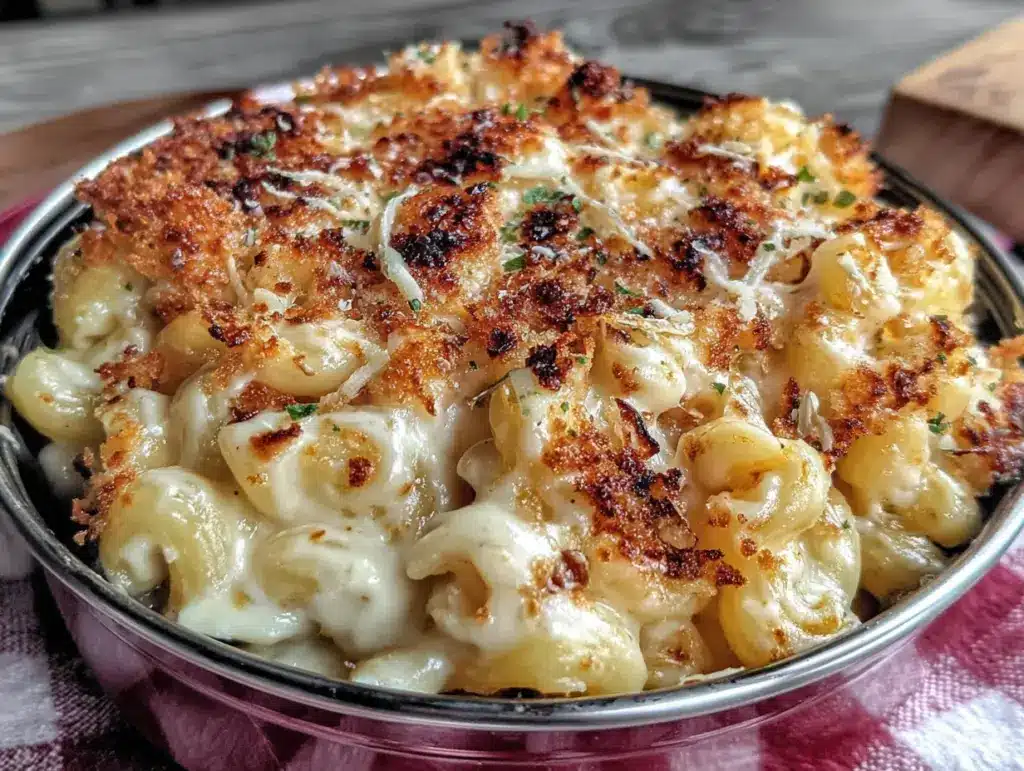
I figured thermos mac and cheese would be a sad, clumpy compromise — the kind of thing you pack for lunch because you have to, not because you want to. It took about one bite of this version for that assumption to fall apart completely. I was standing in my kitchen at 6:30 AM, spoon in one hand, thermos in the other, testing a batch I’d made the night before. The pasta was still tender, the cheese sauce was still velvety, and the whole thing was piping hot — not lukewarm, not sort-of-warm, but actually steaming.
Honestly, I’d spent years believing that mac and cheese simply didn’t survive the thermos. You know the drill — you open it at lunch and find a congealed, rubbery mess that tastes more like regret than comfort. I tried every trick I could find online. None of them worked. So I started experimenting on my own, and after about twelve batches (my family was very patient), I landed on this method. The secret isn’t just in the cheese blend or the pasta shape — it’s in how you prep the thermos itself and how you build the sauce.
This recipe became my go-to for school lunches, work days, and even picnics where I wanted real food, not sad sandwiches. It’s the kind of mac and cheese that makes you look forward to lunch at 10 AM. And honestly? It tastes better than most stovetop versions I’ve made. The thermos actually helps the flavors meld together in a way that feels intentional, not accidental. Let me show you how it works.
Why You’ll Love This Recipe
This isn’t just another mac and cheese recipe. It’s specifically engineered to stay hot, creamy, and delicious for hours inside a thermos. No more sad, cold lunches.
- Stays Hot for Hours : With the right prep and technique, this mac and cheese stays steaming hot for 4-6 hours in a quality thermos. I’ve tested it — it works.
- Perfect for Packed Lunches : Whether it’s for school, work, or a road trip, this recipe was designed to travel well. No microwave required.
- Simple Ingredients : You don’t need fancy cheese or specialty pasta. Everything is available at your regular grocery store.
- Kid-Approved and Adult-Friendly : The creamy, cheesy goodness appeals to everyone. I’ve packed this for my own kids and for myself — always a hit.
- Make-Ahead Friendly : You can prep this the night before and assemble it in the morning. It actually tastes better after the flavors have had time to settle.
What makes this recipe different from other thermos mac and cheese attempts is the sauce stability. Most recipes use too much butter or not enough starch, which causes the sauce to break down as it sits. I’ve balanced the fat, starch, and moisture so the sauce stays smooth and creamy, not greasy or watery. It’s a small tweak that makes all the difference.
This is comfort food that works with your schedule, not against it. It’s the kind of recipe that makes you feel like you’ve got your life together — even when you’re packing lunch at 6 AM.
What Ingredients You Will Need
This recipe uses simple, pantry-friendly ingredients to create a cheese sauce that stays stable for hours. Each ingredient plays a specific role in keeping the texture right.
- Elbow macaroni (2 cups, about 8 ounces) — I prefer standard elbow macaroni for its classic shape and ability to hold sauce. Cook it one minute less than al dente so it doesn’t turn to mush in the thermos.
- Sharp cheddar cheese (2 cups, freshly shredded) — Pre-shredded cheese has anti-caking agents that prevent smooth melting. Shred your own from a block for the creamiest sauce. I use a medium-sharp cheddar for balanced flavor.
- Mozzarella cheese (1 cup, freshly shredded) — This adds stretch and creaminess without overwhelming the cheddar flavor. It also helps the sauce stay smooth as it sits.
- Whole milk (2 cups) — Full-fat milk creates a richer sauce that holds up better in the thermos. Low-fat or skim milk can make the sauce watery over time.
- Unsalted butter (3 tablespoons) — Butter forms the base of the roux. I use unsalted so I can control the salt level.
- All-purpose flour (3 tablespoons) — This thickens the sauce and helps stabilize it. Don’t skip it — the starch is crucial for preventing separation.
- Dijon mustard (1 teaspoon) — A tiny amount adds depth and cuts through the richness. You won’t taste it, but you’ll miss it if it’s gone.
- Garlic powder (1/2 teaspoon) — Adds a subtle savory note without overpowering the cheese.
- Salt (1/2 teaspoon, plus more for pasta water) — Season the pasta water generously. It’s your only chance to season the pasta itself.
- Black pepper (1/4 teaspoon) — Freshly ground is best for a little warmth.
- Optional: Pinch of cayenne pepper or paprika — Adds a gentle warmth that enhances the cheese flavor without making it spicy.
I recommend using Cabot or Tillamook sharp cheddar for their reliable melting qualities and bold flavor. For the mozzarella, any whole-milk block works well. If you’re in a pinch, you can substitute half the mozzarella with Monterey Jack for a slightly different flavor profile.
Equipment Needed
You don’t need much for this recipe, but a few key tools make all the difference.
- Large pot (4-5 quart) — For boiling the pasta. A heavy-bottomed pot works best for even heating.
- Medium saucepan (2-3 quart) — For making the cheese sauce. A non-stick or stainless steel pan works well.
- Whisk — Essential for a smooth, lump-free roux and cheese sauce.
- Box grater or microplane — For shredding cheese. A box grater is faster, but a microplane gives you very fine shreds that melt instantly.
- Colander — For draining pasta. Don’t rinse it — you need the starch.
- Thermos (16-20 ounce capacity) — A wide-mouth thermos is easiest for filling and eating. I use a Stanley or Thermos brand. The quality matters — cheaper thermoses don’t hold heat as well.
- Spatula or wooden spoon — For stirring the sauce and combining everything.
- Timer — Precise timing prevents overcooked pasta.
If you don’t have a wide-mouth thermos, you can use a standard one, but filling it will be trickier. I’ve also used a food jar with good results — just make sure it’s vacuum-insulated.
Preparation Method
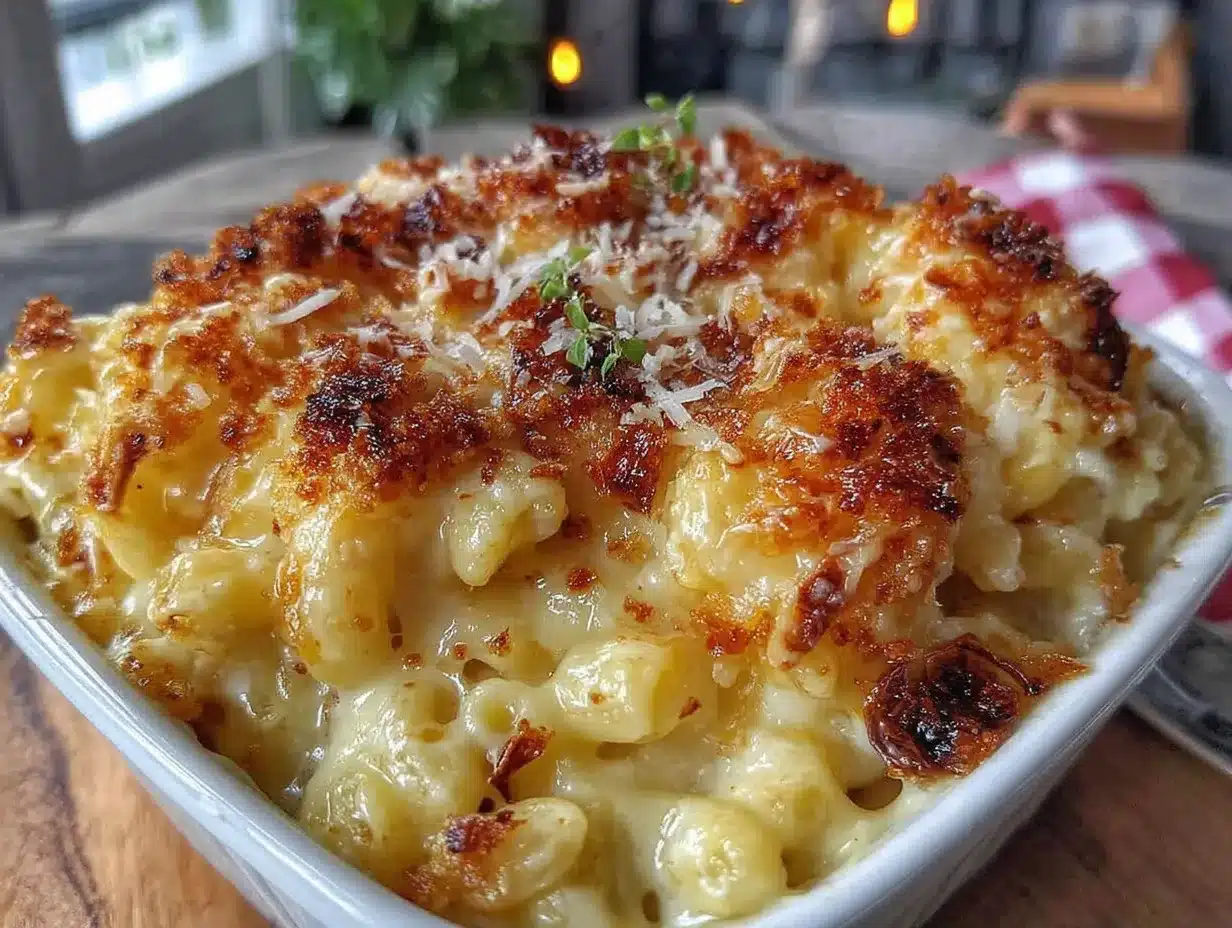
Follow these steps carefully, and you’ll have thermos mac and cheese that stays hot and creamy for hours.
- Preheat your thermos. Fill your thermos with boiling water and let it sit for 5-10 minutes while you cook. This step is non-negotiable — a cold thermos will suck the heat right out of your mac and cheese. I learned this the hard way after my first attempt came out lukewarm.
- Boil a large pot of salted water. Use about 4 quarts of water and 1 tablespoon of salt. The water should taste like the sea. Bring it to a rolling boil.
- Cook the pasta one minute less than al dente. Add the elbow macaroni and cook according to package directions, but subtract one minute. For most brands, that’s about 6-7 minutes. The pasta will continue cooking slightly in the thermos, so undercooking prevents mushiness. Drain the pasta in a colander — do not rinse it. The starch on the surface helps the sauce cling.
- Make the roux. While the pasta cooks, melt the butter in a medium saucepan over medium heat. Once it’s fully melted and bubbling, add the flour. Whisk constantly for 1-2 minutes until the mixture is smooth and lightly golden. It should smell nutty, not raw. This step cooks out the flour taste and ensures a smooth sauce.
- Add the milk gradually. Slowly pour in the milk while whisking continuously. Start with a thin stream, then increase once the mixture is smooth. Keep whisking until the sauce thickens — about 3-4 minutes. It should coat the back of a spoon. If it’s too thick, add a splash more milk.
- Season the sauce. Add the Dijon mustard, garlic powder, salt, black pepper, and cayenne if using. Whisk to combine. Taste and adjust salt if needed. Remember, the cheese will add more salt later.
- Melt in the cheese. Reduce the heat to low. Add the shredded cheddar and mozzarella in handfuls, stirring until each addition is fully melted before adding the next. This prevents the sauce from becoming grainy. Keep stirring until the sauce is smooth and glossy. Remove from heat.
- Combine pasta and sauce. Add the drained pasta to the saucepan with the cheese sauce. Stir gently until every piece of pasta is coated. The sauce should be slightly thinner than you’d normally want — it will thicken as it sits in the thermos.
- Empty the thermos. Pour out the hot water from your preheated thermos. Be careful — it will be very hot.
- Fill the thermos immediately. Spoon the mac and cheese into the hot thermos, packing it in gently but firmly. Fill it all the way to the top to minimize air space — less air means less heat loss. Screw the lid on tightly.
- Let it rest for 5 minutes. Before packing it in a lunch bag, let the sealed thermos sit on the counter for 5 minutes. This allows the heat to distribute evenly and the sauce to settle.
Your mac and cheese is now ready to go. It will stay hot for 4-6 hours in a good thermos. If you’re packing it for longer, consider wrapping the thermos in a towel or placing it in an insulated lunch bag for extra heat retention.
Cooking Tips & Techniques
Over the years, I’ve made every mistake you can imagine with thermos mac and cheese. Here’s what I’ve learned.
Don’t overcook the pasta. This is the most common mistake. Pasta that’s fully cooked will turn into a mushy paste after sitting in the thermos. Cooking it one minute less than al dente gives it room to finish cooking without falling apart. I’ve had batches where I forgot to subtract the minute, and the result was sad, broken noodles.
Use freshly shredded cheese. I know it’s tempting to buy the pre-shredded bags — I’ve done it too. But those anti-caking agents (usually cellulose or potato starch) prevent the cheese from melting smoothly. Your sauce will end up grainy and separated. Spend the two minutes shredding your own. It’s worth it.
Preheat the thermos properly. This isn’t optional. A room-temperature thermos will cool your mac and cheese by at least 20 degrees. I fill mine with boiling water and let it sit while I cook. When I’m ready to fill, I dump the water and add the pasta immediately. The thermos should be hot to the touch.
Make the sauce slightly thinner than usual. The sauce will thicken as it sits in the thermos, especially if it’s a high-quality, insulated one. If you make it at your usual consistency, it will be too thick after an hour. Aim for a sauce that’s just a bit looser than you’d want for stovetop mac and cheese.
Fill the thermos completely. Air is the enemy of heat retention. Fill your thermos all the way to the top, leaving as little air space as possible. If you have extra mac and cheese, eat it for breakfast — no judgment here.
Don’t open the thermos until lunchtime. Every time you open it, you release heat. I know it’s tempting to check, but resist. Trust the process. Your lunch will be waiting for you, hot and ready.
Variations & Adaptations
This recipe is flexible. Here are a few ways to change it up.
Add protein. Stir in 1 cup of cooked, diced chicken, crumbled bacon, or cooked ground beef after combining the pasta and sauce. I’ve used leftover rotisserie chicken with great results. Just make sure the protein is hot when you add it, so it doesn’t cool down the mixture.
Make it spicy. Add 1/2 teaspoon of red pepper flakes or a diced jalapeño to the sauce along with the seasonings. For extra heat, use pepper jack cheese instead of mozzarella. I tried this once for a grown-up lunch and it was fantastic.
Go gluten-free. Use gluten-free pasta and a gluten-free all-purpose flour blend for the roux. The technique is the same — just make sure your gluten-free pasta doesn’t overcook. Some brands turn to mush faster than others, so keep an eye on it.
Add vegetables. Stir in 1 cup of steamed broccoli, peas, or roasted cherry tomatoes. Add them after combining the pasta and sauce. I’ve done broccoli and cheddar countless times — it’s a classic for a reason.
Try a different cheese blend. Swap the mozzarella for gouda, gruyere, or fontina. Each brings a different flavor profile. Gouda adds a smoky sweetness, gruyere gives nuttiness, and fontina adds extra creaminess. I’ve made a three-cheese version with cheddar, gouda, and parmesan that was absolutely decadent.
Make it dairy-free. Use plant-based butter, unsweetened oat milk or cashew milk, and dairy-free cheese shreds. The sauce won’t be as creamy, but it will still be good. I recommend Miyoko’s or Violife for the best melting dairy-free cheese.
Serving & Storage Suggestions
This mac and cheese is designed to be eaten straight from the thermos, but here are a few tips for the best experience.
Serving temperature. The mac and cheese should be piping hot when you open the thermos. If it’s not, your thermos might not be insulated well enough, or you didn’t preheat it properly. Serve it in a bowl if you want, but eating straight from the thermos keeps it warmer longer.
What to serve with it. A simple side of apple slices, carrot sticks, or a small salad balances the richness. I often pack a fresh stone fruit peach burrata salad on the side for a refreshing contrast. For a heartier meal, add some crispy honey mustard sheet pan baked chicken thighs on the side.
Storage. If you have leftovers (unlikely, but possible), transfer them to an airtight container and refrigerate for up to 3 days. Do not store mac and cheese in the thermos — it’s not designed for long-term storage and can develop bacteria.
Reheating. To reheat, transfer the mac and cheese to a saucepan and add a splash of milk. Warm it over medium-low heat, stirring gently, until heated through. The sauce will have thickened in the fridge, so the milk helps restore the creamy texture. You can also microwave it in 30-second bursts, stirring between each, but the stovetop method gives better results.
Freezing. I don’t recommend freezing this mac and cheese. The sauce can separate and become grainy when thawed. If you must freeze it, do so before adding the pasta — freeze the sauce alone in a freezer bag, then thaw and combine with freshly cooked pasta.
Nutritional Information & Benefits
Here’s the estimated nutritional breakdown for one serving (about 1 cup) of this thermos mac and cheese.
| Nutrient | Amount Per Serving |
|---|---|
| Calories | 420 |
| Total Fat | 22g |
| Saturated Fat | 13g |
| Cholesterol | 65mg |
| Sodium | 580mg |
| Total Carbohydrates | 38g |
| Dietary Fiber | 2g |
| Sugars | 5g |
| Protein | 18g |
| Calcium | 380mg |
This mac and cheese provides a good amount of protein and calcium from the cheese and milk. The whole milk adds vitamin D and healthy fats that help keep you full. While it’s not a low-calorie meal, it’s a satisfying one that provides sustained energy — perfect for a long school day or work shift.
For a lighter version, you can use reduced-fat cheddar and 2% milk, but the sauce won’t be as creamy and may not hold up as well in the thermos. I prefer to keep the full-fat version and enjoy it as an occasional treat rather than an everyday meal.
Conclusion
This thermos mac and cheese has been a game-changer in my household. No more sad, cold lunches or expensive takeout. It’s the kind of recipe that makes you feel like you’ve cracked the code on packed lunches — and honestly, you have.
I love that this recipe is forgiving enough for beginners but precise enough to deliver consistent results. It’s not about perfection — it’s about having a hot, comforting meal when you need it most. Whether you’re packing lunch for a picky kid, a busy partner, or yourself, this mac and cheese delivers.
Try it once, and I think you’ll be hooked. Play with the variations, make it your own, and don’t be afraid to experiment. And when you do make it, come back and tell me how it went. I’d love to hear about your thermos mac and cheese adventures — the successes, the near-misses, and everything in between.
Happy cooking, and may your lunches always be hot and cheesy!
Frequently Asked Questions
Can I use any type of pasta for thermos mac and cheese?
Yes, but shapes with ridges or curves work best because they hold more sauce. Elbow macaroni, shells, cavatappi, and rotini are all great choices. Avoid very thin pasta like angel hair or spaghetti — they tend to overcook and turn mushy.
How long will the mac and cheese stay hot in the thermos?
In a good-quality, vacuum-insulated thermos, it will stay hot for 4-6 hours. If you preheat the thermos and fill it completely, you might get closer to 6 hours. After that, it will still be warm but not piping hot. Wrapping the thermos in a towel or using an insulated lunch bag can extend the time.
Can I make this recipe ahead of time?
Yes, you can make the mac and cheese the night before and refrigerate it. In the morning, reheat it gently on the stovetop with a splash of milk, then fill your preheated thermos. The texture won’t be quite as perfect as freshly made, but it’s still very good. I’ve done this many times for early morning school lunches.
Why did my mac and cheese turn out dry in the thermos?
This usually happens for one of three reasons: the sauce was too thick when you filled the thermos, the pasta absorbed too much moisture, or the thermos wasn’t preheated properly. Next time, make the sauce slightly thinner than usual and cook the pasta one minute less than al dente. Also, make sure your thermos is hot before you fill it.
Can I double this recipe for a larger thermos?
Absolutely. Just double all the ingredients and use a larger pot. The cooking times stay the same. If you’re using a very large thermos (32 ounces or more), you might need to extend the preheating time to 10 minutes to ensure the thermos is fully hot. The filling and sealing process is the same.
Pin This Recipe!
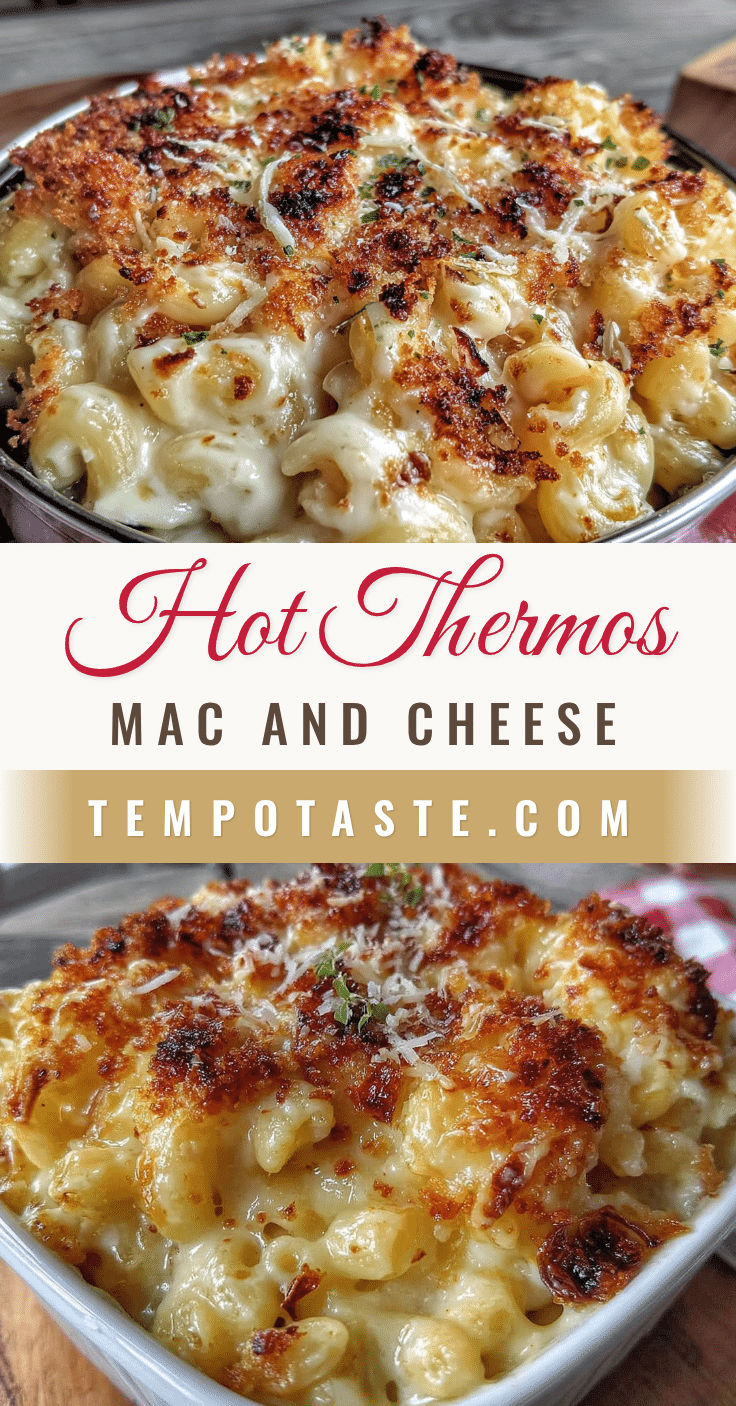
Best Thermos Mac and Cheese Recipe That Stays Hot for Hours

This thermos mac and cheese is specifically engineered to stay hot, creamy, and delicious for hours inside a thermos. No more sad, cold lunches.
- Prep Time: 15 minutes
- Cook Time: 20 minutes
- Total Time: 35 minutes
- Yield: 4 servings 1x
- Category: Main Course
- Cuisine: American
Ingredients
- 2 cups (about 8 ounces) elbow macaroni
- 2 cups freshly shredded sharp cheddar cheese
- 1 cup freshly shredded mozzarella cheese
- 2 cups whole milk
- 3 tablespoons unsalted butter
- 3 tablespoons all-purpose flour
- 1 teaspoon Dijon mustard
- 1/2 teaspoon garlic powder
- 1/2 teaspoon salt, plus more for pasta water
- 1/4 teaspoon black pepper
- Optional: Pinch of cayenne pepper or paprika
Instructions
- Preheat your thermos: Fill your thermos with boiling water and let it sit for 5-10 minutes while you cook.
- Boil a large pot of salted water: Use about 4 quarts of water and 1 tablespoon of salt. Bring to a rolling boil.
- Cook the pasta one minute less than al dente: Add the elbow macaroni and cook according to package directions, but subtract one minute (about 6-7 minutes). Drain in a colander; do not rinse.
- Make the roux: While the pasta cooks, melt the butter in a medium saucepan over medium heat. Add the flour and whisk constantly for 1-2 minutes until smooth and lightly golden.
- Add the milk gradually: Slowly pour in the milk while whisking continuously. Continue whisking until the sauce thickens, about 3-4 minutes.
- Season the sauce: Add the Dijon mustard, garlic powder, salt, black pepper, and cayenne if using. Whisk to combine.
- Melt in the cheese: Reduce heat to low. Add the shredded cheddar and mozzarella in handfuls, stirring until each addition is fully melted before adding the next. Remove from heat.
- Combine pasta and sauce: Add the drained pasta to the saucepan with the cheese sauce. Stir gently until every piece of pasta is coated.
- Empty the thermos: Pour out the hot water from your preheated thermos.
- Fill the thermos immediately: Spoon the mac and cheese into the hot thermos, packing it in gently but firmly. Fill all the way to the top to minimize air space. Screw the lid on tightly.
- Let it rest for 5 minutes: Before packing, let the sealed thermos sit on the counter for 5 minutes to allow heat to distribute evenly.
Notes
Preheat the thermos with boiling water for 5-10 minutes before filling. Cook pasta one minute less than al dente to prevent mushiness. Use freshly shredded cheese for smooth melting. Make the sauce slightly thinner than usual as it will thicken in the thermos. Fill the thermos completely to minimize air space. Do not open the thermos until lunchtime to retain heat.
Nutrition
- Serving Size: 1 cup
- Calories: 420
- Sugar: 5
- Sodium: 580
- Fat: 22
- Saturated Fat: 13
- Carbohydrates: 38
- Fiber: 2
- Protein: 18
Keywords: thermos mac and cheese, packed lunch, hot lunch, creamy mac and cheese, school lunch, work lunch, comfort food