My oldest kid, Leo, went through a phase last year where he would only eat lunch if it was in a sealed, crustless sandwich. I thought the store-bought frozen ones were fine—until I actually read the ingredient list. There were things in there I couldn’t pronounce, and honestly, the texture after thawing always felt a little…soggy. I figured there had to be a better way, but I was skeptical about making my own. Would they really freeze well? Would the bread get weird? Would it be worth the effort for something that takes ten seconds to grab from the freezer aisle?
So I started testing. I tried different breads, different spreads, different wrapping methods. I made a batch that turned into a sad, hockey-puck-shaped brick. Another batch leaked jelly everywhere. But then—finally—I cracked it. The trick was toasting the bread just slightly before assembling, using a sunflower butter that didn’t separate, and freezing them on a tray before bagging them up. The first time Leo took a bite of one from his lunchbox and said, “Mom, these are better than the ones from the store,” I knew I had something worth sharing.
These Easy Sunflower Butter and Jelly Freezer Uncrustables are now a staple in our house. They save me time, money, and the weird ingredient anxiety. And honestly? They taste better. The bread stays soft, the sunflower butter stays creamy, and the jelly doesn’t turn into a watery mess. It’s one of those small wins that makes the school morning rush feel a little less chaotic.
If you’ve ever wondered whether you could make your own freezer-friendly sandwiches at home, let me tell you—you absolutely can. And you should. Trust me on this one.
Why You’ll Love This Recipe
I’ve tested this recipe through three different lunchbox seasons, two picky eaters, and one very humid summer where everything seemed to get soggy. These survived all of it. Here’s why they work so well:
- Quick & Easy: You can assemble a whole batch in under 15 minutes. That’s faster than a trip to the grocery store.
- Simple Ingredients: No preservatives, no stabilizers, no weird additives. Just bread, sunflower butter, and jelly.
- Perfect for Busy Mornings: Grab one from the freezer, toss it in a lunchbox, and it’s thawed by lunchtime. No thought required.
- School-Safe: Since there’s no peanut butter, these are totally nut-free and lunchbox-friendly for most classrooms.
- Crowd-Pleaser: My kids, my husband, and even my mom (who claimed she was “too old for sandwiches”) all love these.
- Budget-Friendly: Homemade versions cost a fraction of the store-bought ones, especially if you buy ingredients on sale.
What makes this recipe different from the rest is the method. Most homemade freezer sandwiches turn out soggy or dry because the bread absorbs moisture from the filling. My trick—lightly toasting the bread and spreading the sunflower butter all the way to the edges—creates a barrier that keeps everything intact. It sounds simple, but it makes all the difference. This isn’t just another version of a freezer sandwich; it’s the version that actually works.
There’s something deeply satisfying about pulling a homemade sandwich out of the freezer, knowing exactly what went into it. It’s a small act of control in a world that feels increasingly chaotic. And honestly? It makes me feel like a superhero mom, even if only for a moment.
What Ingredients You Will Need
This recipe uses simple, pantry-friendly ingredients that come together to create a sandwich that tastes fresh even after weeks in the freezer. Here’s what you’ll need:
- Sandwich bread (8 slices): I prefer a sturdy white bread or whole wheat sandwich bread. Avoid super soft, airy breads—they get mushy. I like the Sara Lee Artesano or Dave’s Killer Bread for extra sturdiness.
- Sunflower butter (½ cup): Look for a brand that doesn’t have added sugar or palm oil. I love the SunButter Natural Creamy. Stir it well before using, as the oil tends to separate.
- Jelly or jam (¼ cup): Any flavor works—grape, strawberry, raspberry, or even apricot. I prefer a seedless jam for smoother spreading. Smucker’s or Bonne Maman are my go-tos.
- Optional: A pinch of salt: If your sunflower butter is unsalted, a tiny pinch can balance the sweetness.
Ingredient Selection Tips: For the best texture, choose a bread that has a bit of density. Whole wheat, sourdough, or even brioche work well. Avoid gluten-free bread unless it’s a sturdy variety—many become crumbly after freezing. For the sunflower butter, I’ve tried several brands, and SunButter consistently has the best flavor and texture for freezing. It doesn’t separate as much as others, and it stays creamy even after thawing.
Substitution Guidance: If you have a nut allergy but want variety, try using WowButter (soy-based) or even cookie butter for a sweet twist. For the jelly, you can use honey, agave nectar, or even a thin layer of chocolate hazelnut spread if you’re feeling indulgent. Just be aware that thinner spreads may leak more during freezing.
Equipment Needed
You don’t need much to make these, which is part of the beauty. Here’s what you’ll need:
- Baking sheet or tray: For flash-freezing the sandwiches before bagging. A standard half-sheet pan works perfectly.
- Parchment paper or wax paper: To prevent sticking during flash freezing.
- Butter knife or offset spatula: For spreading the sunflower butter and jelly evenly.
- Round cookie cutter (3.5 to 4 inches): For cutting the crustless shapes. A biscuit cutter works too. If you don’t have one, a glass with a thin rim can work in a pinch.
- Freezer-safe zip-top bags or containers: For storing the finished sandwiches. I prefer quart-sized bags for individual sandwiches.
- Toaster (optional): For lightly toasting the bread before assembling. This step is optional but recommended for best texture.
Personal Note: I bought a set of round cookie cutters specifically for this recipe, and they’ve been worth every penny. The 3.5-inch size is perfect for standard sandwich bread. If you’re using larger bread slices, a 4-inch cutter works better. I learned this the hard way when I tried using a too-small cutter and ended up with tiny, sad-looking sandwiches that my kids refused to eat.
Preparation Method
Making these freezer uncrustables is straightforward, but there are a few tricks that make the difference between a perfect sandwich and a soggy mess. Follow these steps carefully:
- Lightly toast the bread (optional but recommended): Pop the bread slices into a toaster on the lowest setting. You just want a very light golden color—not browned. This creates a barrier that prevents the bread from absorbing moisture from the sunflower butter and jelly. Let the bread cool completely before assembling. (About 5 minutes.)
- Lay out your bread slices: Place 4 slices of bread on a clean work surface. These will be the bottom halves. Place the other 4 slices aside for the tops.
- Spread the sunflower butter: Using a butter knife or offset spatula, spread about 1 tablespoon of sunflower butter on each of the 4 bottom slices. Spread it all the way to the edges—this seals the sandwich and prevents jelly from leaking out. Don’t skimp on this step; a thin, even layer is key.
- Add the jelly: Spoon about 1 tablespoon of jelly onto the center of each sunflower butter-covered slice. Spread it slightly, but leave a ½-inch border around the edges. This prevents the jelly from squeezing out when you press the sandwich together.
- Top with the remaining bread: Place the remaining 4 slices of bread on top of the jelly, pressing down gently to seal. Don’t press too hard, or the jelly will squirt out the sides.
- Cut the crusts: Using your round cookie cutter, press down firmly in the center of each sandwich. Twist slightly to cut through all layers cleanly. You should get a perfect round sandwich with no crusts. (Save the crusts for breadcrumbs or croutons!)
- Flash freeze: Line a baking sheet with parchment paper. Place the round sandwiches on the sheet in a single layer, not touching each other. Pop the sheet into the freezer for at least 2 hours, or until the sandwiches are completely frozen solid. This prevents them from sticking together when you bag them.
- Bag and store: Once frozen, transfer the sandwiches to freezer-safe zip-top bags. Squeeze out as much air as possible before sealing. Label the bags with the date and contents. They’ll keep for up to 3 months.
Preparation Notes: If you’re making a large batch (say, 20 sandwiches), work in batches of 4 to keep the bread from drying out. Cover the assembled but uncut sandwiches with a clean kitchen towel while you work. Also, if your sunflower butter is very oily, stir it vigorously before spreading. Excess oil can make the bread soggy during freezing.
Sensory Cues: When you press the sandwich together, you should feel a slight resistance but no jelly squeezing out. When you cut the sandwich with the cookie cutter, the edges should be clean and the layers should hold together. If the sandwich feels too loose, you may need to press a bit harder next time.
Cooking Tips & Techniques
Here are some hard-won lessons from my many batches of freezer sandwiches:
- Don’t skip the flash freeze. I made the mistake of bagging sandwiches while they were still slightly soft, and they froze into one giant, inseparable block. Flash freezing on a tray for at least 2 hours is non-negotiable.
- Use room-temperature ingredients. Cold sunflower butter is harder to spread and can tear the bread. Let it sit out for 10 minutes before assembling.
- Toast the bread, but don’t overdo it. The goal is to dry out the surface slightly, not to make it crunchy. A light toast that barely changes the color is perfect. Over-toasting can make the bread crumble when you cut it.
- Spread the sunflower butter to the edges. This creates a seal that keeps the jelly contained. I learned this after a batch of leaky sandwiches turned my lunchbox into a sticky disaster.
- Use a sharp cookie cutter. A dull cutter will squish the sandwich rather than cut it cleanly. If your cutter is getting dull, try pressing down and twisting gently.
- Label your bags. I know it sounds obvious, but I’ve pulled out a bag of frozen sandwiches thinking they were one flavor and ended up with a surprise. Write the date, flavor, and any notes (like “toasted” or “untoasted”) on the bag.
Common Mistakes to Avoid: The biggest mistake is using too much jelly. It seems like more would be better, but excess jelly turns into a watery mess when thawed. Stick to 1 tablespoon per sandwich. Another common mistake is freezing the sandwiches without flash freezing first—they’ll stick together and be impossible to separate without tearing.
Variations & Adaptations
Once you’ve mastered the basic recipe, feel free to get creative. Here are some variations I’ve tried and loved:
- Nut-Free Chocolate Spread: Swap the sunflower butter for a nut-free chocolate spread (like Cocoa SunButter) and use raspberry jam. It tastes like a fancy dessert sandwich.
- Honey & Banana: Replace the jelly with a thin layer of honey and add a few thin slices of banana. Flash freeze as usual. The banana gets slightly soft when thawed, but it’s delicious.
- Savory Version: Use cream cheese mixed with herbs (like chives or dill) and a thin layer of cucumber slices. This is great for a quick lunch that doesn’t feel like a kid’s meal.
- Gluten-Free Option: Use a sturdy gluten-free bread. I’ve had good luck with Canyon Bakehouse’s Mountain White bread. Toast it slightly longer to prevent sogginess.
- Low-Sugar Version: Use a sugar-free jam and unsweetened sunflower butter. The texture stays the same, and the flavor is still satisfying.
- Seasonal Twist: In the fall, try using apple butter instead of jelly. In the summer, use fresh strawberry jam for a bright, fruity flavor.
Personal Variation: My favorite variation is the “PB&J-ish” version—I use sunflower butter, a thin layer of honey, and a sprinkle of cinnamon. It’s not exactly a PB&J, but it’s close enough that my kids don’t complain. Plus, it feels a little more special than the standard version.
Serving & Storage Suggestions
These sandwiches are designed to be eaten straight from the lunchbox, but here are a few tips for optimal enjoyment:
- Serving Temperature: These are best served thawed but still cool. If you’re packing them for lunch, they’ll be perfectly thawed by lunchtime. If you’re eating them at home, let them sit at room temperature for about 30 minutes before serving.
- Presentation: For a fun twist, serve the sandwiches with a side of fresh fruit, veggie sticks, or a small handful of pretzels. My kids love when I cut the sandwiches into fun shapes using a cookie cutter—stars, hearts, or dinosaurs.
- Complementary Dishes: These pair beautifully with a simple side salad, a cup of soup, or a handful of baby carrots. For a picnic, pack them alongside some easy no-cook bento box lunch components for a balanced meal.
- Storage Instructions: Store the frozen sandwiches in a sealed bag or container for up to 3 months. For best quality, use within 2 months. Do not refreeze after thawing.
- Reheating Methods: These are not meant to be reheated—they’re designed to be eaten cold or at room temperature. If you absolutely must warm one up, pop it in a toaster oven at 300°F for about 5 minutes, but the texture won’t be the same.
- Flavor Development: Interestingly, the flavors seem to meld together after a week or two in the freezer. The sunflower butter becomes slightly more mellow, and the jelly infuses the bread subtly. I actually prefer the sandwiches that have been frozen for at least a week.
Nutritional Information & Benefits
Here’s an approximate nutritional breakdown for one sandwich (based on white bread, sunflower butter, and grape jelly):
- Calories: 280
- Protein: 8g
- Fat: 14g
- Carbohydrates: 32g
- Fiber: 3g
- Sugar: 12g
- Sodium: 280mg
Health Benefits: Sunflower butter is a great source of vitamin E, magnesium, and healthy fats. It’s also nut-free, making it safe for most school environments. The whole wheat version adds extra fiber and B vitamins. Plus, making these at home means you control the sugar content—use a low-sugar jam to cut the sugar in half.
Dietary Considerations: These sandwiches are naturally vegan and nut-free. For a gluten-free version, use certified gluten-free bread. For a lower-carb option, use a low-carb bread and sugar-free jam. Always check labels for potential allergens if you’re serving to others.
Personal Wellness Perspective: I love that these sandwiches give me peace of mind. I know exactly what’s in them, and I don’t have to worry about hidden preservatives or artificial flavors. It’s a small step toward eating more whole foods, even in the midst of a busy week.
Conclusion
These Easy Sunflower Butter and Jelly Freezer Uncrustables have honestly changed the way I think about meal prep. They’re not fancy, they’re not complicated, but they work. They save me time, money, and the stress of wondering what to pack for lunch. And the best part? My kids actually eat them without complaint.
I encourage you to make a batch this weekend and see for yourself. Customize the flavors to suit your family’s tastes—use your favorite jam, try a different seed butter, or add a sprinkle of cinnamon. The possibilities are endless, and the results are always delicious.
If you try this recipe, I’d love to hear about it. Leave a comment below with your favorite flavor combination, or tag me on social media with your batch. And if you’re looking for more easy lunch ideas, check out my easy 5-ingredient no-bake peanut butter energy balls or these healthy high-protein snack box recipes for more lunchbox inspiration.
Happy freezing, friends. Your future self—and your hungry kids—will thank you.
Frequently Asked Questions
Can I use peanut butter instead of sunflower butter?
Absolutely. If nut allergies aren’t a concern, peanut butter works perfectly. Just make sure it’s a creamy, well-stirred variety. The process is exactly the same.
How long do these sandwiches last in the freezer?
They’ll keep for up to 3 months in a sealed freezer bag. For best flavor and texture, I recommend using them within 2 months. After that, the bread may start to develop freezer burn.
Can I use homemade bread for this recipe?
Yes, but be careful. Homemade bread is often softer and more delicate, so it may not hold up as well during freezing. If you’re using homemade bread, toast it slightly longer and handle it gently when cutting.
Do I have to toast the bread first?
No, it’s optional. Toasting creates a moisture barrier that helps prevent sogginess, but the sandwiches will still work without it. If you skip the toasting, just be aware that the bread may be slightly softer after thawing.
Can I use a different shape instead of round?
Definitely. Use any cookie cutter you have—stars, hearts, dinosaurs, or even a simple square. Just make sure the cutter is large enough to cut through the entire sandwich without leaving too much crust behind.
Pin This Recipe!
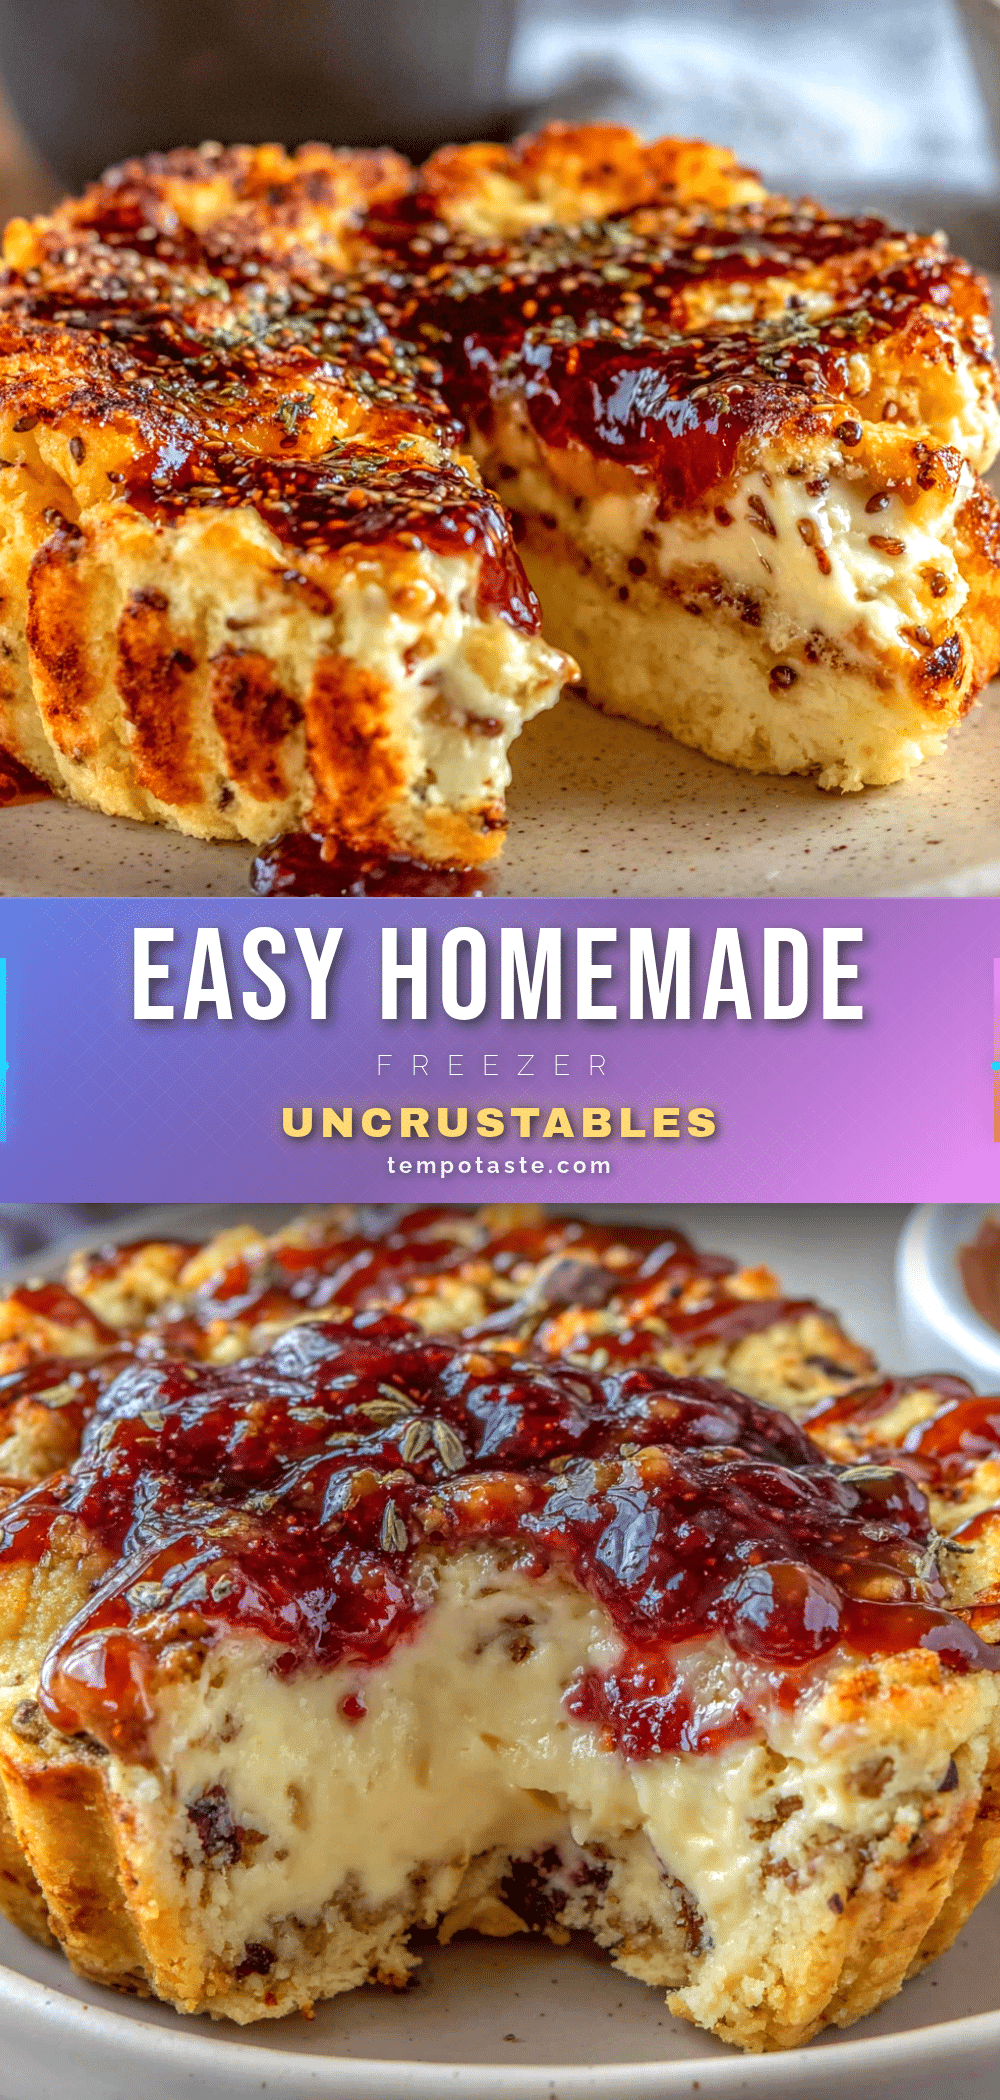
Easy Sunflower Butter & Jelly Freezer Uncrustables

These homemade freezer uncrustables are quick, easy, and made with simple ingredients. Perfect for busy mornings, they stay soft and delicious, saving you time and money while avoiding weird additives.
- Prep Time: 15 minutes
- Cook Time: 0 minutes
- Total Time: 2 hours 15 minutes (includes freezing time)
- Yield: 4 servings 1x
- Category: Snack
- Cuisine: American
Ingredients
- 8 slices sandwich bread (sturdy white or whole wheat)
- ½ cup sunflower butter (creamy, no added sugar or palm oil)
- ¼ cup jelly or jam (any flavor, seedless preferred)
- Optional: a pinch of salt (if sunflower butter is unsalted)
Instructions
- Lightly toast the bread on the lowest setting until just barely golden. Let cool completely.
- Lay out 4 slices of bread for the bottom halves. Spread about 1 tablespoon of sunflower butter on each, all the way to the edges.
- Spoon about 1 tablespoon of jelly onto the center of each sunflower butter-covered slice. Spread slightly, leaving a ½-inch border.
- Top with the remaining 4 slices of bread, pressing down gently to seal.
- Using a round cookie cutter (3.5 to 4 inches), press down firmly in the center of each sandwich and twist to cut cleanly.
- Line a baking sheet with parchment paper. Place the round sandwiches in a single layer, not touching. Freeze for at least 2 hours until solid.
- Transfer frozen sandwiches to freezer-safe zip-top bags, squeeze out air, seal, and label. Store for up to 3 months.
Notes
Lightly toasting the bread creates a moisture barrier that prevents sogginess. Spread sunflower butter all the way to the edges to seal in the jelly. Flash freezing on a tray before bagging prevents sandwiches from sticking together. Use room-temperature sunflower butter for easier spreading. For best texture, use within 2 months.
Nutrition
- Serving Size: 1 sandwich
- Calories: 280
- Sugar: 12
- Sodium: 280
- Fat: 14
- Saturated Fat: 2
- Carbohydrates: 32
- Fiber: 3
- Protein: 8
Keywords: freezer uncrustables, sunflower butter and jelly, homemade uncrustables, nut-free lunch, easy freezer sandwiches, school lunch ideas